
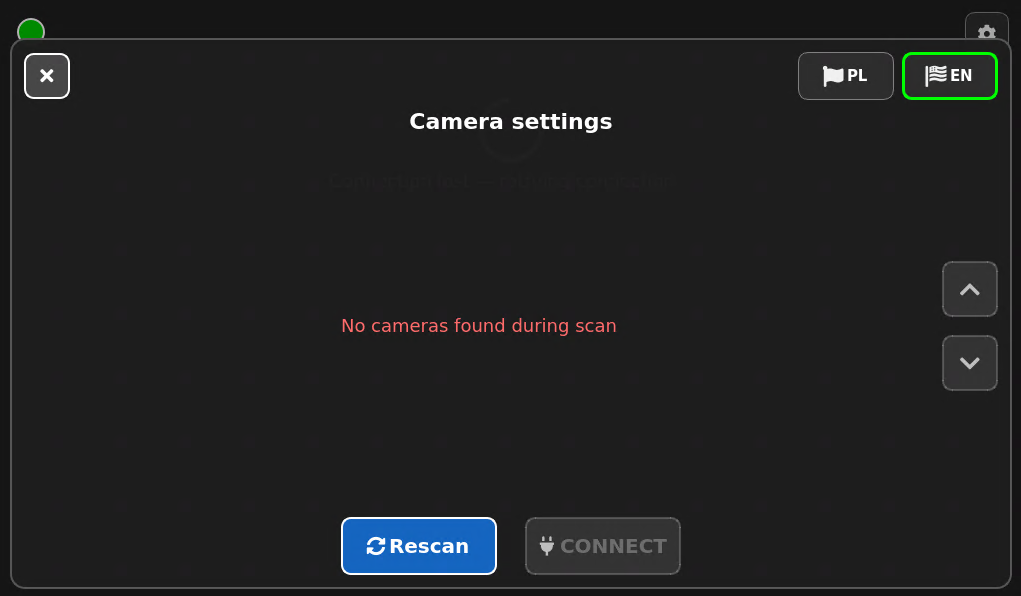
When adding a camera to a device, the camera does not appear in the list of available cameras. This usually means that the camera has not yet been configured properly, is not connected to the network, or the device cannot detect it.
Solution
1. Finish adding the camera
Close the screen displaying the list of available cameras. Then return to the camera configuration. Do not attempt to add the camera again until you have checked its power supply and configuration.
Leave the device turned on. Once you’ve finished setting up the camera, return to the same screen and open the list of available cameras again.
2. Check the camera’s power supply
Make sure the camera is connected to the correct power source. Check that the power cord is properly plugged into the camera’s port and into the power adapter or other power source.
If the camera has an indicator light, check to see if it is on or flashing. If there is no light, the camera may not be receiving power. In that case, check the cable, the power adapter, and the electrical outlet.
If the camera is powered by a power cord, make sure the cord is plugged into the correct port and that the network device is supplying power.
3. Check the camera model
Note the manufacturer’s name and the exact camera model. This information is usually found on a label on the bottom or back of the camera housing.
The model number may also be listed on the packaging, in the documentation included with the camera, or in the manufacturer’s app. Make a note of the full model number, as cameras from the same manufacturer may require different settings.
Do not use the manual intended for a camera that looks similar. Even a slight difference in the model number may mean that the setup procedure is different.
4. Open the camera manufacturer’s manual
Find the manual for the exact model of the camera you are using. First, check the documents included with the device or the manual printed on the packaging.
If you don’t have a paper manual, go to the manufacturer’s official website. Search for your camera model and open the installation or network setup guide.
Please note the information regarding the initial setup, connecting to the network, setting up your login and password, and enabling camera access from other devices.
5. Reconfigure the camera
Set up the camera from the beginning, following the steps in the manufacturer’s manual. Do not skip any steps, even if the camera has already been partially set up.
Connect the camera to the correct network. If you are setting it up using the manufacturer’s app, add the camera in the app and follow the on-screen instructions.
Set the required username and password. If the manufacturer requires you to create a new password during the initial setup, write it down and keep it in a safe place. You may need this information later when adding the camera to the device.
If the instructions require you to enable an additional feature—such as network access, a communication protocol, or access for other devices—enable it as described by the manufacturer.
6. Check the configuration
Once you’ve finished the setup, check to see if the camera is working properly. If the manufacturer provides an app or a configuration page, open the camera’s live view.
Make sure the camera is connected to the network and isn’t displaying an error message. Also, check that you’re using the correct network name and password.
Compare the settings you have configured with the manufacturer’s instructions. Be especially careful to check the settings related to the user account, password, network connection, and camera access.
7. Reopen the camera list
Once the camera is properly configured, return to the device. Open the camera setup screen again, and then view the list of available cameras.
Please wait a moment while the device finishes searching. The camera may not appear immediately, especially if it was just turned on or reconnected to the network.
Do not turn off the camera or the device while searching.
8. Check if the camera is available
Check to see if the camera’s name or address appears in the list. To do this, press the blue “Rescan” button. If there are several devices in the list, compare their names or addresses with the information provided in the camera’s settings.
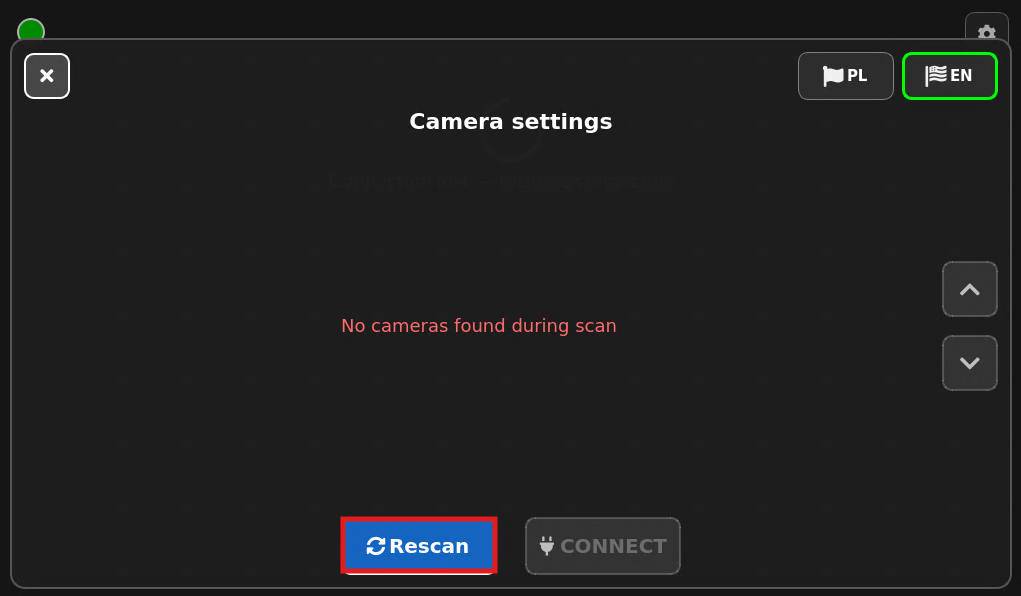
Select the correct camera and continue with the setup process. If the device asks for a username and password, enter the credentials you set during the camera setup.
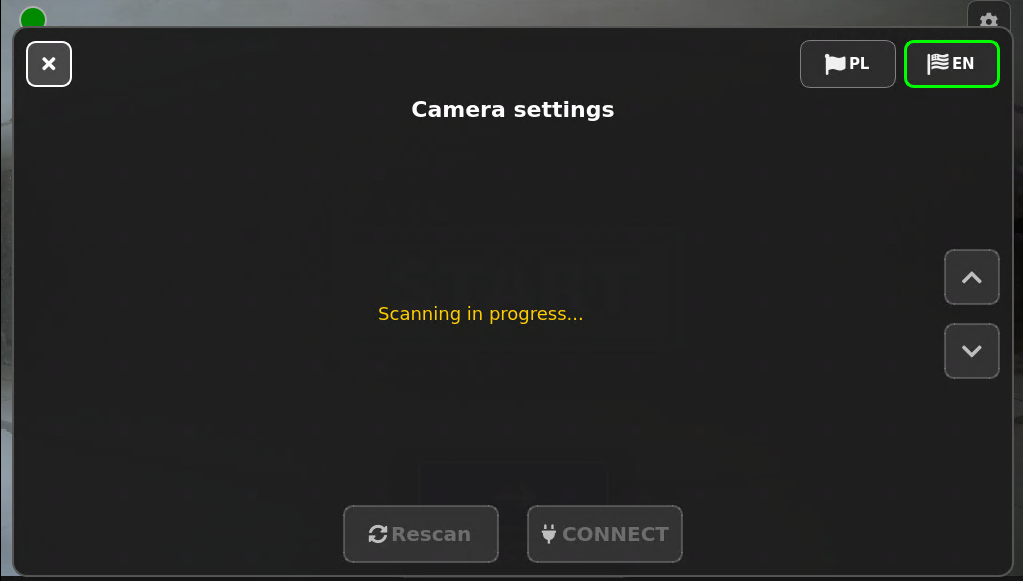
If the camera still does not appear in the list, proceed to the additional troubleshooting steps described below.
The camera still isn’t showing up
If the camera still does not appear in the list, double-check the most important configuration settings:
- Camera Power — Check that the camera is turned on, the cables are connected properly, and the indicator lights show that the device is operating.
- Network connection — Make sure the camera is connected to the correct network, either via a wired or wireless connection, and that it is not reporting a connection error.
- Same network — Check to make sure the camera and the device to which it is being added are connected to the same local network.
- Username and password — make sure the login credentials you are using are correct and match the ones you set during camera setup.
- Camera access — Check the camera settings to see if the manufacturer requires you to enable access for other devices, network access, or a specific communication protocol.
- Exact camera model — check again to make sure the model number on the label matches the model listed in the user manual.
- Manufacturer’s instructions — check to make sure that all steps have been followed in the order specified by the manufacturer and that no required step has been omitted.
- Restart — if the manufacturer’s instructions allow it, restart the camera and the device, and then open the list of available cameras again.
- Factory reset and reconfiguration — depending on the model and manufacturer, the camera should have a factory reset button. Check the manufacturer’s manual to see if it’s there and what the reset process involves, then follow the steps one by one.


