This article describes the features available when counting pigs using the Pig Counter in the Fetura CLOUD app. You’ll learn how to start and stop the count, divide the animals into groups, change the direction of the passage, adjust camera settings, and view the results and recordings saved in the history.
Start counting
The ” Start Counting ” feature starts a new pig-counting session. From that point on, the app records the animals passing in front of the selected camera.
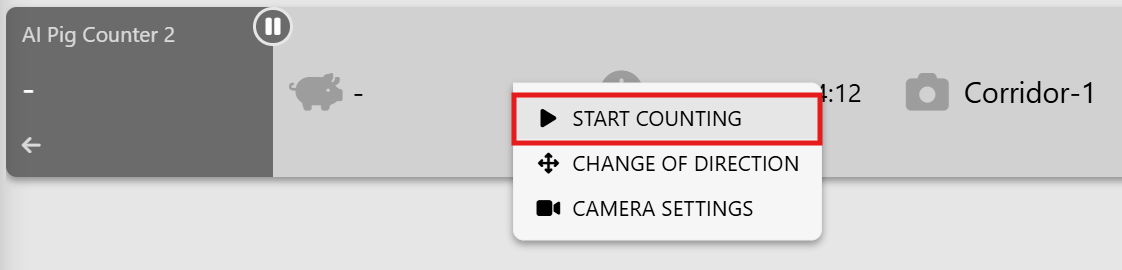
Before you begin, check the camera label displayed in the top bar—for example, Corridor-1. This ensures that the count will be based on the image from the correct camera.
While counting is in progress, the device panel is highlighted in green. The current count is displayed next to the pig icon. The top bar also shows the date, time, and name of the camera in use.

Once a session begins, the app records, among other things:
- the time when the count begins,
- the number of pigs counted,
- breakdown of the results by individual groups,
- a video related to counting.
Change of Direction
The Change Direction feature allows you to specify the direction in which the pigs will move during counting. In the Change Direction window, expand the Direction field, select the appropriate option—for example, Left—and then click SAVE. Change this setting if you want the animals to move in the opposite direction from the one currently selected.
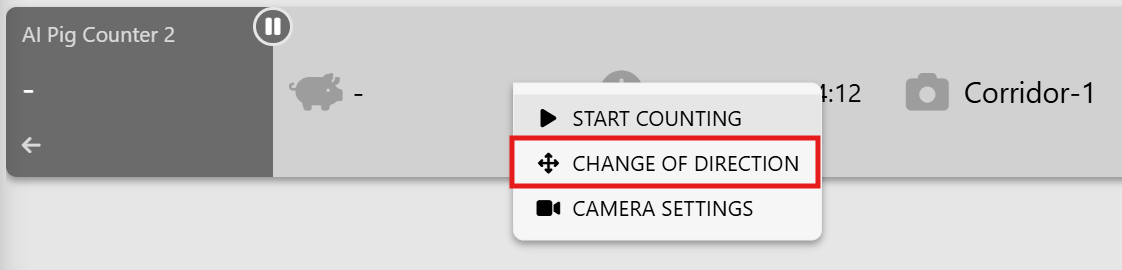
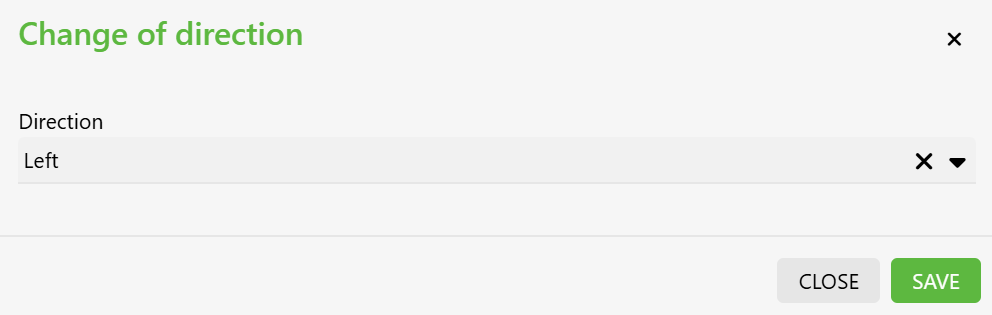
It is best to set the direction before starting the count. The current setting is indicated on the panel by an arrow symbol.
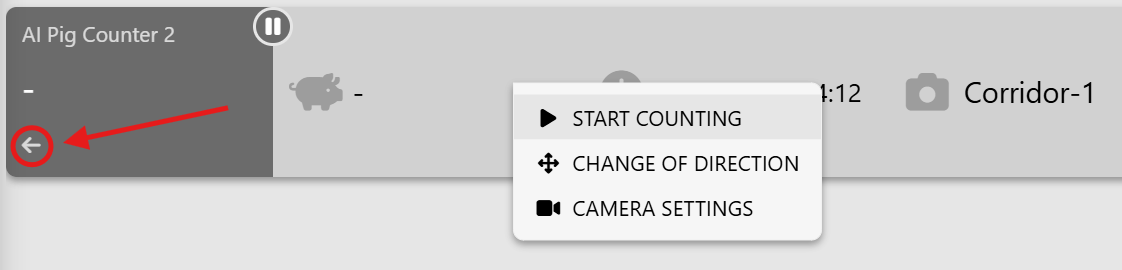
When you select this feature, the new direction is applied during the next calculation session.
Camera Settings
The Camera Settings feature allows you to select the camera to be used when counting pigs. The top of the window displays the number of available cameras, as well as the date and time the list was last refreshed. To search for available cameras again, click the Refresh button.
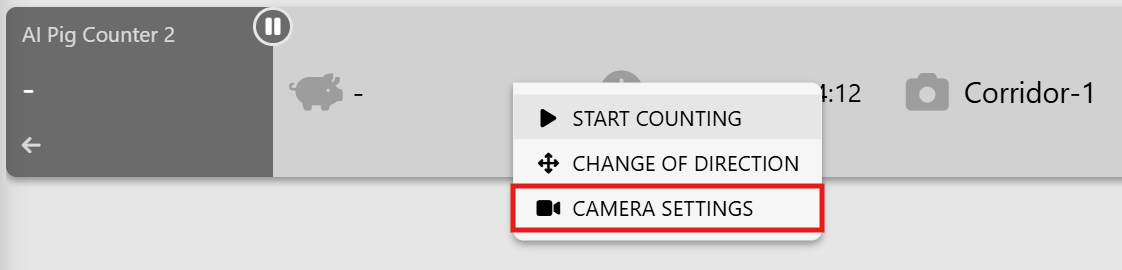
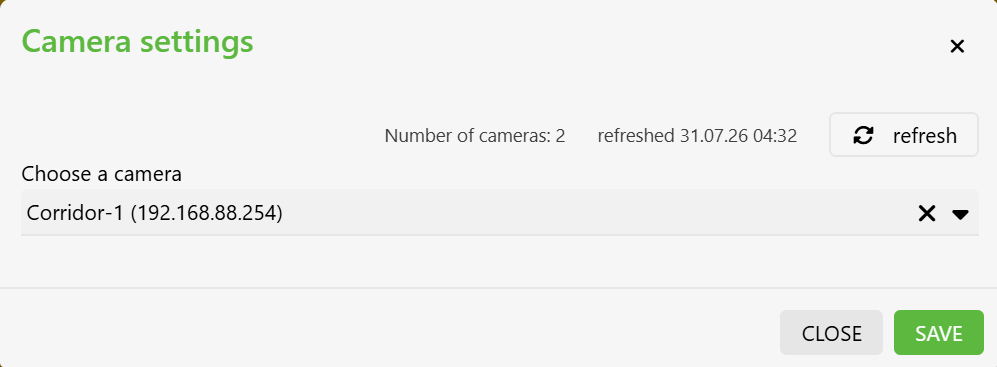
In the “Select Camera ” field, expand the list and select the appropriate device, such as Corridor-1 (192.168.88.254). The camera name and the address shown in parentheses make it easier to identify the camera when there are several cameras available in the system.
After selecting a camera, click SAVE to confirm the setting. To close the window without saving your new selection, click CLOSE or the × icon in the upper-right corner.
The next group
The ” Next Group ” function is used to start counting the next group of pigs without ending the entire session. Use it after the last pig from the current group has passed, when the next group is about to begin passing through.

After selecting the NEXT GROUP option, a confirmation window will appear. Click YES to close the results for the current group and begin recording the results for the next one. Each group will later be displayed in the history as a separate entry.
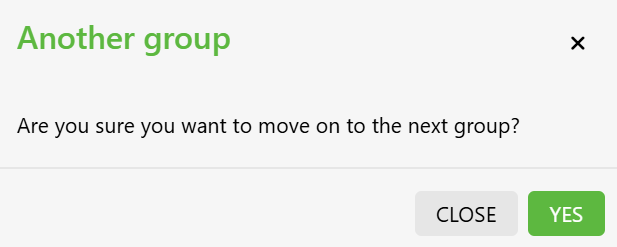
To cancel the transition to the next group and continue the current count, click CLOSE or the × icon in the upper-right corner of the window.
- start time,
- end time,
- number of pigs counted,
- the corresponding portion of the recording.
The results for all groups are then totaled in the ” Total” field.
Stop counting
The “End Count ” function is used to close the current session after the last group of pigs has passed through. Use this function when no more animals will be counted during this session.

After selecting the END COUNT option, a confirmation window will appear. Click END to end the session and save the results. Information about the counting time, the number of pigs, individual groups, and related recordings will be available in the history.
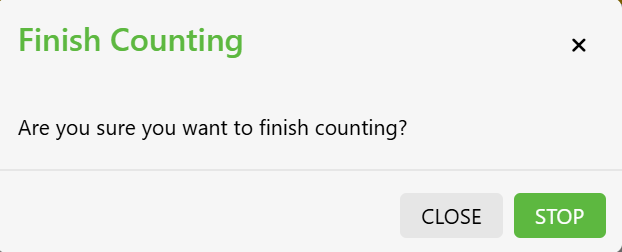
To cancel the session and continue the current count, click CLOSE or the × icon in the upper-right corner of the window.
Error Message
You can find information about an error on the device tile. When a problem occurs, the tile turns red, and an exclamation mark icon appears in its upper-right corner.

When you select this icon, a message will appear containing details about the alarm or warning, such as information about a rejected camera authentication or a detector restart in progress.

History
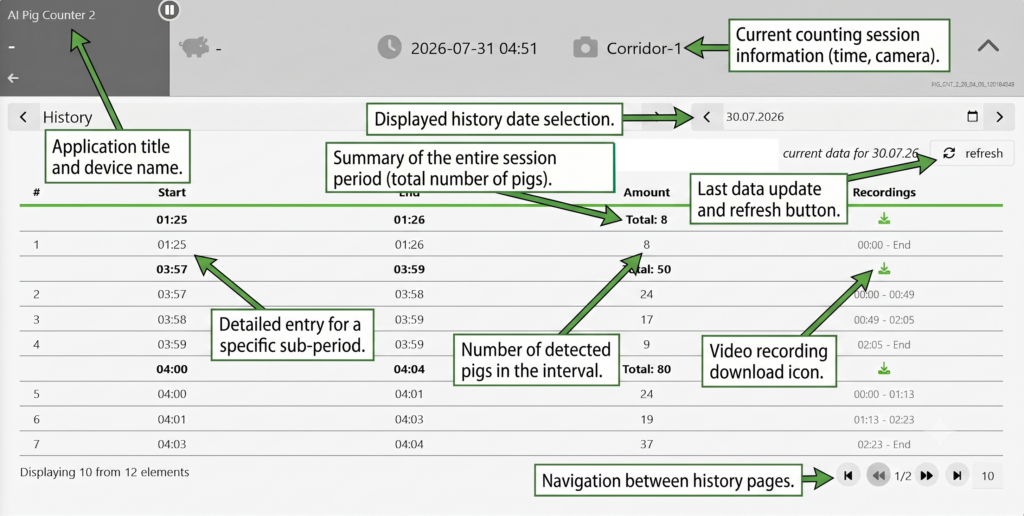
The History view displays the results of completed counting sessions. You can view the data for a selected day using the date field, the buttons to navigate to the previous or next day, and the calendar icon.
The Refresh button retrieves the latest data. The time of the last update is displayed next to it.
Each session has a bold summary row that shows the start time, end time, and the total number of pigs listed as ” Total.”
The history table contains the following columns:
- # – the number of the next group recorded in the history.
- Start – the start time of the entire session or a selected group.
- End – the time at which the entire session or a selected group ends.
- Count – the number of pigs counted in a given group. The summary row displays the sum of all groups as ” Total.”
- Recordings – a video clip corresponding to a given group.
The values in the Start and End columns indicate the actual time of the recording. The ranges shown in the Recordings column, such as “00:00–00:51” or “00:51–End,” indicate the position of a given group within the recorded video.
The download icon in the “Recordings ” column allows you to download the recording associated with the selected session. The division into time ranges makes it easier to find the segment corresponding to a specific group of pigs.
The camera designation, such as Corridor-1, indicates which video source the results and recordings come from. Before checking the data, make sure that the correct camera is displayed.
If the number of saved results exceeds the number of items displayed on a single page, use the navigation buttons below the table to move between pages of the history.