
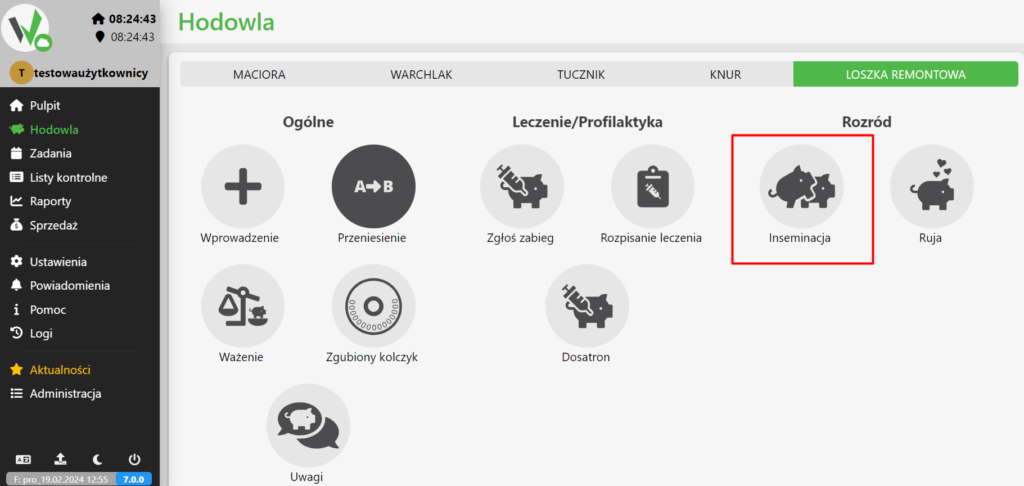
Enter the Breeding Module: Get Started by going to the “Breeding” module in the FETURA Cloud system.
Select Sow or Repair Gilt: Select the appropriate option from the menu, depending on whether you want to add insemination for a sow or a repair gilt.
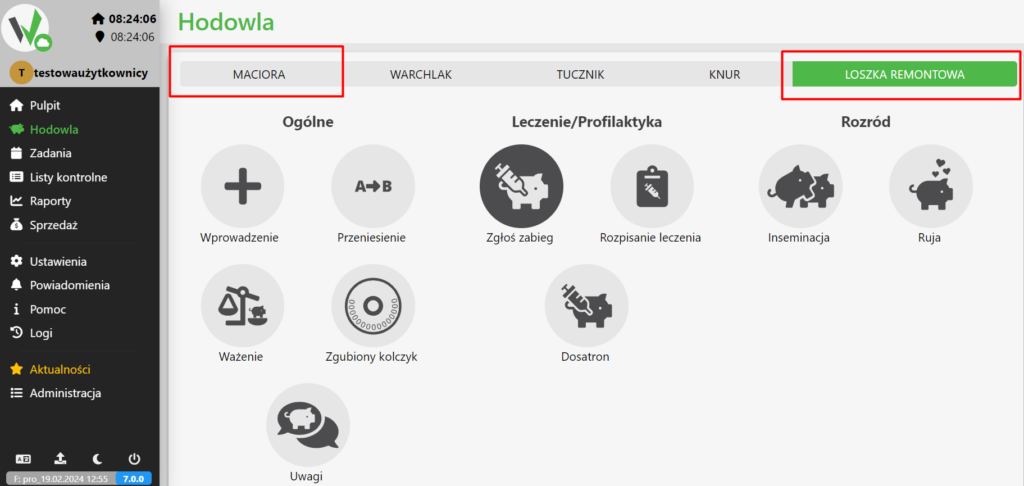
Insemination: check the “Insemination” option to proceed to the next steps.
Select a Sow or Repair Gilt: Select the specific sow or repair gilt for which you want to add insemination information.
Select Boar: Next, select the boar that was responsible for inseminating the sow or repair gilt.
Enter Insemination Date: Enter the date on which the insemination took place for the selected sow or repair gilt.
Enter the User: Enter the user who performed the insemination

Save Information: Once you have entered the insemination date, save the changes you have made using the corresponding button in the lower right corner.


