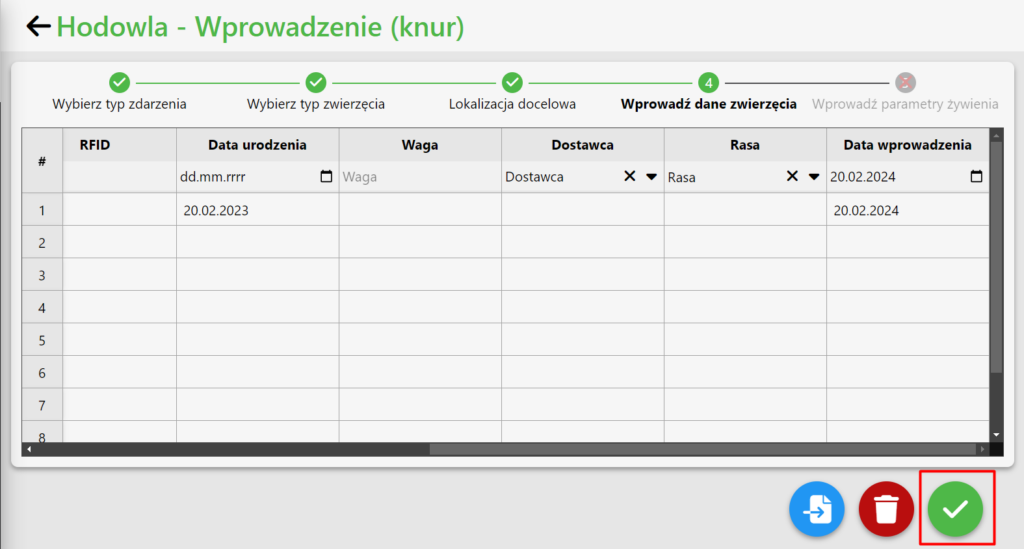
To move in a boar to the farm, follow the steps below:
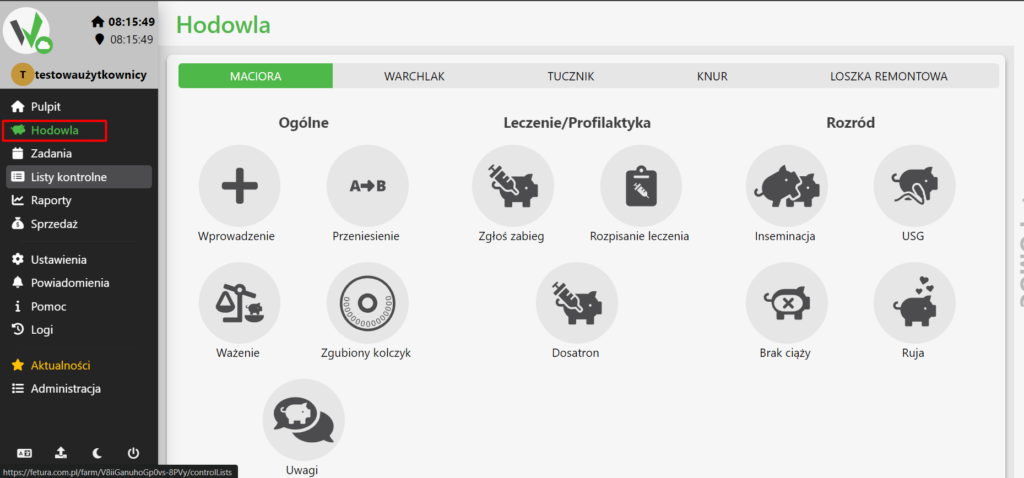
Enter the Breeding Panel: Get Started by going to the “Breeding” tab in the farm management system.
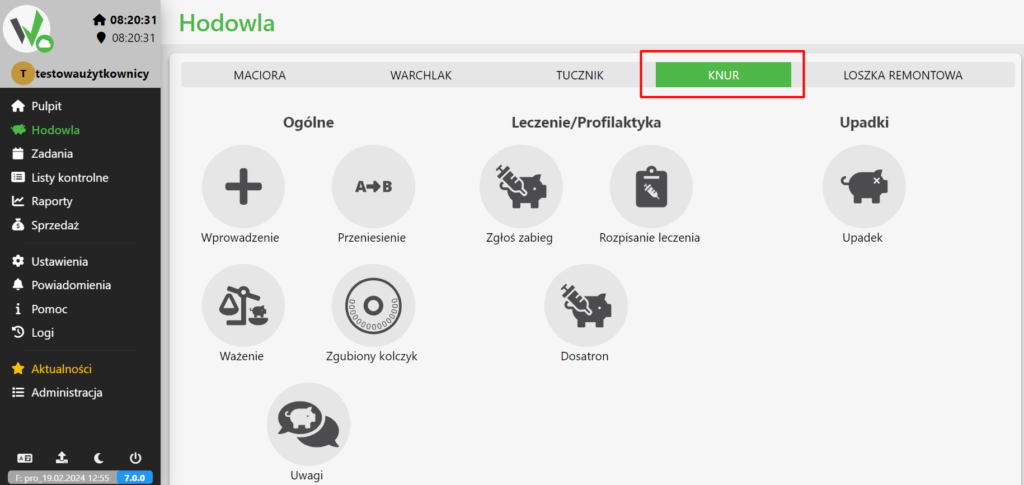
Boar Tab: Find the appropriate tab or section titled “Boar”. Click on it to move on.
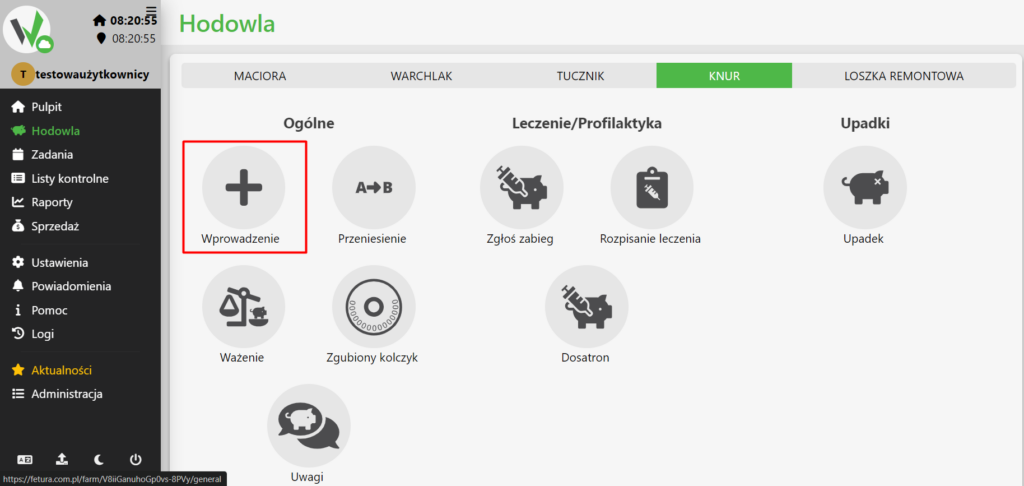
Add New Boar: In the boar section, there should be an option or button titled as “Move In”. Click on it to go to the form for entering boar information.
Select Location: Select the appropriate location on the farm where you want to move in the boar. It can be a specific chamber or position.

Complete Data: Fill in all the required fields on the form regarding the boar information. It is mandatory to enter the animal number, date of birth,date of move in and type. Select boar type (stationary, farm, semen)

Confirm Entry: After completing the form, check all the data entered and make sure it is correct. Then click the “Approve” or “Add” button to finalize the process of entering the boar into the farm.