1. Home
  2. Breading
  3. Sows/Gilts/Piglets
  4. How to enter the ultrasound into the app
  1. Home
  2. Breading
  3. How to enter the ultrasound into the app

How to enter the ultrasound into the app

Enter the Breeding Module: Get Started by going to the “Breeding” module in the FETURA Cloud system.
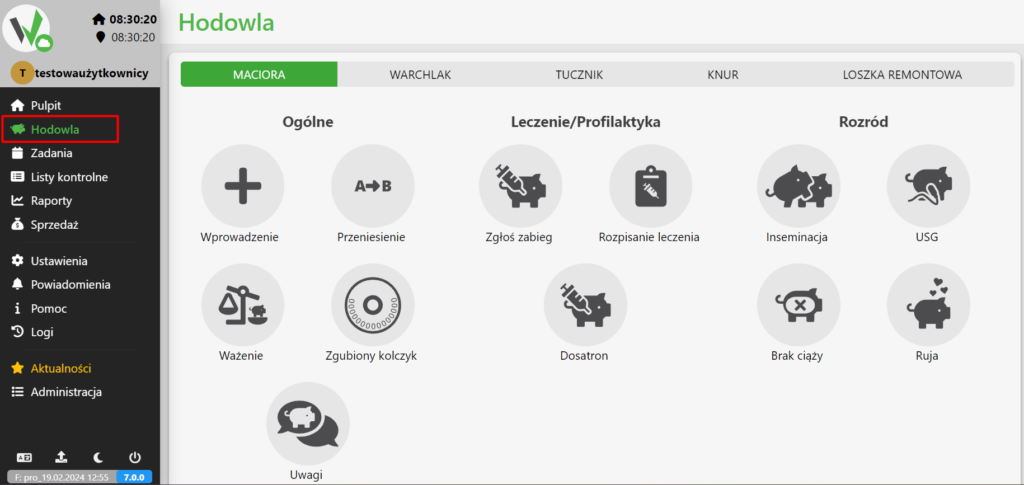
Fetura CLOUD sidebar menu with the Breeding section highlighted in red, used to open the breeding module.

Select Sow: Select the “Sow” animal type from the menu. Only for the sow after insemination we can carry out an ultrasound examination
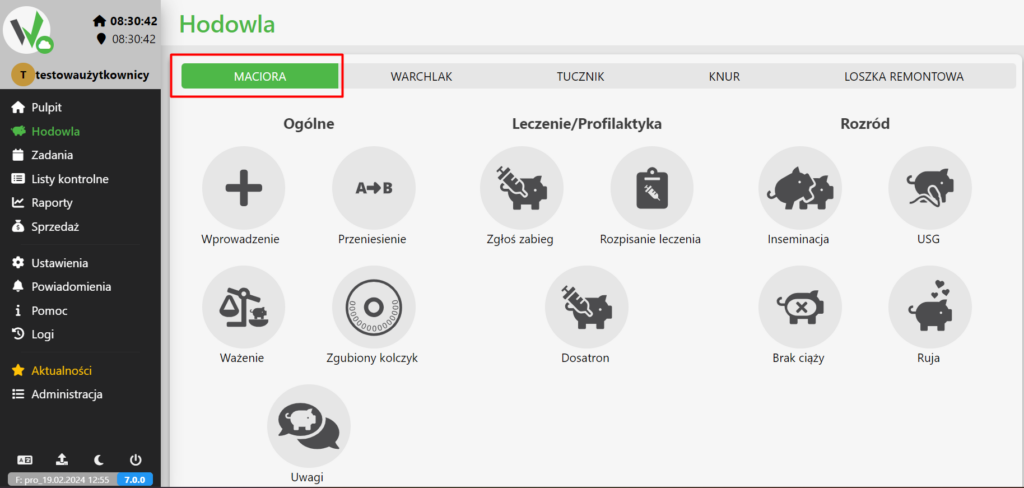
Breeding screen with the Sow tab highlighted in red, used to access sow-related events.

Ultrasound: Check the “USG” option to proceed to the next steps.
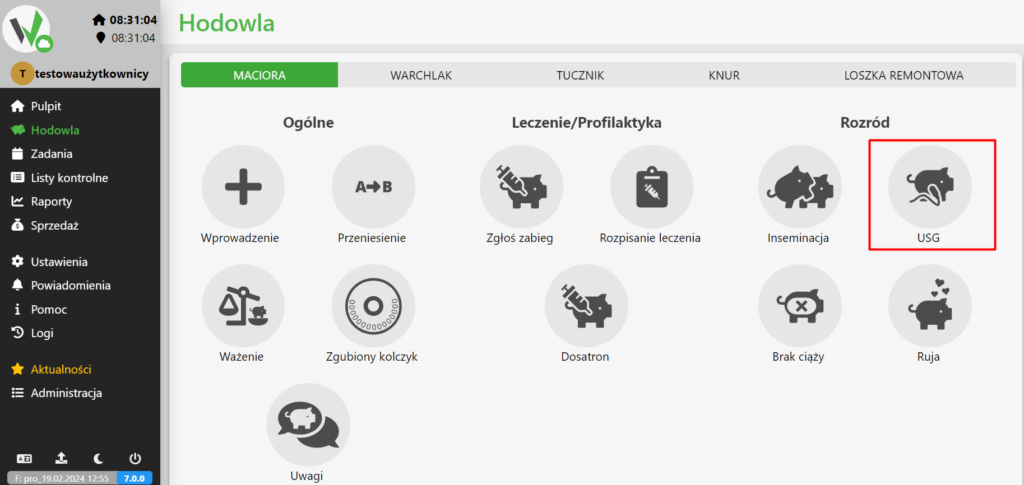
Breeding screen with the USG (ultrasound) icon highlighted in red, used to record an ultrasound examination result for a sow.

Select Sow: Select the specific sow for which you want to add ultrasound information.
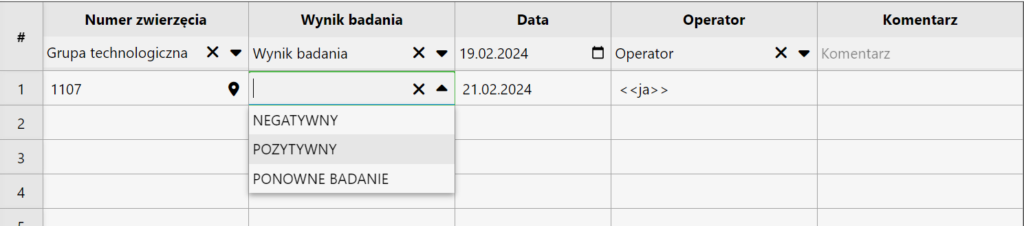
Ultrasound entry form data table with an open dropdown for the test result, showing the options NEGATYWNY (Negative), POZYTYWNY (Positive) and PONOWNE BADANIE (Retest).

Enter the test result: After selecting the appropriate sow, enter the test result: Positive, Negative or refer the animal for retesting

Enter Ultrasound Date: Enter the date on which the ultrasound took place for the selected sow.

Enter User: Enter the user who entered the ultrasound study

Save Information: Once you have entered an ultrasound, save the changes you have made using the corresponding button in the lower right corner.

Updated on 2026-07-23
Was this article helpful?

Related Articles

Need Support?
Can't find the answer you're looking for?
Contact Support

Leave a Comment