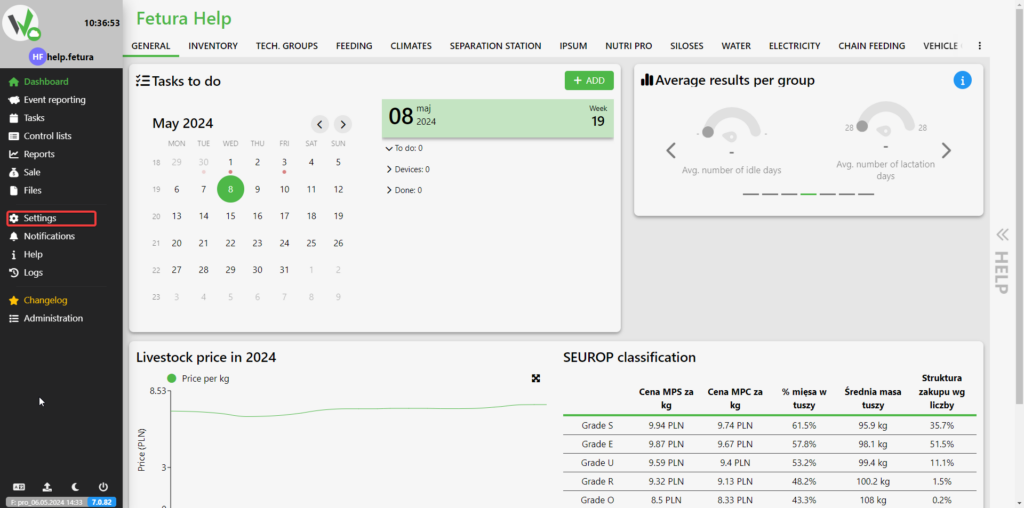
Navigating to the configurator
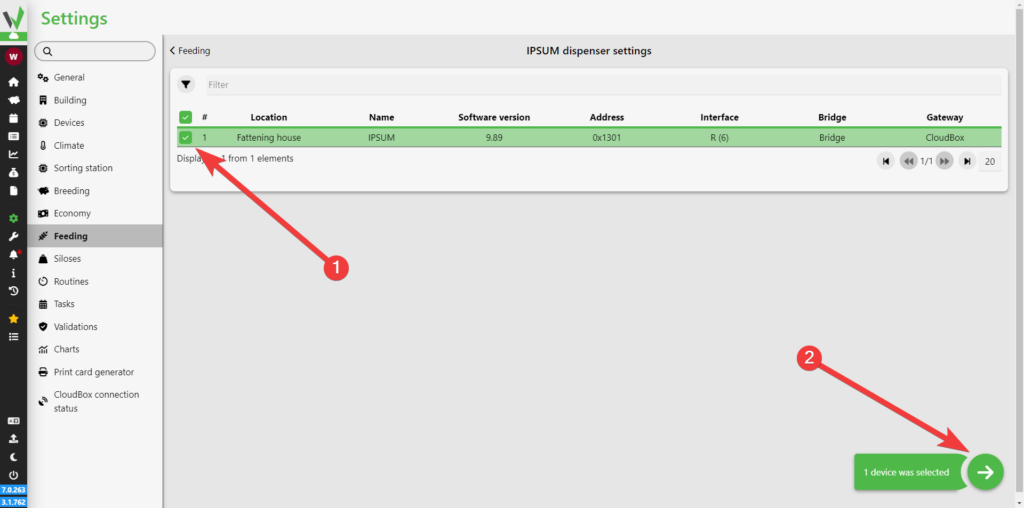
To configure IPSUM, go to the Settings tab.
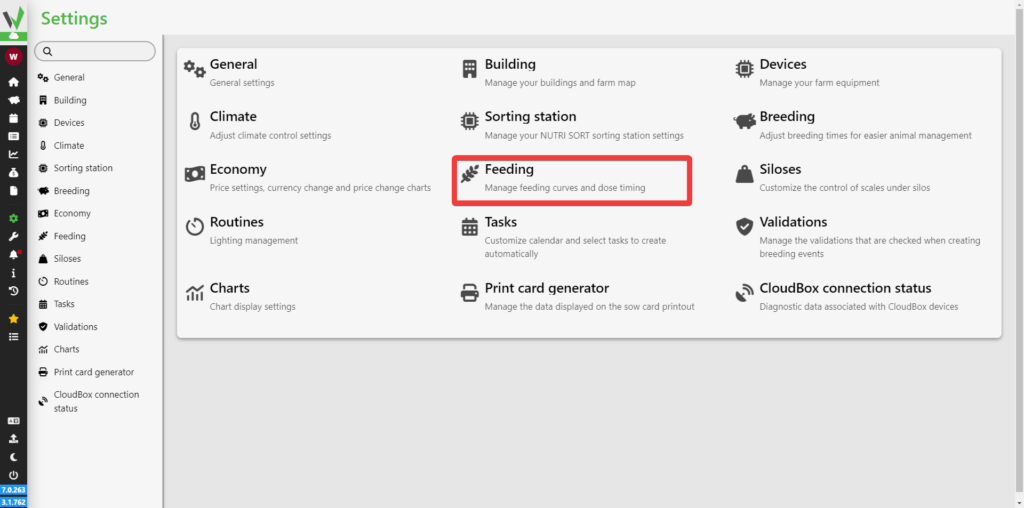
Then go to the Feeding tab.
Find the IPSUM dispenser settings tab and enter it.
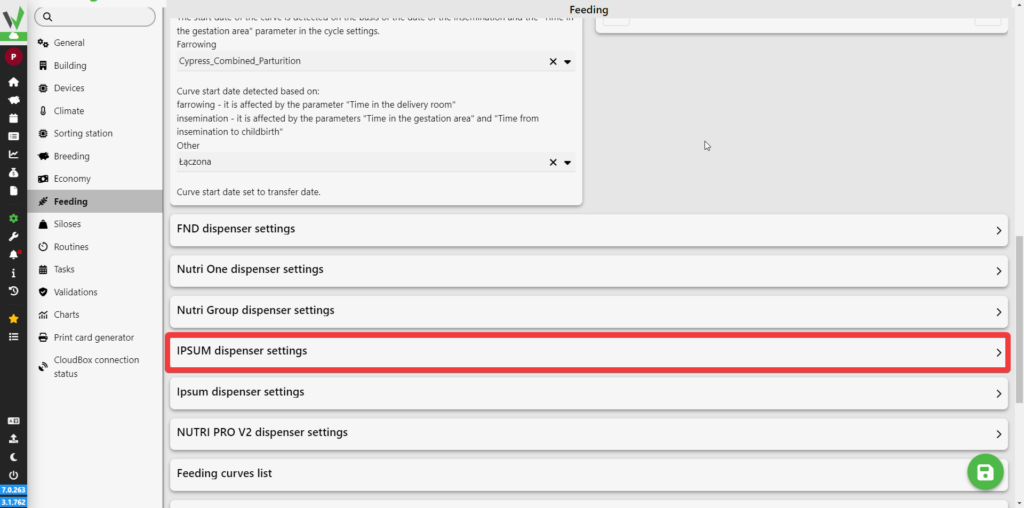
A list of IPSUMs added to the farm will appear, select the ones you want to configure.
Configuration
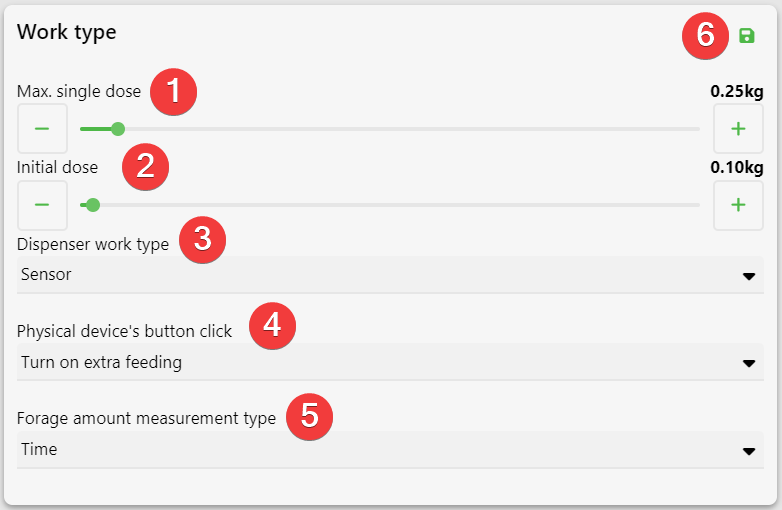
Mode of operation
On this panel it is possible to set:
– How much maximum feed in one dose can be dispensed by the dispenser [1]
– What is the size of the initiating dose [2]
– In which mode of operation the dispenser is [3]
– What is the responsibility of the button on the dispenser [4]
– How the amount of dispensed feed is measured (time / pulse) [5]
To save the changes, click the button [6].
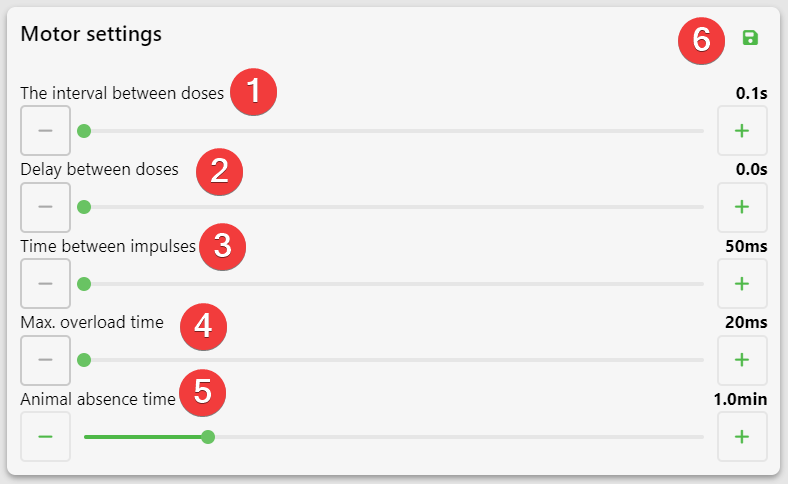
Engine settings
On this panel, it is possible to set:
– How long minimally the motor can run [1]
– In case of setting the performance measurement in time, what should be the interval time between dispensing doses [2]
– In case of setting the performance measurement in pulses, what should be the time between pulses [3]
– After what time the motor overloads [4]
– After what time the absence of the animal is detected [5]
To save the changes, click the [6] button.
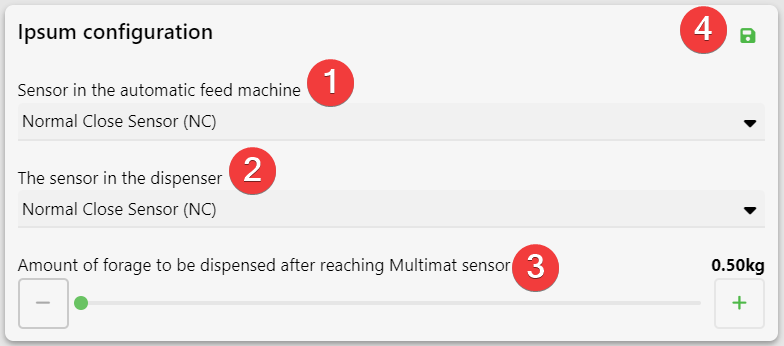
IPSUM configuration – sensors
On this panel, it is possible to set:
– In what mode should the sensor in the feed machine operate [1]
– In what mode should the sensor in the dispenser operate [2]
– What should be the stock of feed spilled above the sensor in the trough [3]
To save the changes, click the [4] button.
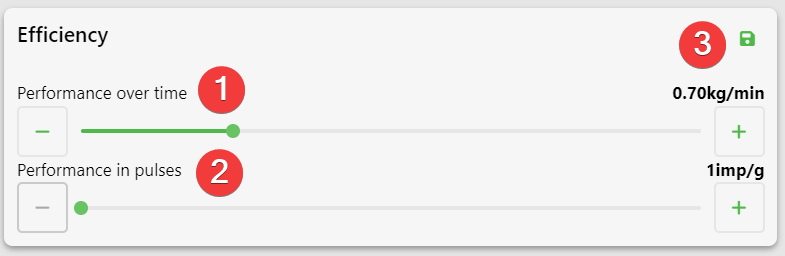
Efficiency
On this panel it is possible to set:
– Efficiency in time, if the issued feed is measured by time [1]
– Efficiency in pulses, if the issued feed is measured by pulses [2]
To save the changes, click the [3] button.
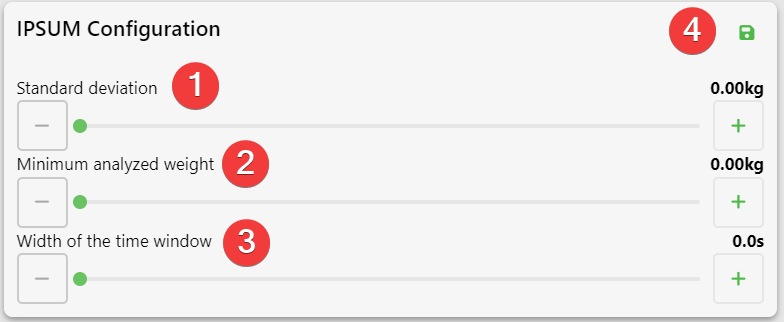
IPSUM configuration – weight
On this panel, you can set:
– Standard deviation (by how much the average weight of the animal can fluctuate) [1]
– What is the minimum detected weight that IPSUM should take for analysis [2]
– From what time, IPSUM takes weight measurements [3]
To save changes, click the [4] button.
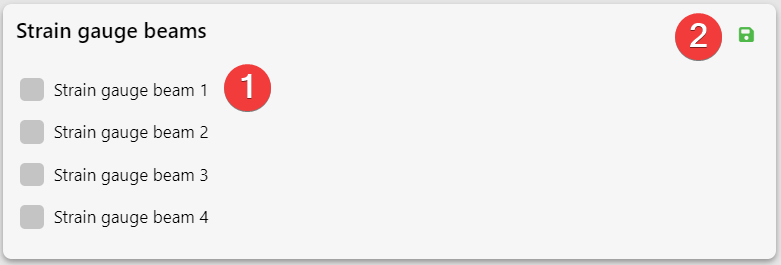
Strain gauge beams
On this panel it is possible to set to which inputs the strain gauge beams are connected [1], to save the changes click the button [2].
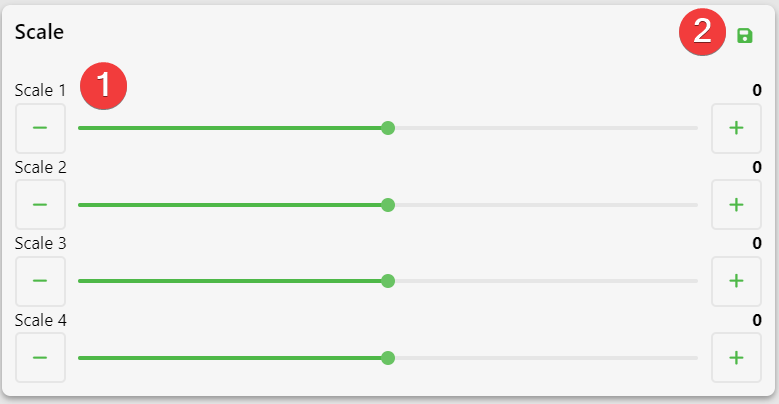
Scale
On this panel it is possible to set the scale for the inputs to which the strain gauge beams are connected [1], to save the changes click the button [2].
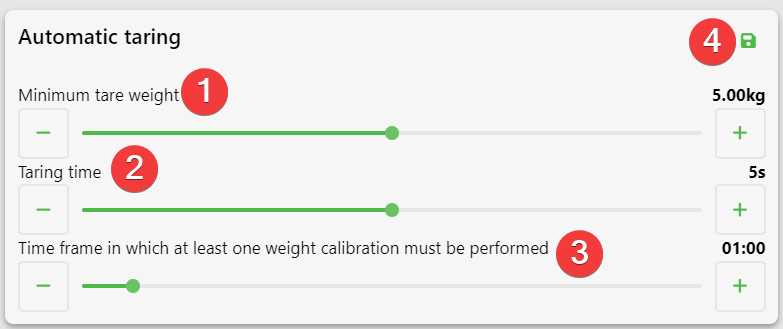
Automatic tare
On this panel it is possible to set:
– What minimum weight must be detected for taring to turn on [1]
– For how long the scale must tare [2]
– Every how many minutes the scale must tare at least once [3]
To save the changes, click the [4 ] button.
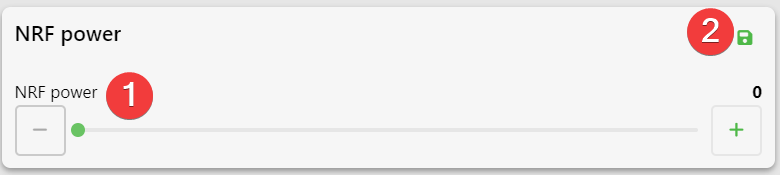
NRF power
On this panel it is possible to set at what power the NRF antennas operate [1], to save the changes click the [2] button.
Information about the animal going off the scale
On this panel you can set whether IPSUM should inform you when the animal goes off the scale [1], to save the changes click the [2] button.

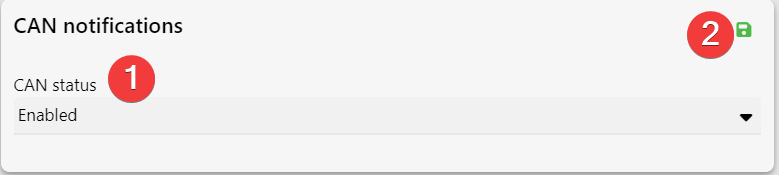
CAN notifications
On this panel it is possible to set whether CAN notifications are to be sent [1], to save the changes click the [2] button.