1. Home
  2. Devices
  3. Adding a dispenser by scanning.

Adding a dispenser by scanning.

From the Side menu, go to Settings -> Devices.

Select the Add dispenser function.

A screen opens with the selection of device scanning modes.
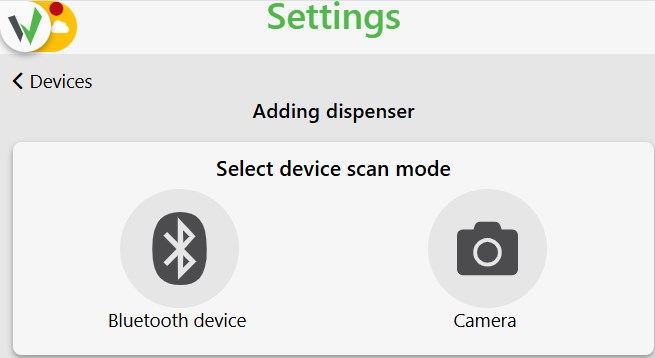
Adding dispenser screen with the device scan mode selection, offering Bluetooth device or Camera as scanning options.

We indicate the scanning mode, for example, via Bluetooth or via Camera.

In the next step, we need to indicate on the map or select from the list the location to which we want to assign our dispenser.
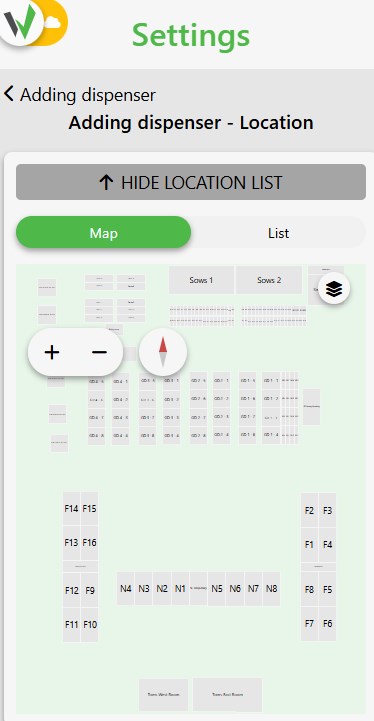
Adding dispenser location screen showing the farm map with chambers and stations, used to select where the dispenser will be assigned.

A scan screen will appear with a list of posts to assign a dispenser for individual sectors, or a screen with additional configuration for group posts.
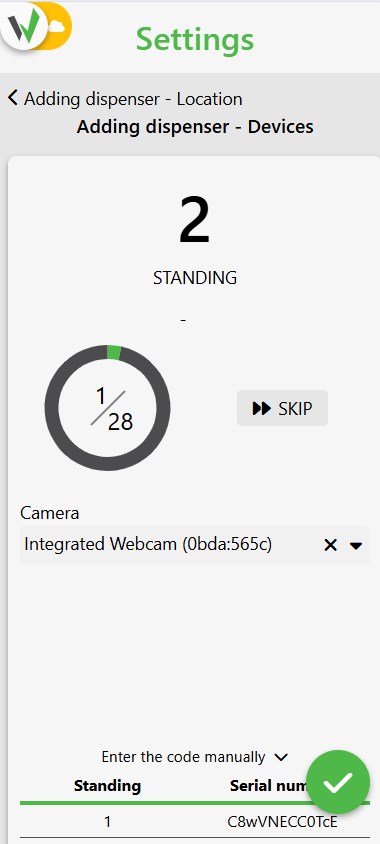
Adding dispenser devices screen with the camera scan view active and a progress counter showing standing 1 of 28 being scanned.

If you do not complete all standing, you will receive a message asking you to confirm empty locations.
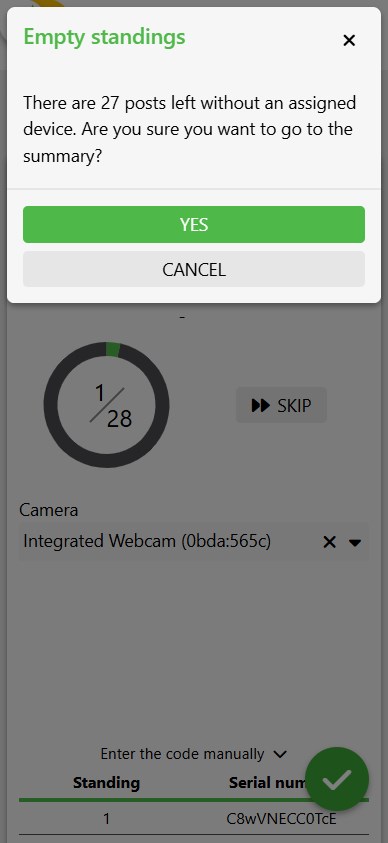
Empty standings confirmation dialog warning that 27 posts are left without an assigned device, with Yes and Cancel buttons.

In the last step, we check the correct assignment of devices to places and save. The dispensers are correctly added to the system.
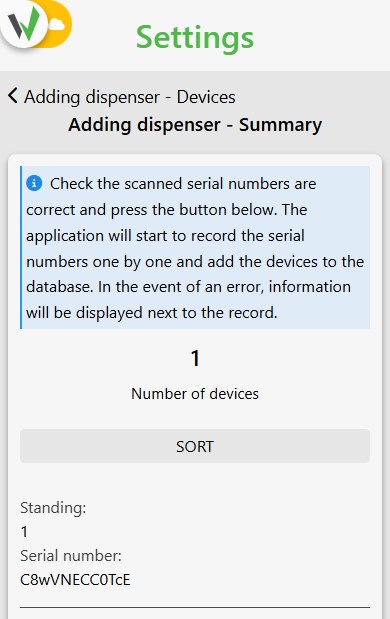
Adding dispenser summary screen listing the scanned serial number and the Sort button used to save the device to the database.

We receive a message that the hardware addition has been completed. f we’ve already added connectors, we’ll finish the configuration at this point. If we haven’t added them, we’ll move on to adding connectors.
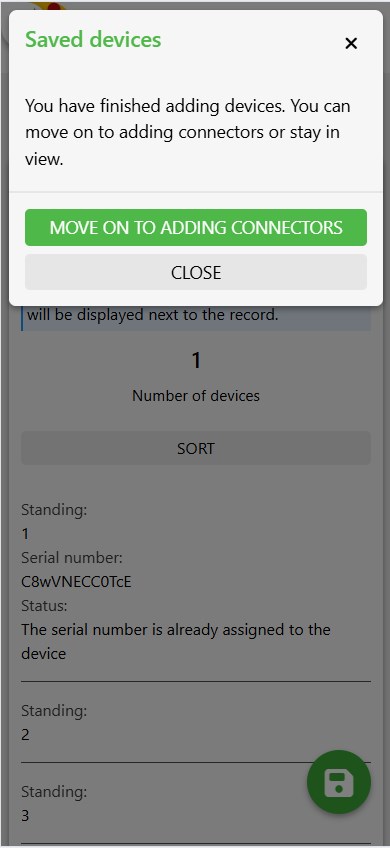
Saved devices confirmation dialog with the option to move on to adding connectors or close the wizard.
Add a Bridge by scanning or selecting from the list. You can also enter the QR code manually.
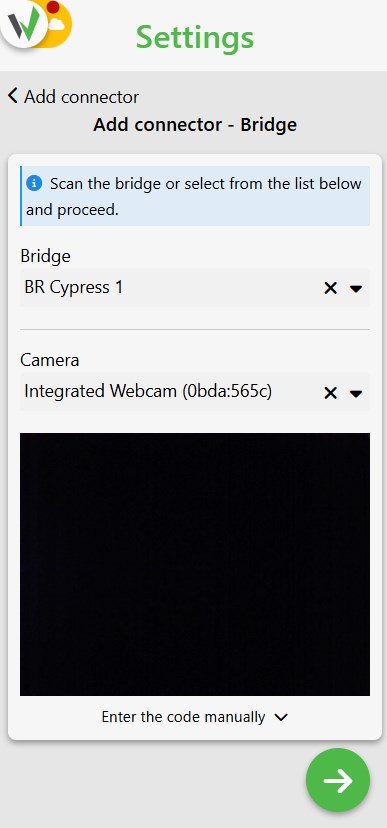
Add connector Bridge screen with a bridge selected from the list and a live camera view for scanning the connector's QR code.
In the next step we need to select the interface and add the connector.
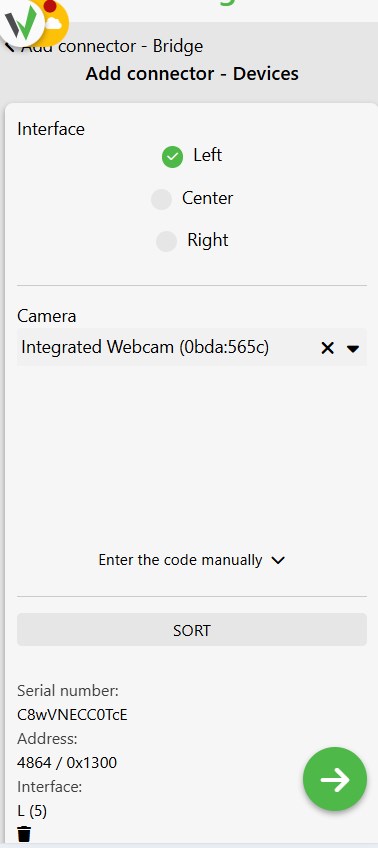
Add connector devices screen with the Left interface option selected and the scanned connector's serial number and address shown below.
We receive a summary of the added connectors.
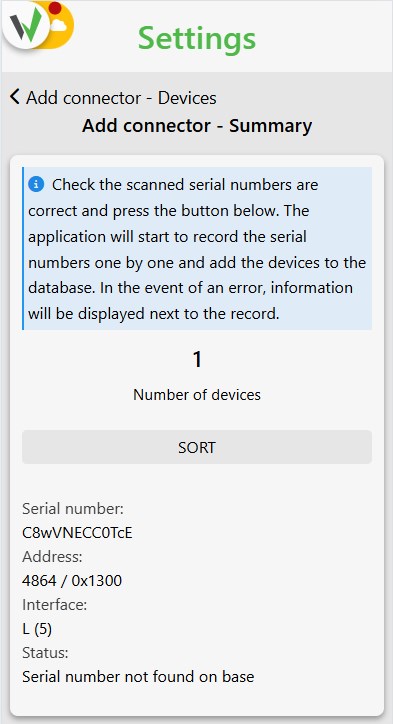
Add connector summary screen showing the scanned connector's serial number, address and interface before saving.
In the next step we go to the configurator Bridge, Channel, Addressing, Subadressing. 
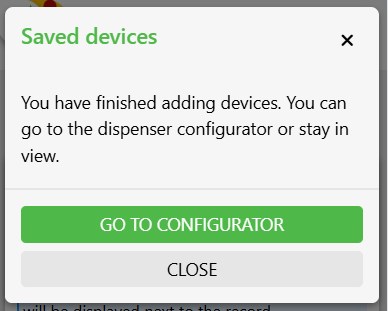
Saved devices dialog confirming the connector was added, with a button to go to the dispenser configurator.
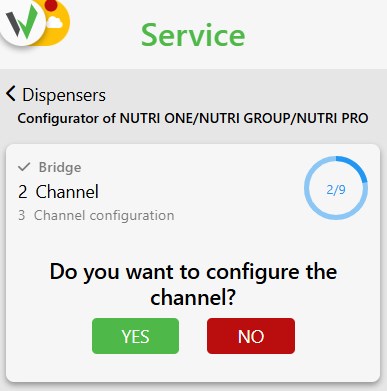
Nutri One/Nutri Group/Nutri Pro configurator step 2 Channel, asking Do you want to configure the channel with Yes and No buttons.
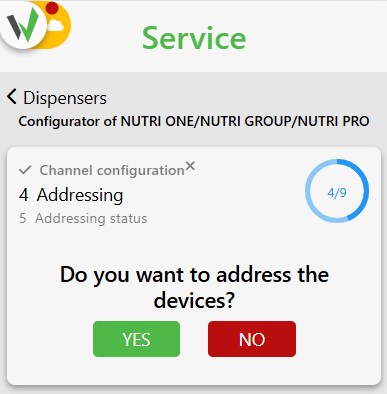
Nutri One/Nutri Group/Nutri Pro configurator step 4 Addressing, asking Do you want to address the devices with Yes and No buttons.
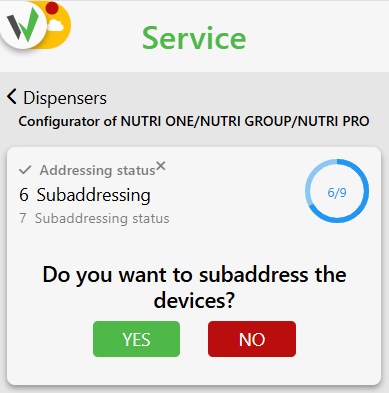
Nutri One/Nutri Group/Nutri Pro configurator step 6 Subaddressing, asking Do you want to subaddress the devices with Yes and No buttons.
Updated on 2026-07-23
Was this article helpful?

Related Articles

Need Support?
Can't find the answer you're looking for?
Contact Support

Leave a Comment