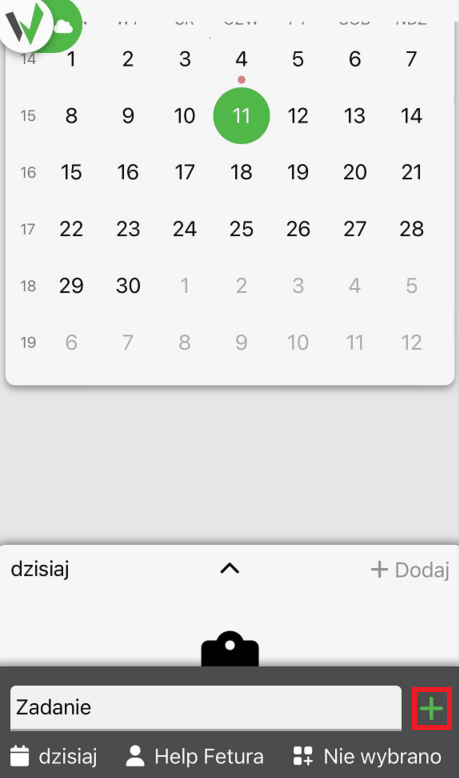
The guide is divided into multiple sections, each one showing step-by-step how to add a task for a specific day depending on the tab where you want to add the task and the device you are using.
Browser application
General tab
When you enter the farm, you automatically find yourself in the general tab, where you can see the calendar.
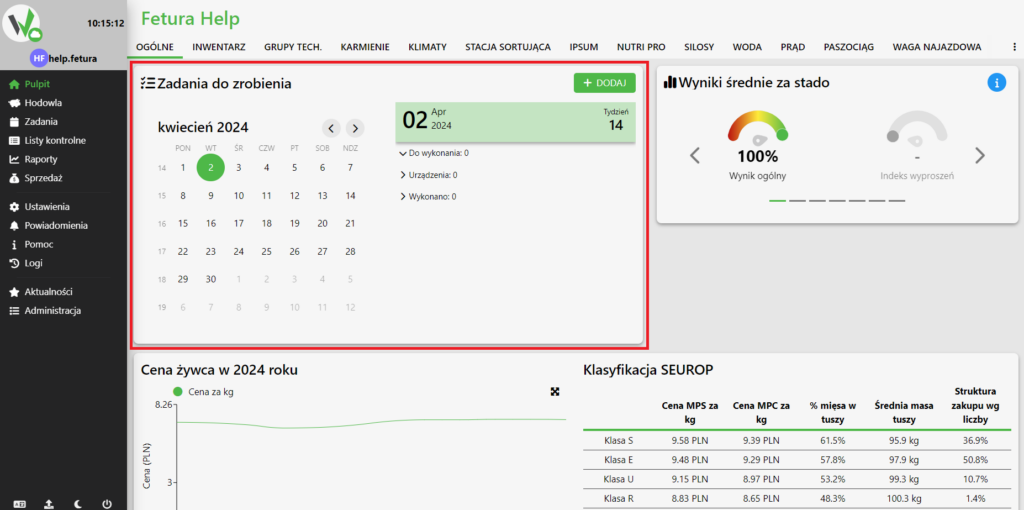
Adding a task
To add a task, click the “ADD” button.
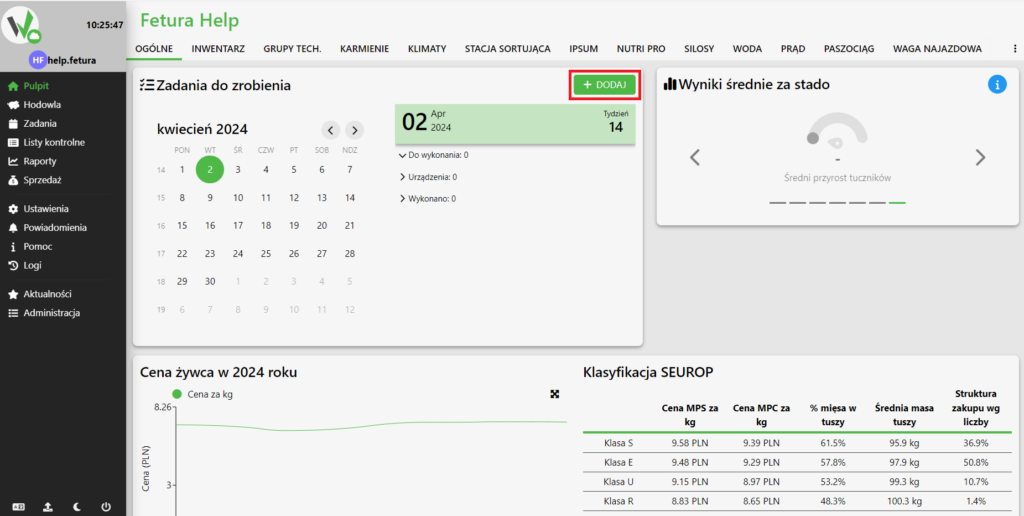
Filling in the task data
After clicking the button, a window with the task data appears to us. It is mandatory to give its title and date. The date is automatically set to today, if you want to change it you need to enter it in the field or select a day from the calendar after clicking the icon.
The other fields are optional and do not need to be filled in to add a task.
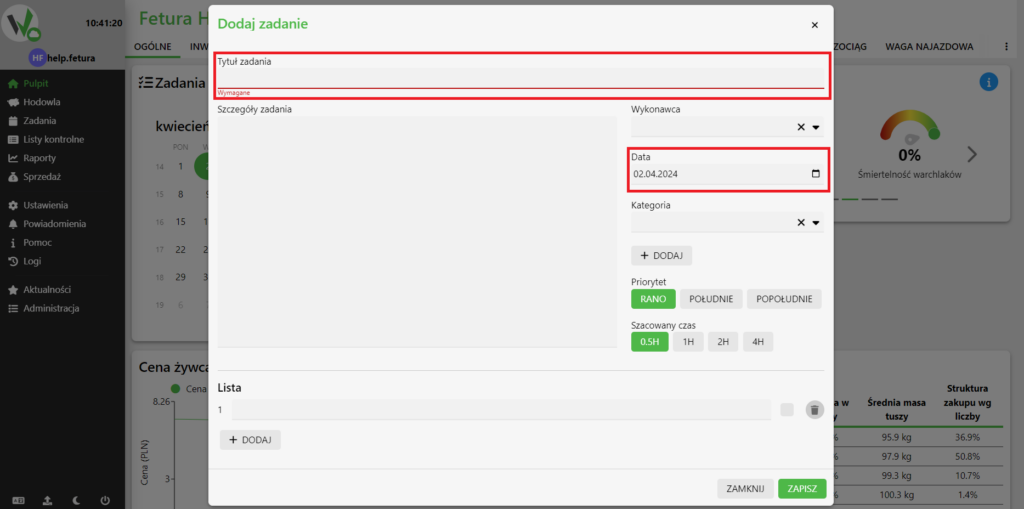
After completing the data, click the “SAVE” button.
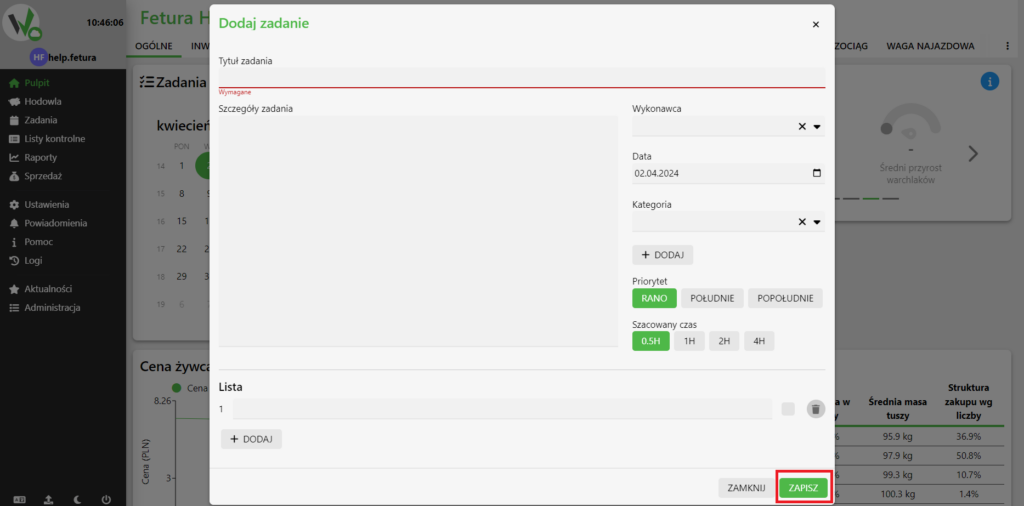
Adding a task in the “TASKS” tab.
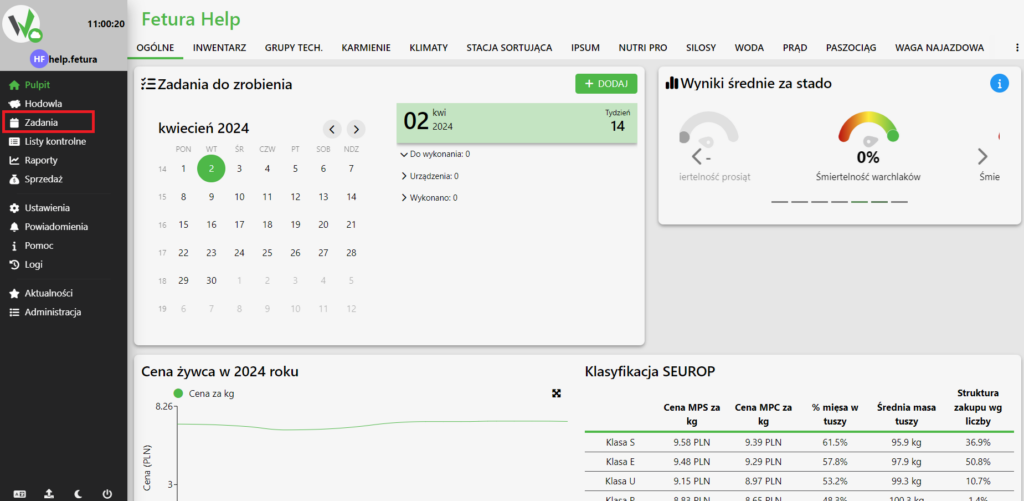
To switch to the “TASKS” tab, select it from the side bar.
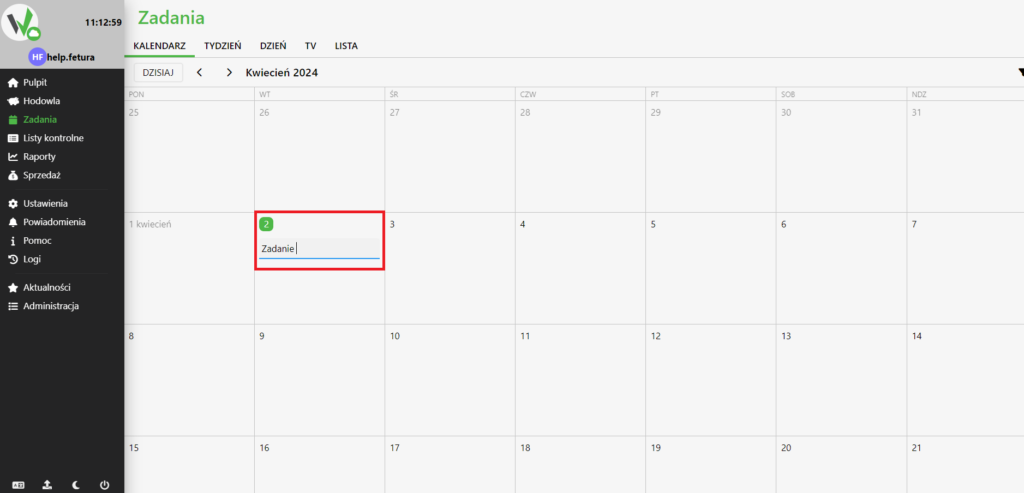
Calendar view
After entering the tab, we find ourselves on the calendar view. To add a task on it, click on the desired day and enter the title of the task. After typing the title, click “ENTER” on the keyboard, or click outside the title entry box.
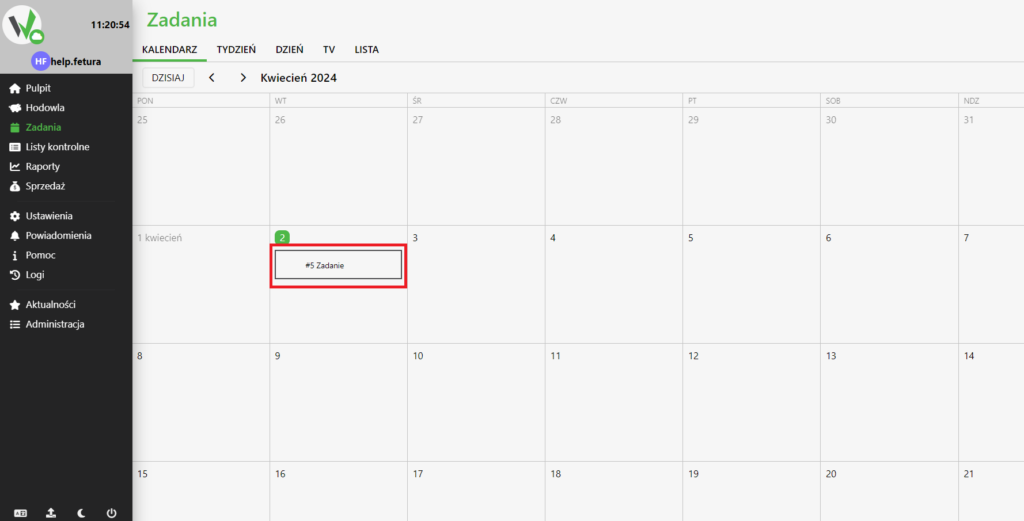
Completion of additional data
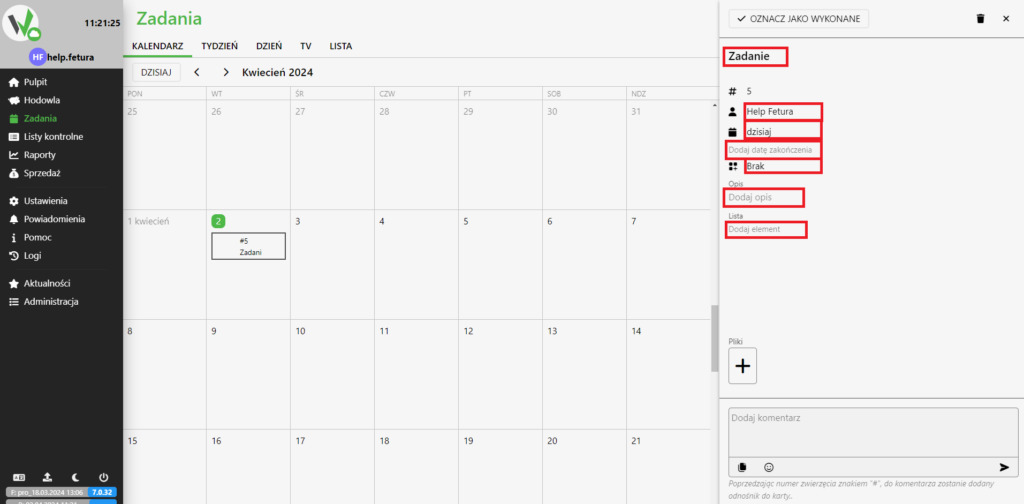
If you want to supplement the task with additional data, click on it.
After selecting a task, a tab with its current data appears on the right. By clicking on each of the selected fields, we can change its value.
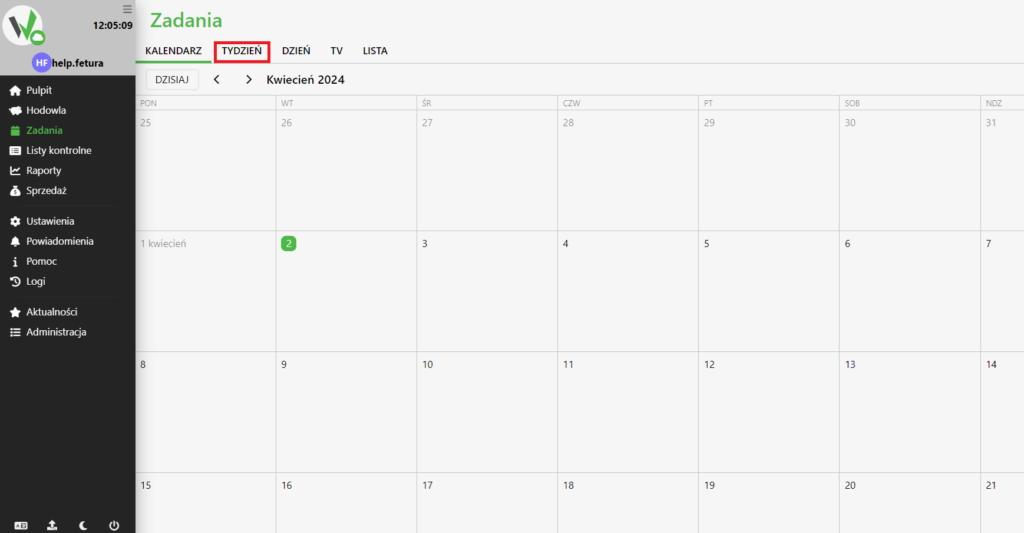
Adding a task in the “WEEK” tab.
To go to the “WEEK” tab, click it.
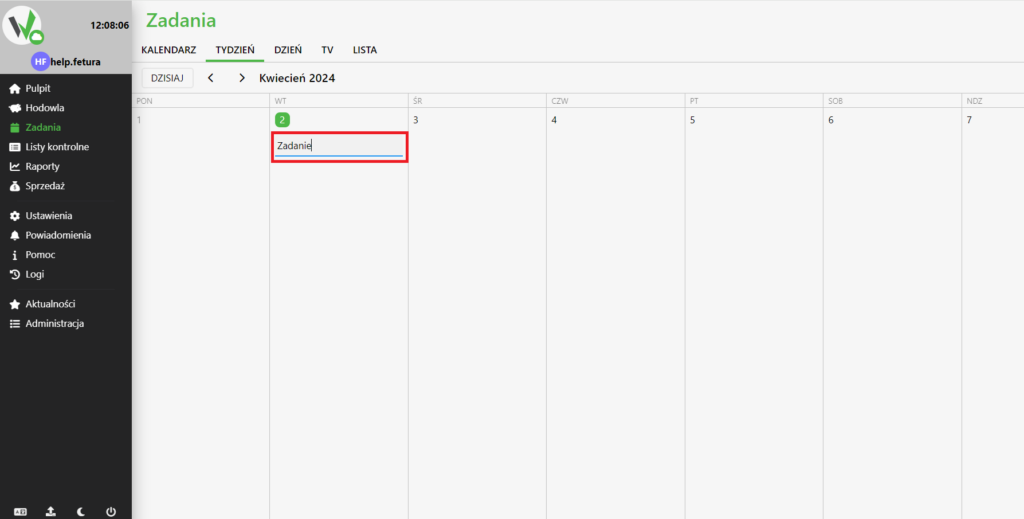
To add a task on it, click on the desired day and enter the title of the task. After typing the title, click “ENTER” on the keyboard, or click outside the title entry box.
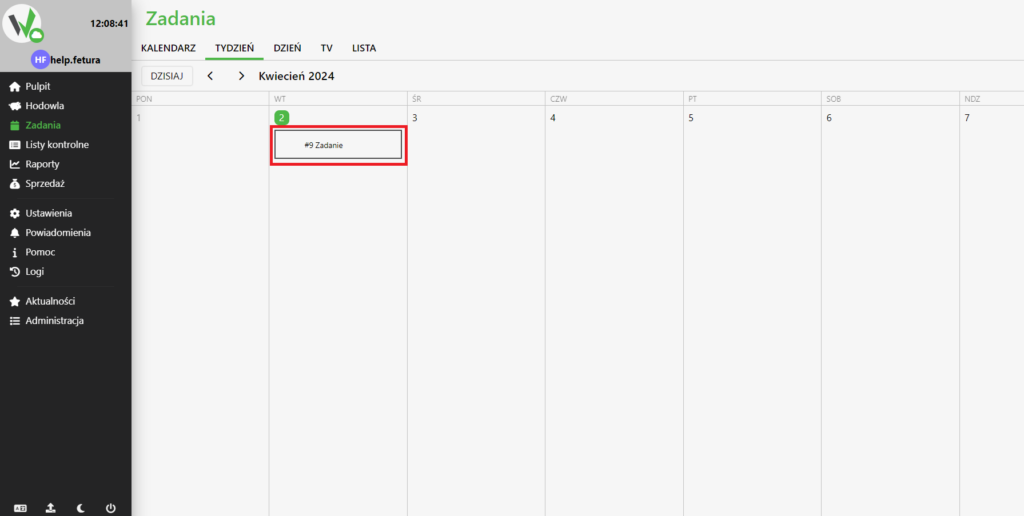
Completion of additional data
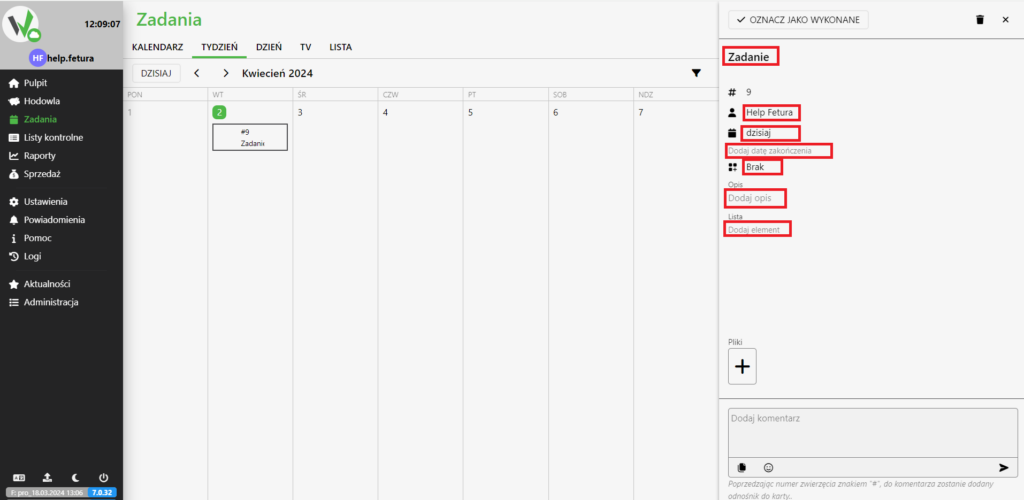
If you want to supplement the task with additional data, click on it.
After selecting a task, a tab with its current data appears on the right. By clicking on each of the selected fields, we can change its value.
Adding a task in the “LIST” tab.
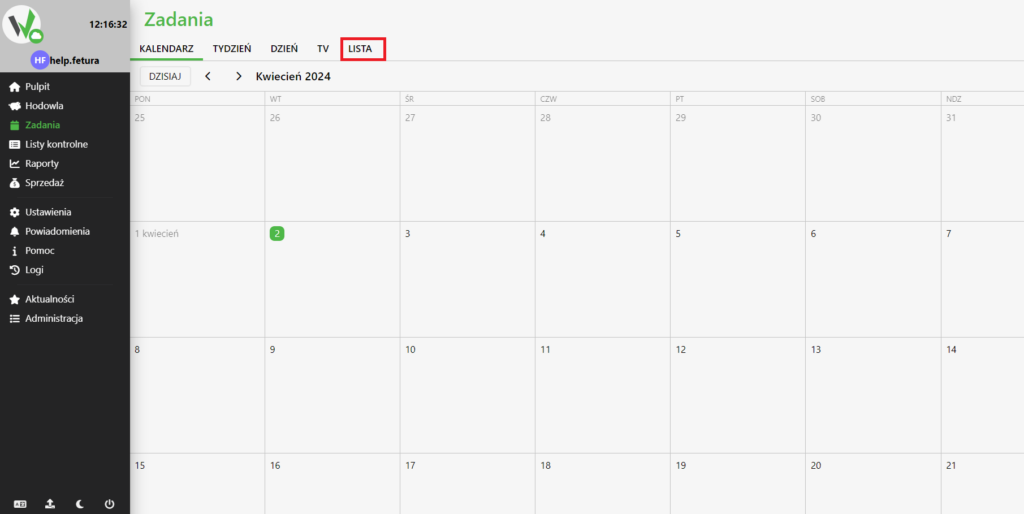
To go to the “LIST” tab, click it.
Adding a task
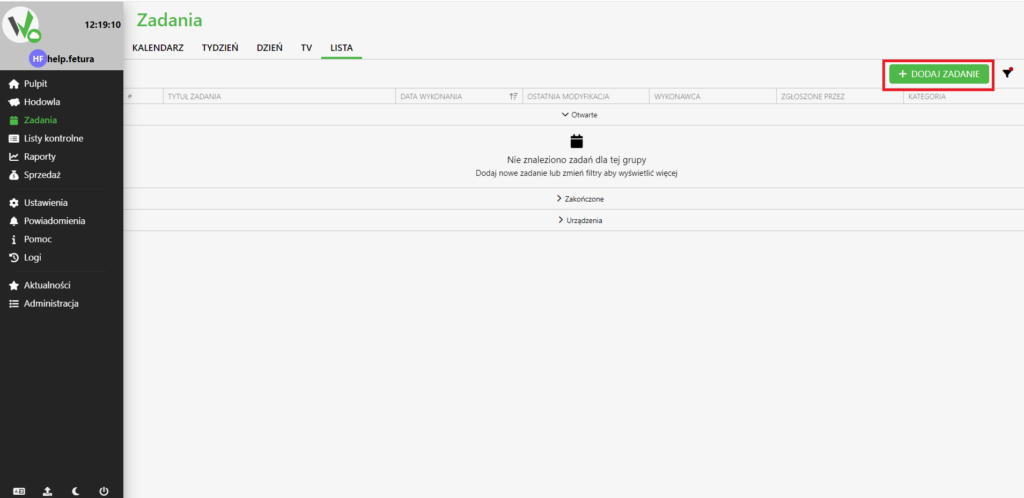
To add a task, click the “ADD TASK” button.
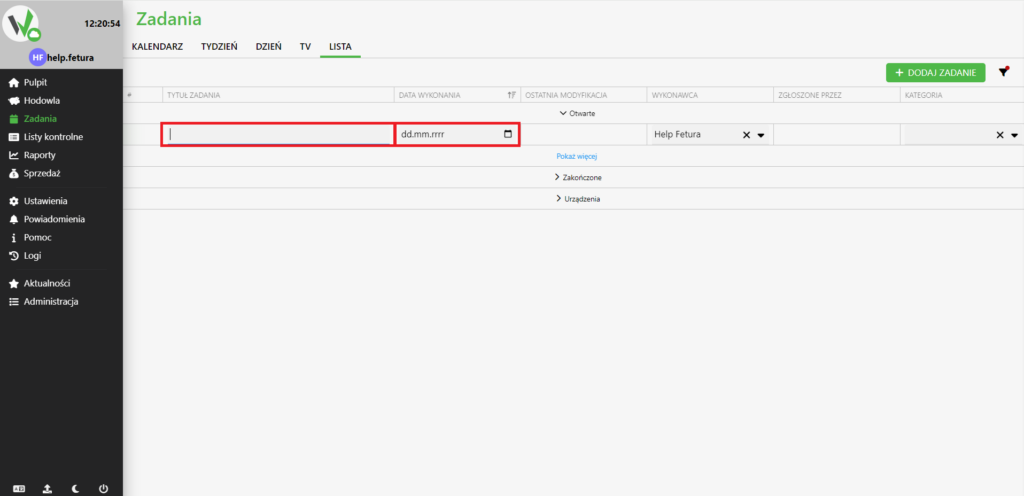
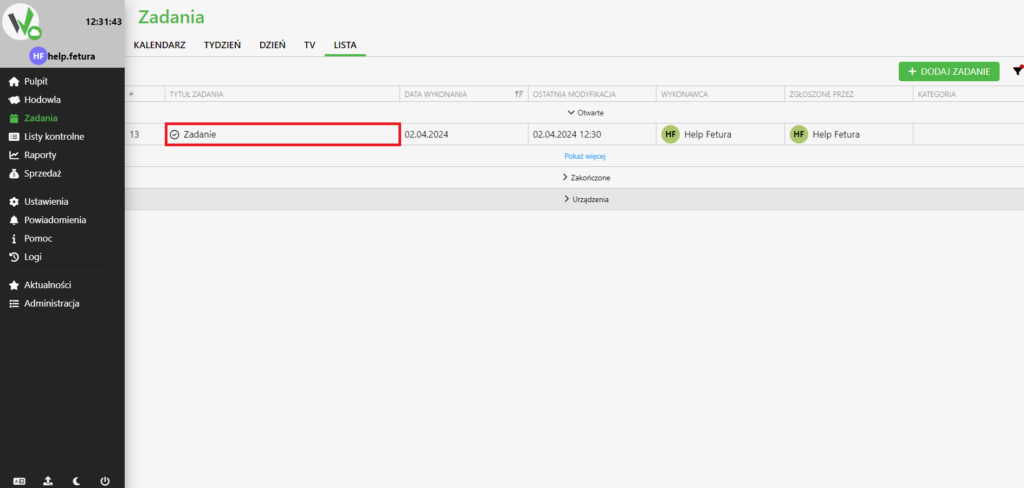
After clicking the button, a new task will appear, to which you need to give a title and a date. Optionally, you can also change the contractor of the task and give it a category.
After entering the data, click “ENTER” on the keyboard, or click outside the input fields.
Completion of additional data
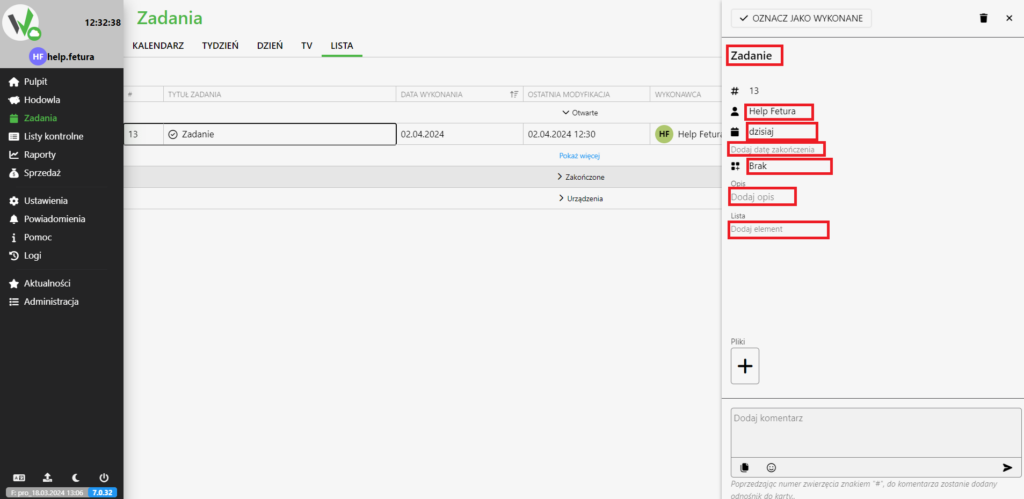
If you want to supplement the task with additional data, click on it.
After selecting a task, a tab with its current data appears on the right. By clicking on each of the selected fields, we can change its value.
Mobile application
Adding a task on the main view
Adding a task
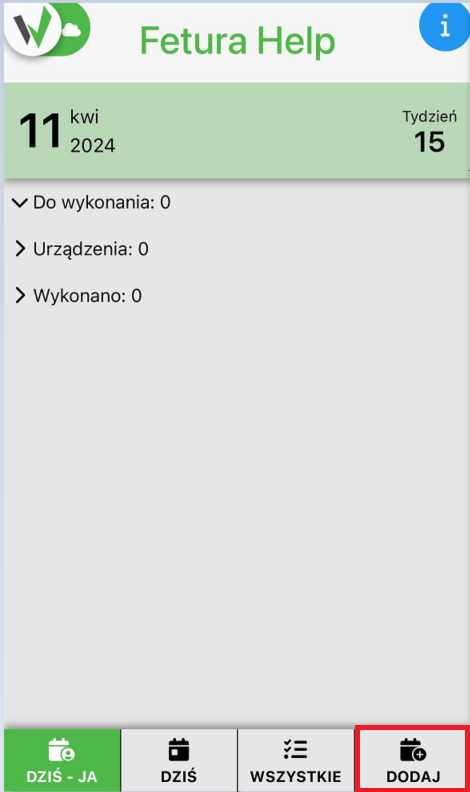
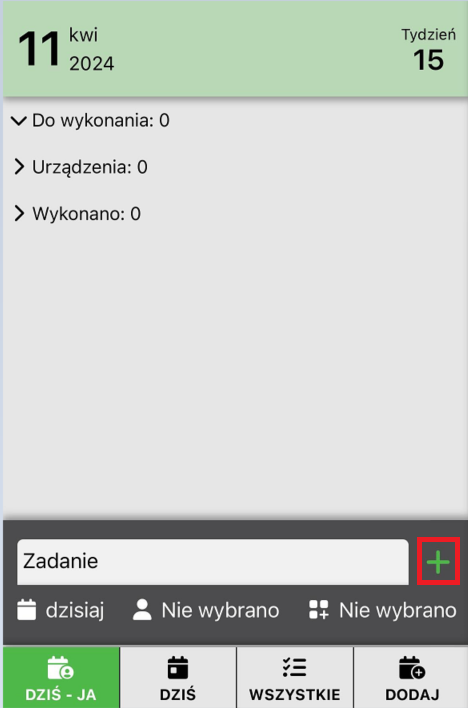
After opening the application, enter the farm. On the main view you can see the “ADD” button. Click it to add a task.
Data completion
When you click the button, a tool for completing the task data will slide out. In it, give the title of the task and select the date of the task. In addition, you can also assign a user to a task and select its category.
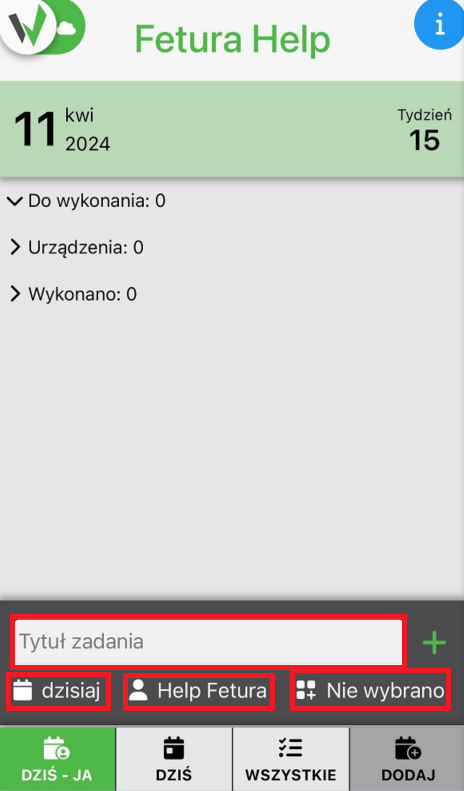
After completing the data, click the add task button.
Adding a task in the calendar
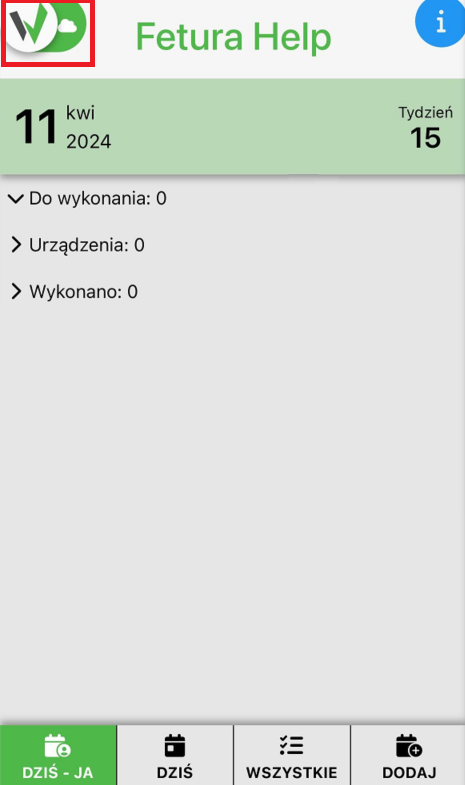
To add a task on the calendar view, open the side panel by clicking on the button.
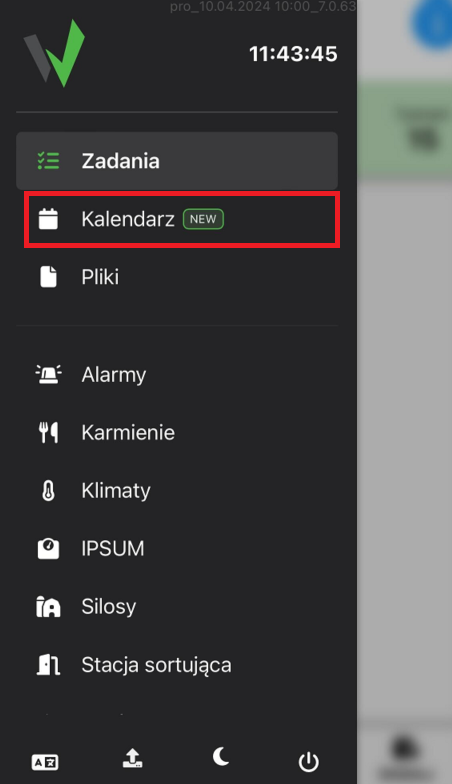
Then go to the “Calendar” tab.
Adding a task
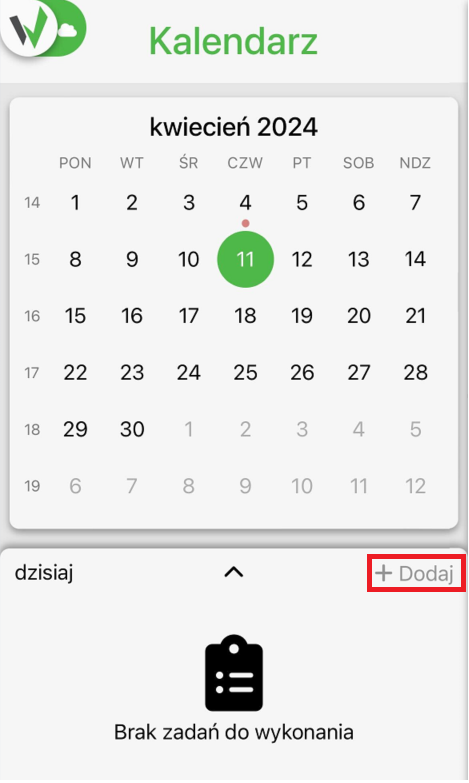
Once in the calendar view, click the “Add” button.
Data completion
When you click the button, a tool for completing the task data will slide out. In it, give the title of the task and select the date of the task. In addition, you can also assign a user to a task and select its category.
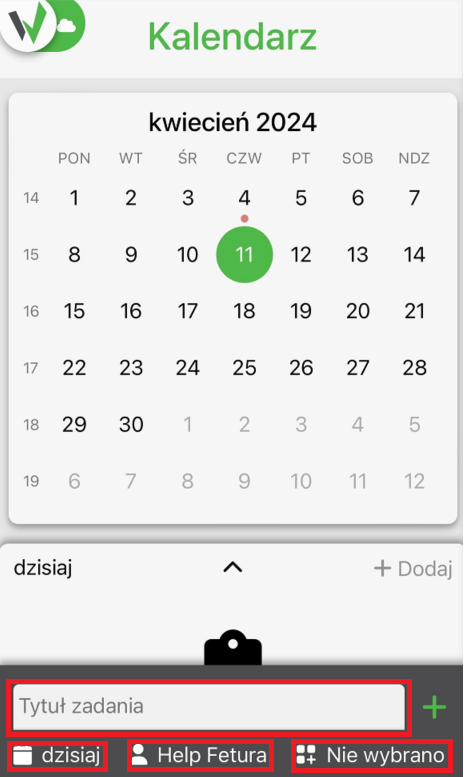
After completing the data, click the add task button.