Breeding
After logging in and entering the farm, go to the “Breeding” tab.
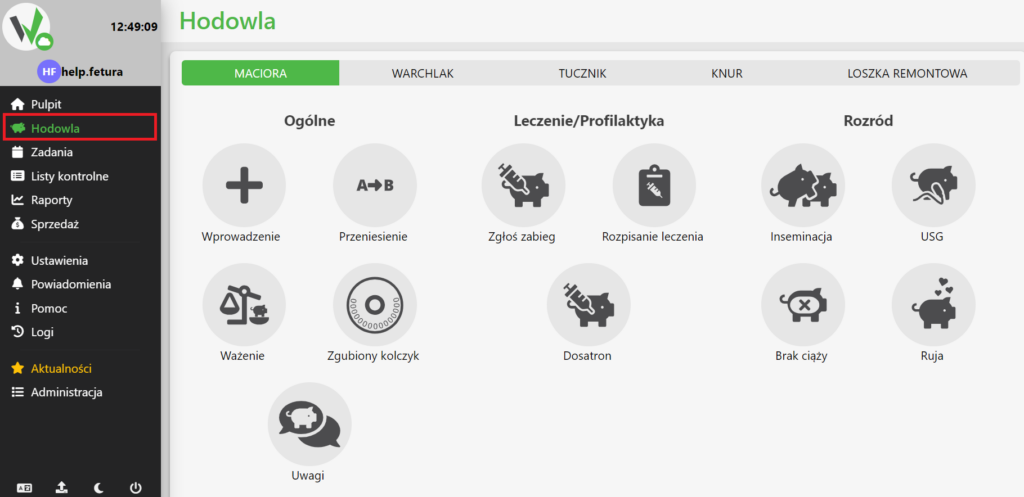
Porker bookmark
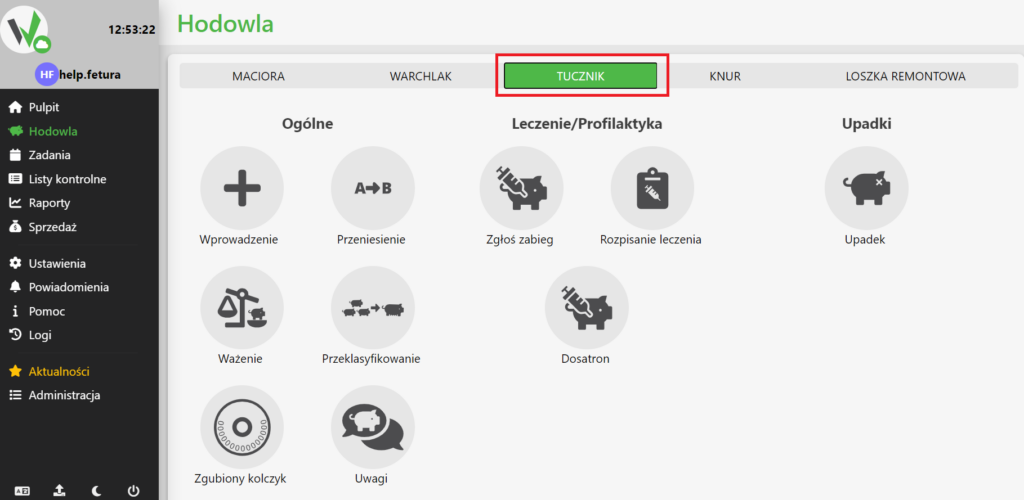
In the breeding panel, find the tab titled “Fattening” and click it.
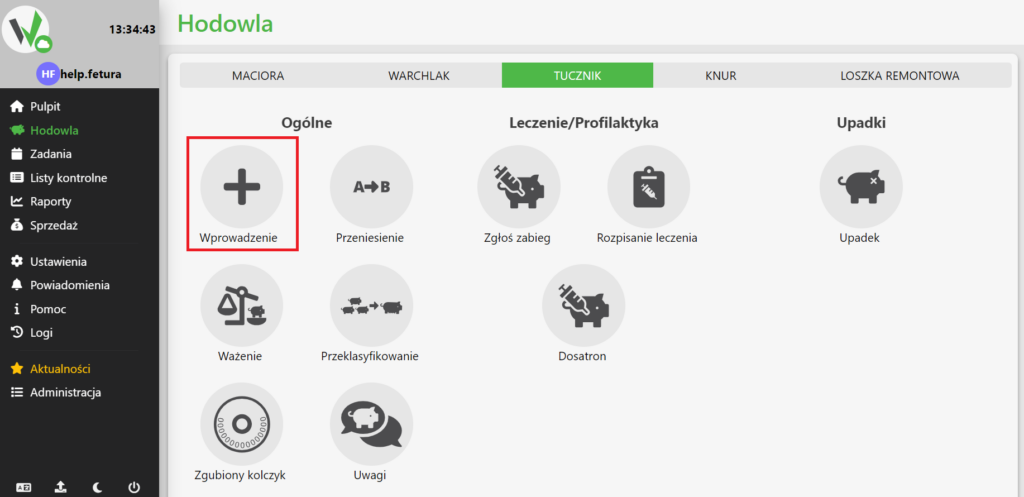
RFID porker introduction
In the fattening tab, there is a button labeled “Introduction.” Click it to proceed to the selection of the type of data to be entered.
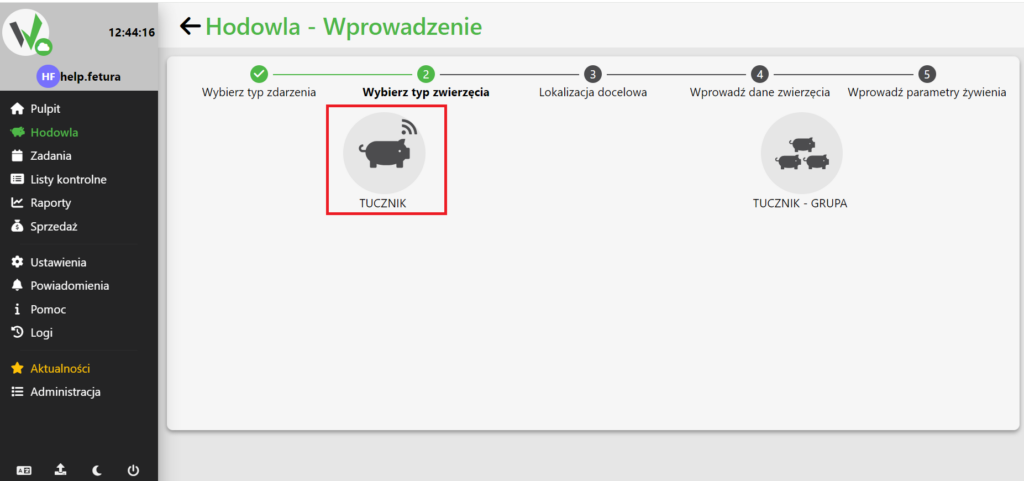
Selection of the type of animal to be introduced
After clicking the “Input” button, select “FATHER” to enter the data for the RFID porker.
Sector selection
In this step, select the sector where the fattening pig is to be entered. To select a sector, type its name in the field, or click it and select a sector from the list.
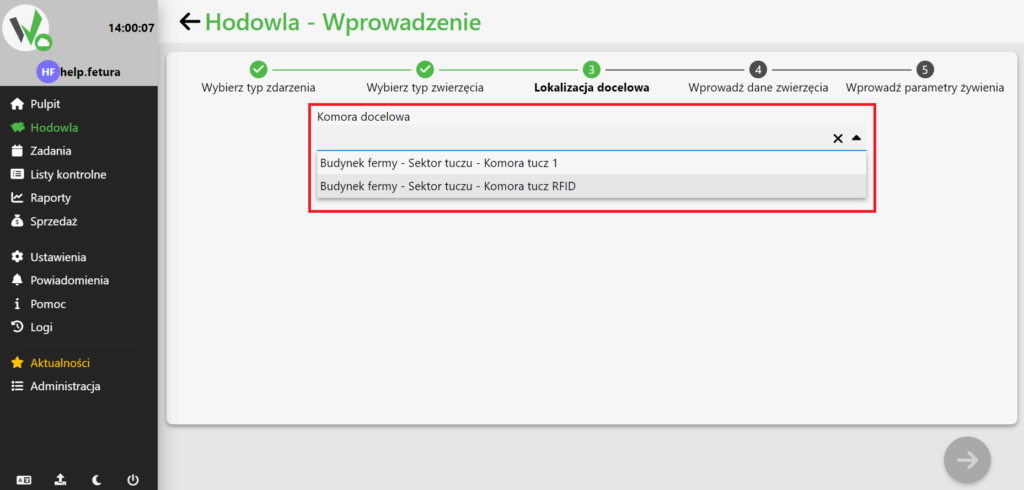
If there are no sectors on the farm yet, use the following guide.
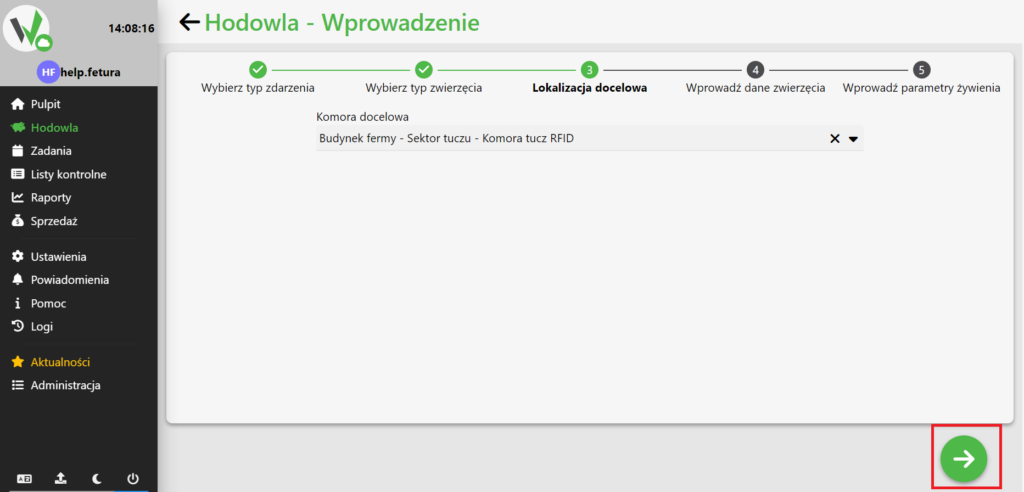
After selecting a sector, click the button in the lower right corner to go to the RFID porker entry form.
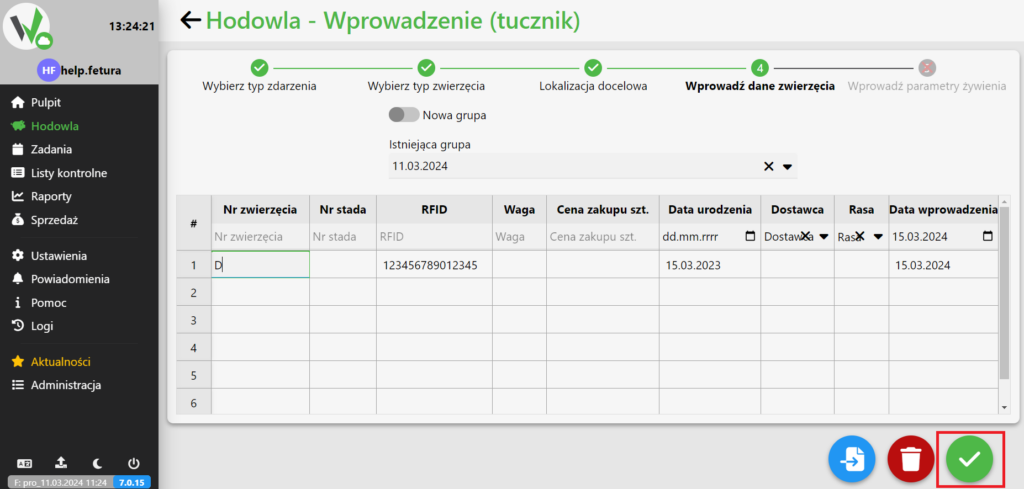
RFID porker data entry
If the RFID porker is to be in a new group, click the “new group” button and enter the name you want the group to have.

If, instead of creating a new group, we want to join a porker to an existing group, we should enter the name of the group in the highlighted box, or select it from the list after clicking on the box.
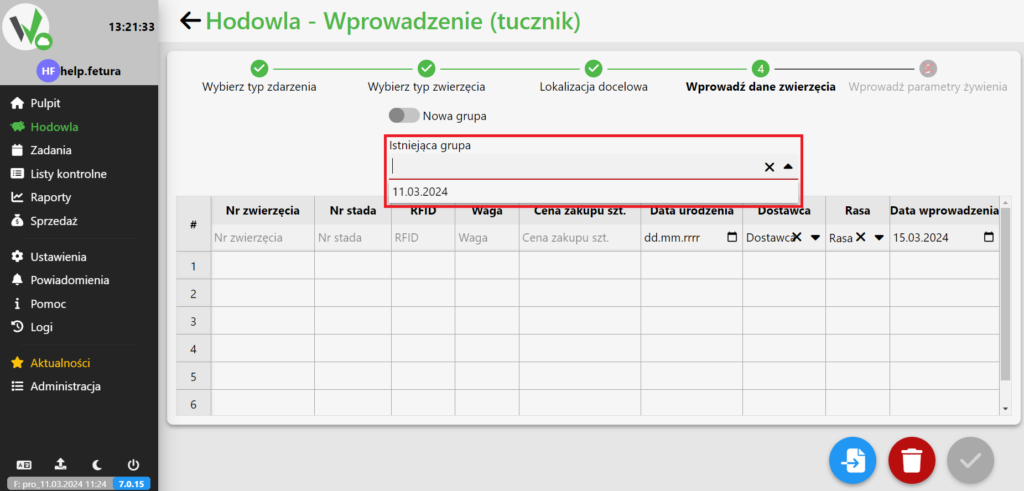
The image below highlights the mandatory fields. You need to fill them out so that RFID porker insertion is possible. Fields that are not marked are optional and may not be filled in.
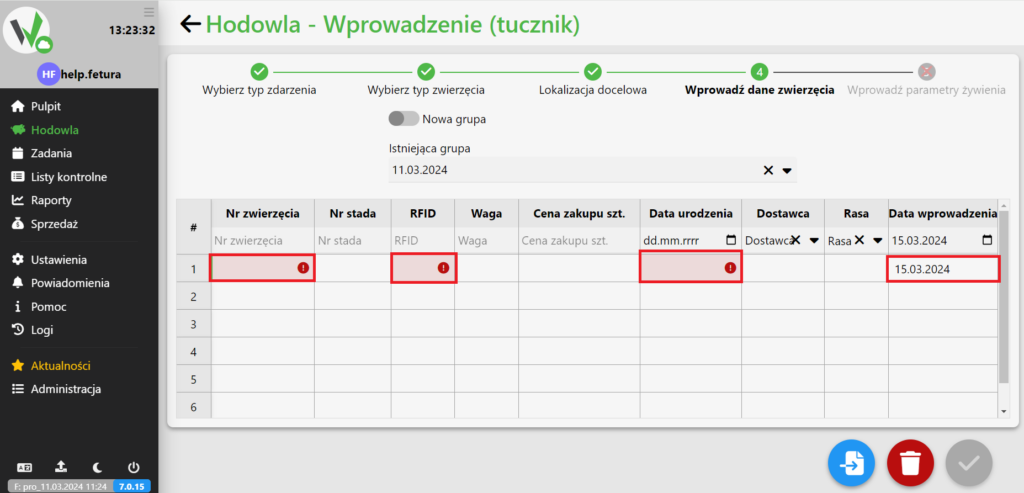
After completing the form, click the highlighted button to create an RFID porker.