1. Home
  2. Getting Started
  3. How to install an offline application?

How to install an offline application?

  1. Download the latest version of the Fetura CLOUD application and double-click on the downloaded file to start installing the application.
  2. https://help.fetura.pl/wp-content/uploads/2024/03/Fetura-CLOUD-1.0.1-Setup.exe_.zip
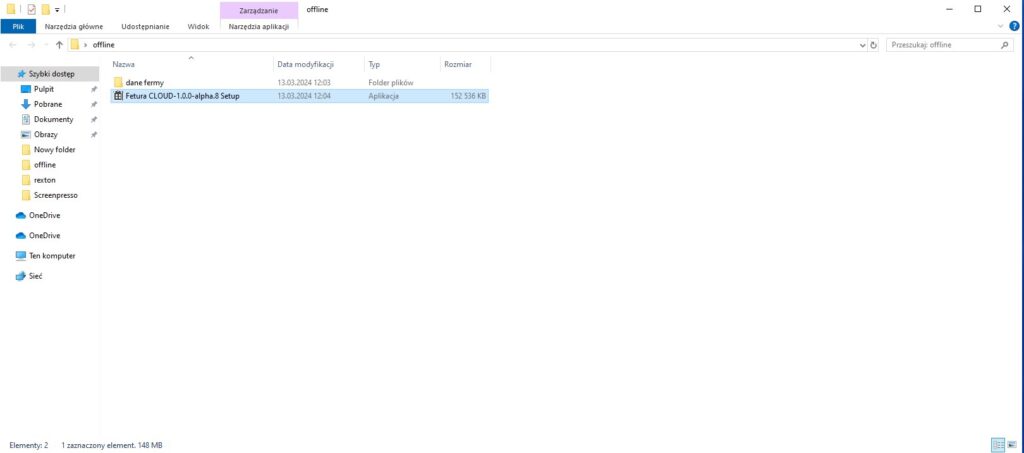
Windows File Explorer showing the downloaded Fetura CLOUD installer file (Setup.exe), ready to double-click to start the installation.
Installation file
  1. A Windows window will appear -> click on the “More information” link.
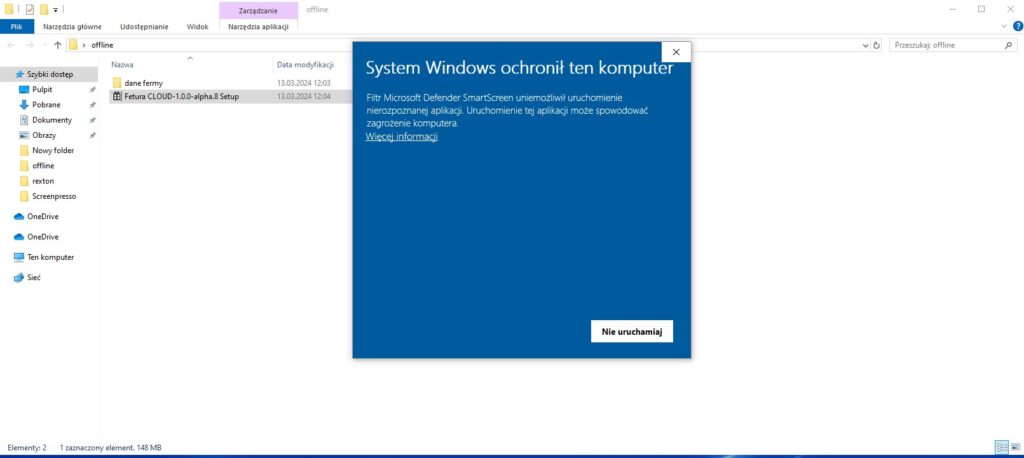
Windows SmartScreen security warning stating the app publisher is unrecognized, with a "More info" link to proceed with the installation.
Security Alert
  1. A message will appear with the type of application. In order to install the application, we select the “Run anyway” option.
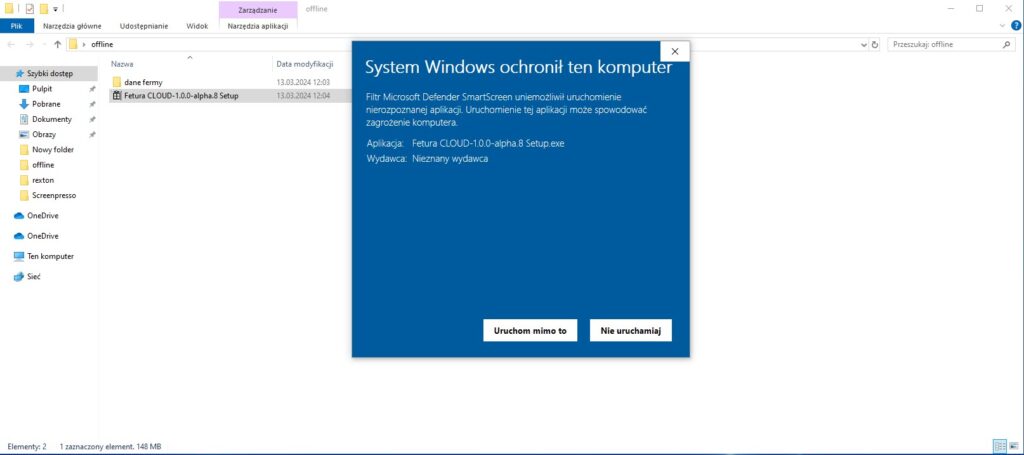
Expanded Windows SmartScreen dialog showing the application name and publisher, with the "Run anyway" button used to continue the installation.
Commissioning the installation
  1. After installing the application, the application login screen will automatically open for us and an application icon named “Fetura CLOUD” will appear on the desktop.
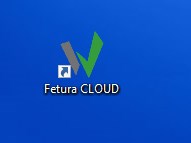
Fetura CLOUD application icon on the Windows desktop after installation completes.
The icon of the “Fetura CLOUD” application on the desktop.
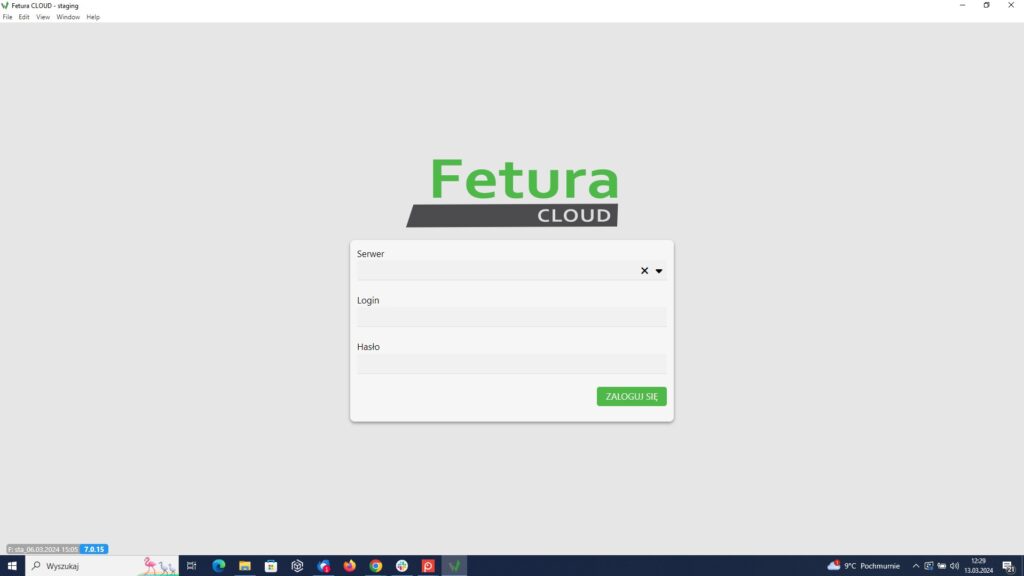
Fetura CLOUD login screen with empty Server, Login and Password fields and a green "ZALOGUJ SIĘ" (Log in) button.
Login screen
  1. We choose the server to which we want to log in and provide authorization data.
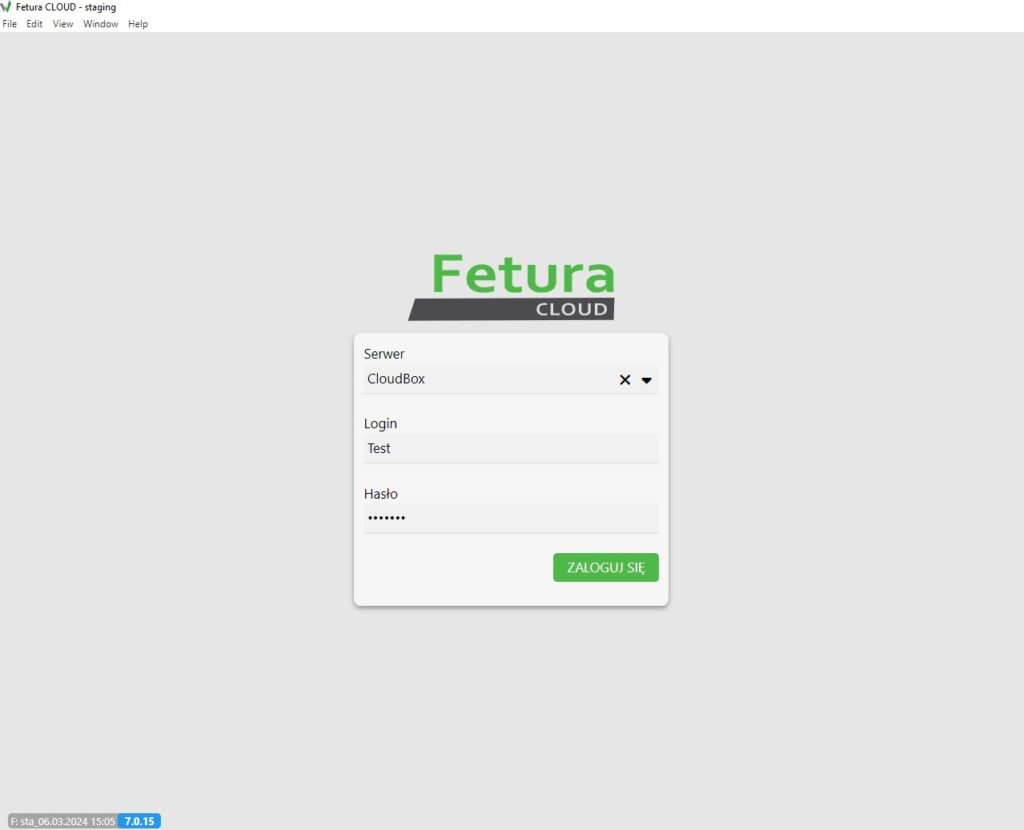
Fetura CLOUD login screen with the server set to CloudBox and the Login and Password fields filled in, ready to log in.
Login screen with selected server and user details
  • If you enter an incorrect login or password, reload / refresh the application using the keyboard shortcut CTRL + Shift + R or from the top menu select: View -> Force Reload .
  1. After a correct login if the computer has access to the Internet, the application will automatically load the farm data.
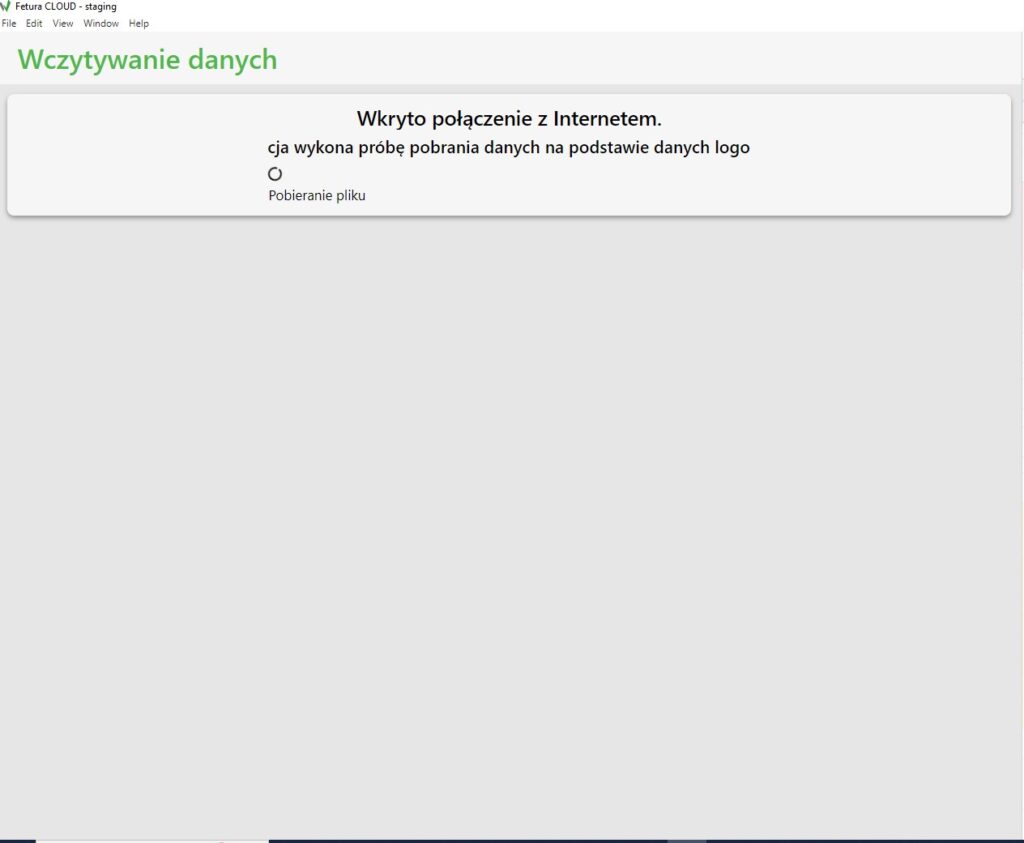
Fetura CLOUD "Loading data" screen automatically downloading farm data after detecting an internet connection.
Loading farm data after detecting Internet connection

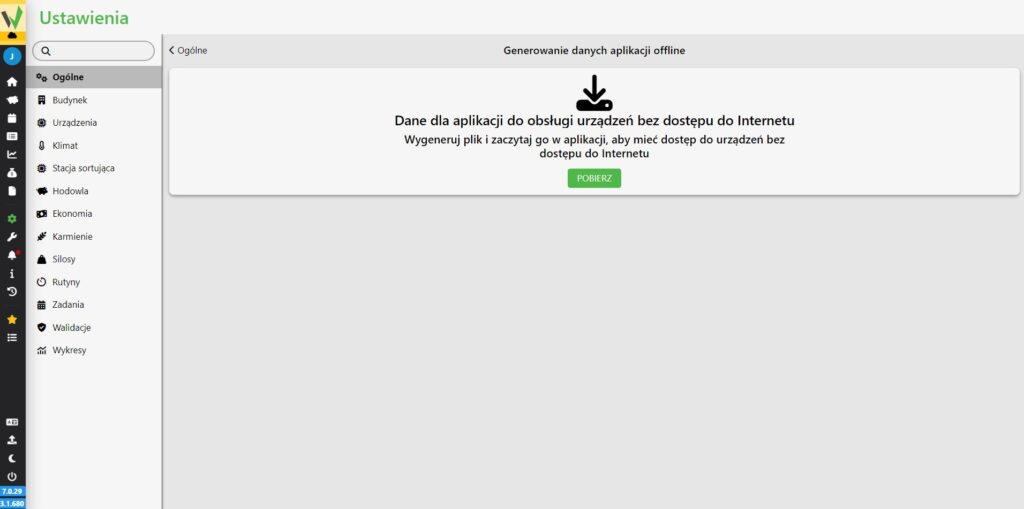
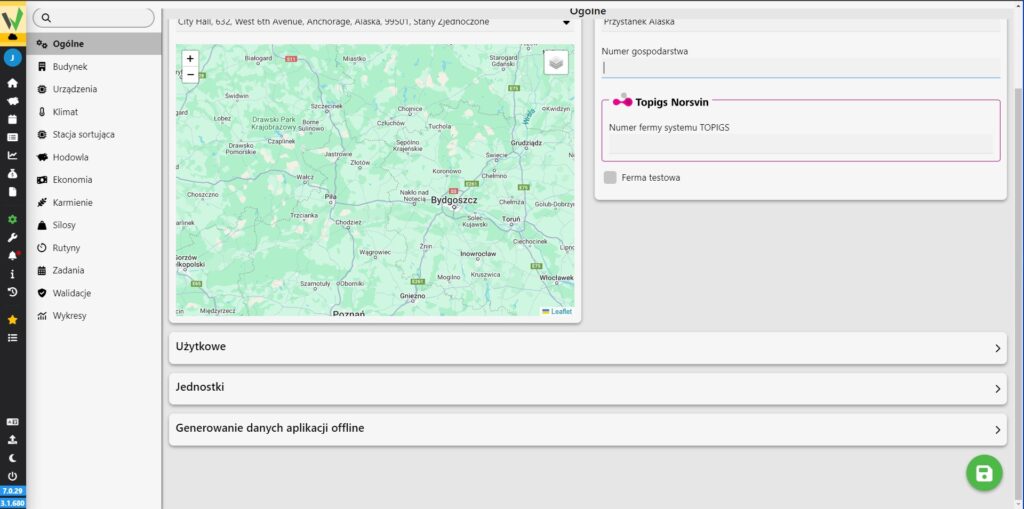
7. If you do not have access to the Internet, it will be necessary to generate a file with the farm’s data. To do this, on a workstation that has Internet access in the web application, go to: Settings -> General -> Generate offline application data -> DOWNLOAD
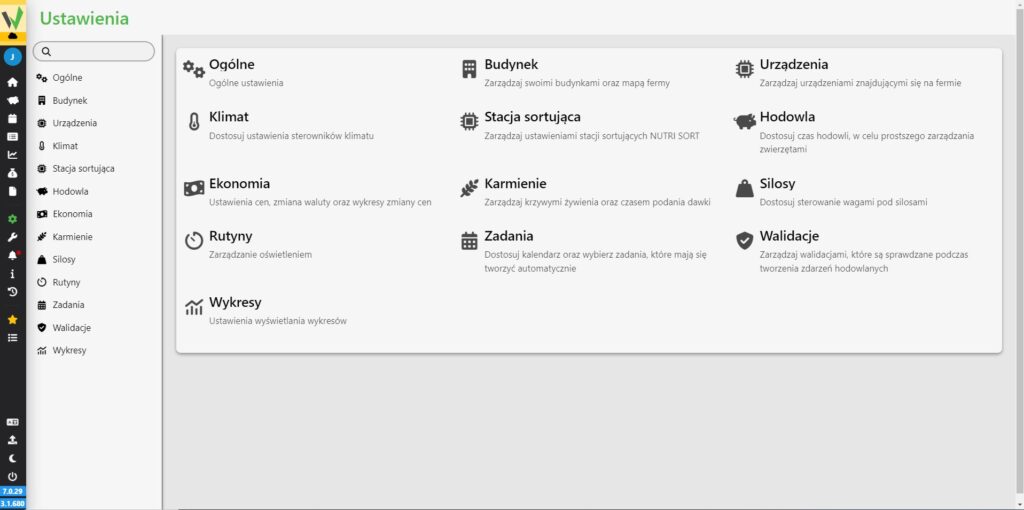
Fetura CLOUD Settings menu listing all configuration sections, including General, used to reach the offline data generation option.
Settings
Settings > General page showing the farm map and the collapsed "Generate offline application data" section at the bottom.
Settings -> General
"Generate offline application data" page with the green DOWNLOAD button used to create the farm data file.
Settings -> General -> Generate offline application data
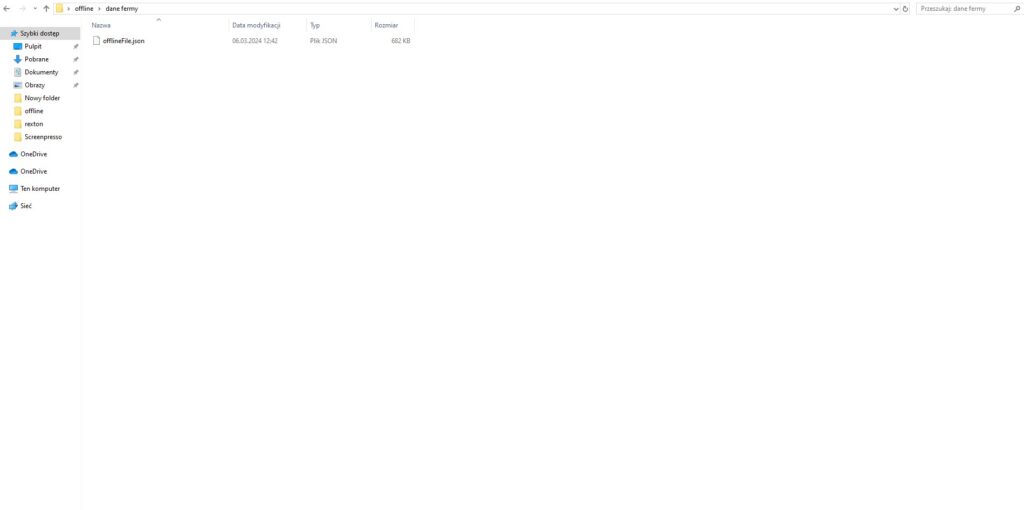
Windows File Explorer showing the generated offlineFile.json farm data file inside the farm data folder.
Farm data file
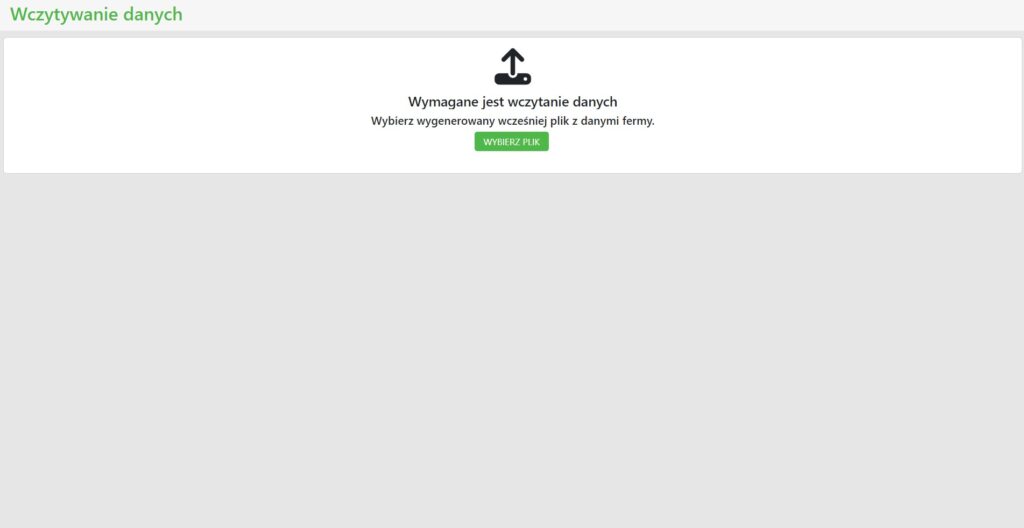
  • After correct logging in if the computer in question does not have access to the Internet, the generated file with the farm data should be loaded into the application.
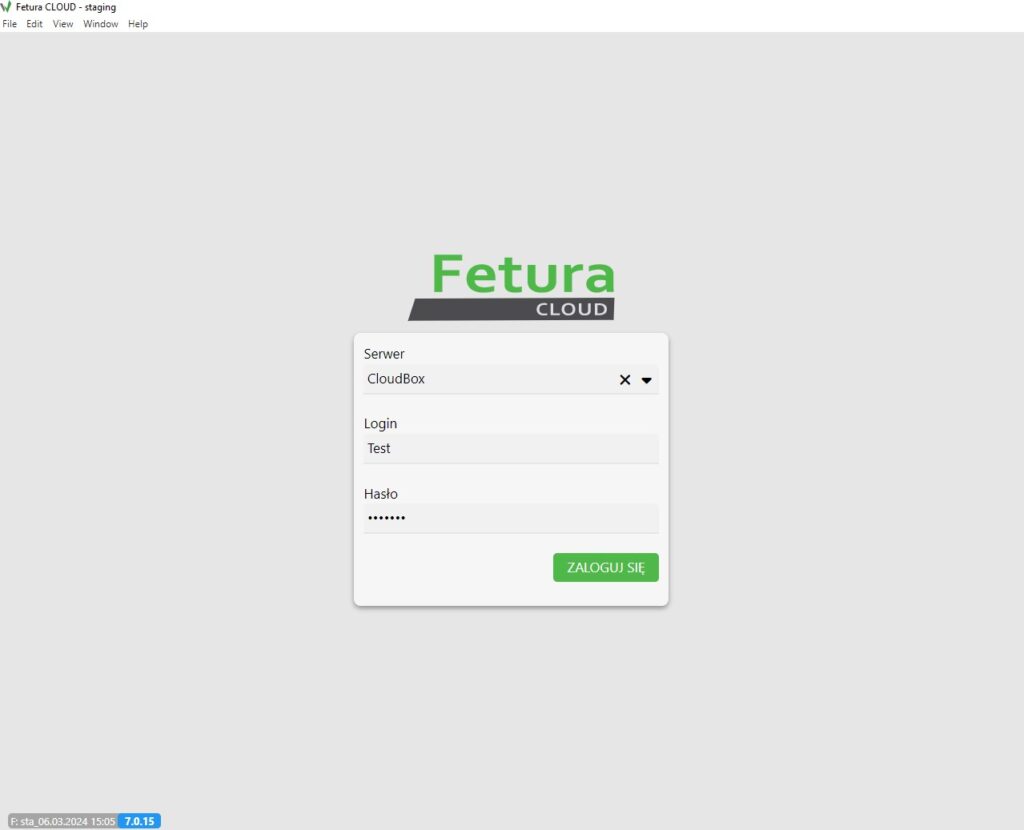
Fetura CLOUD login screen on the offline computer with server, login and password filled in before loading the farm data file.
Login screen with selected server and user details
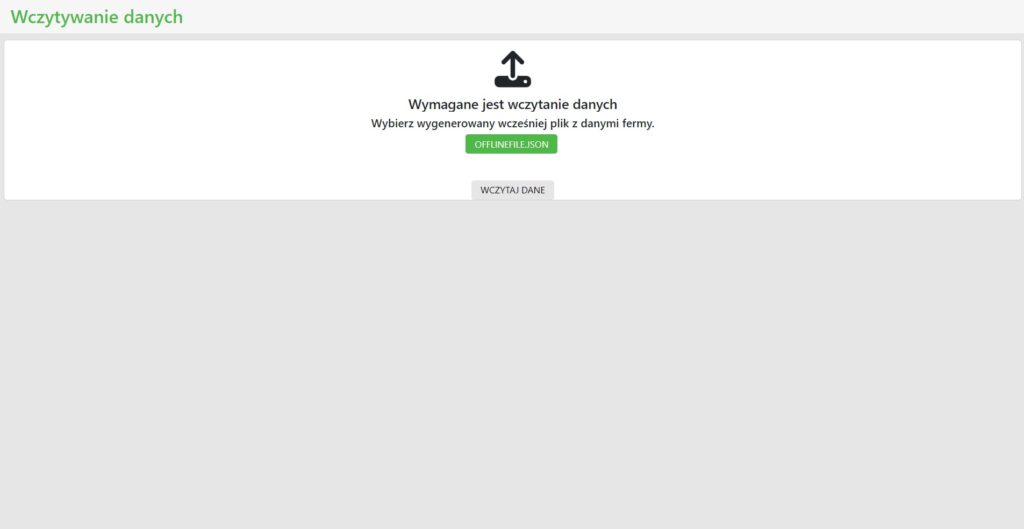
Fetura CLOUD "data loading required" prompt with the green "SELECT FILE" button used to load the previously generated farm data file.
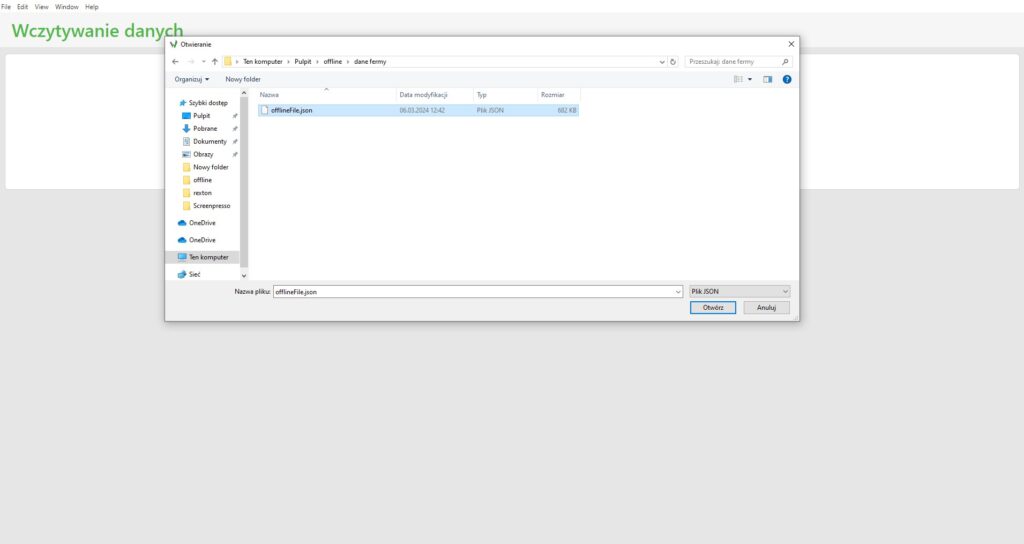
Indicating the location of the farm data file
Windows file selection dialog with offlineFile.json highlighted inside the farm data folder, ready to open.
Indicating the location of the farm data file
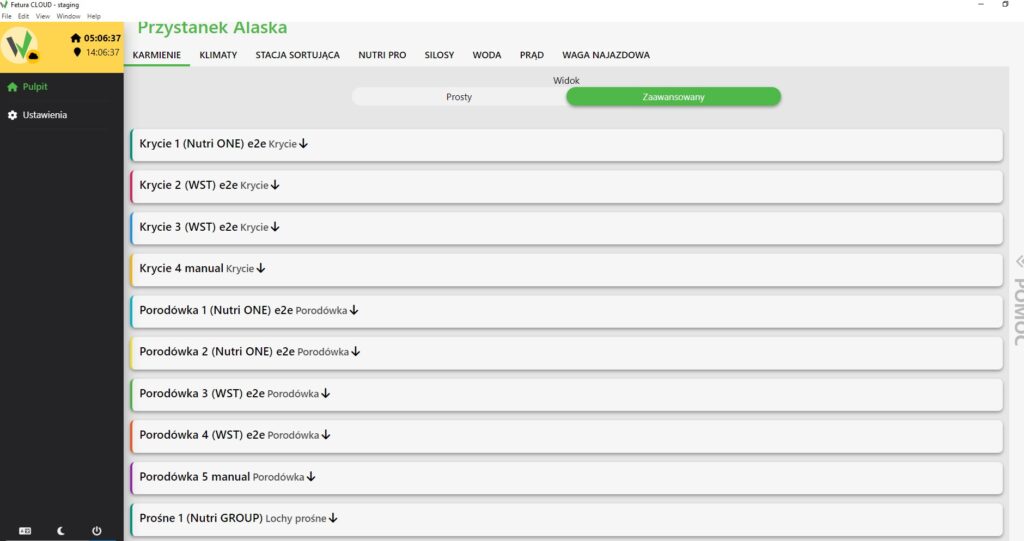
  1. After installation and data loading, we can manage the farm from the “Fetura CLOUD” application without Internet access.
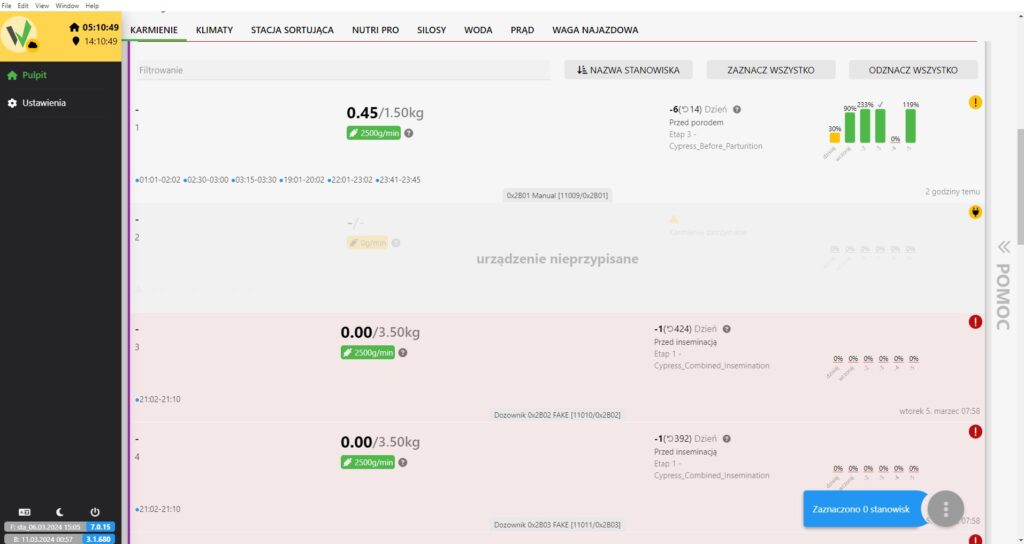
Fetura CLOUD offline feeding management screen showing individual feeding stations with dispensed doses, schedules and status indicators.
Offline feeding management screen
Updated on 2026-07-23
Was this article helpful?

Related Articles

Need Support?
Can't find the answer you're looking for?
Contact Support

Leave a Comment