Once your Esonda is installed and connected to FarmWatch Pro, it’s time for a quick setup. Below are three simple steps to customize the device to your needs.
1. General Settings
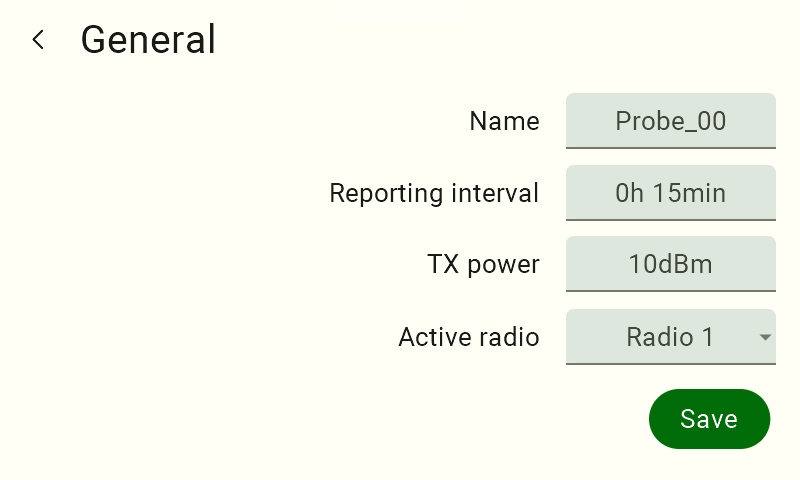
Here, you can rename it and choose how often it should send data.
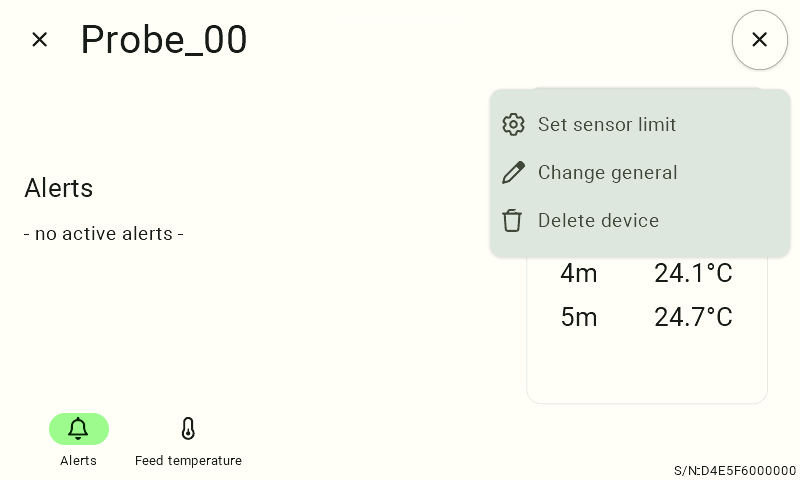
1) Select the esonda you want to configure from the list.
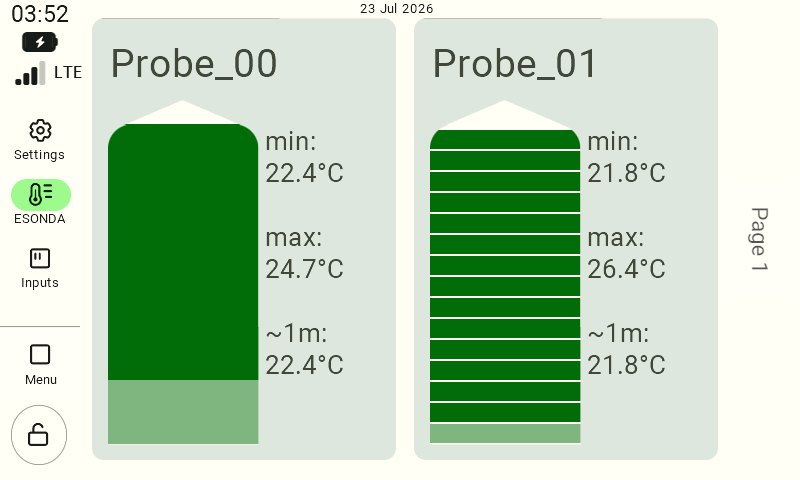
2) Go to the Alerts tab and click the gear icon in the upper-right corner.
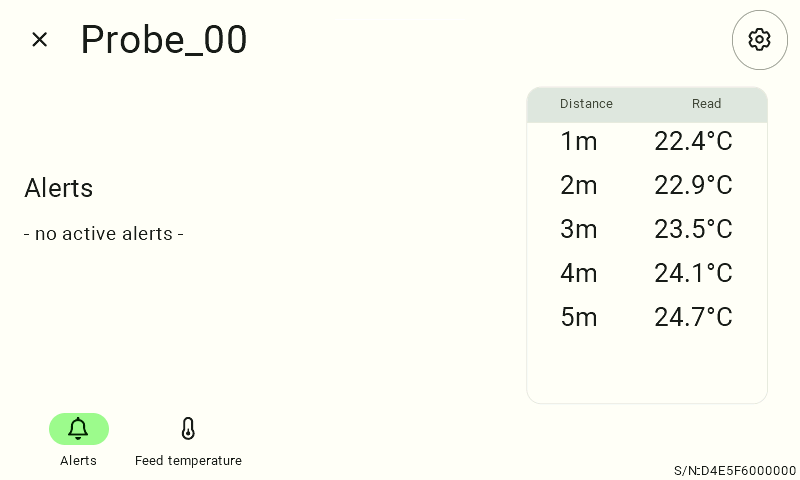
3) Select the “Change General” option.
4) In this window, you can easily change the name, reporting interval, and transmission power, as well as select the radio frequency the device uses to connect to FarmWatch Pro.
2. Alarm Thresholds
The device can automatically notify you if the feed in the silo gets too warm or if there are significant temperature fluctuations.
1) Select the appropriate option.
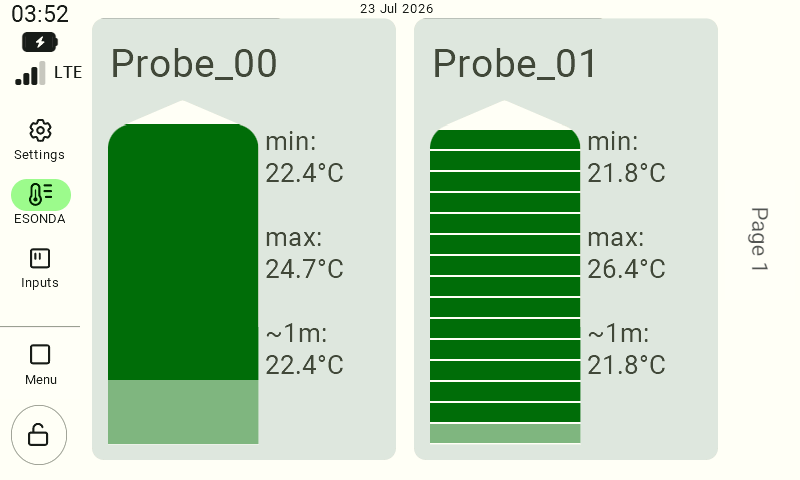
2) Go to the “Feed Temperature” tab.
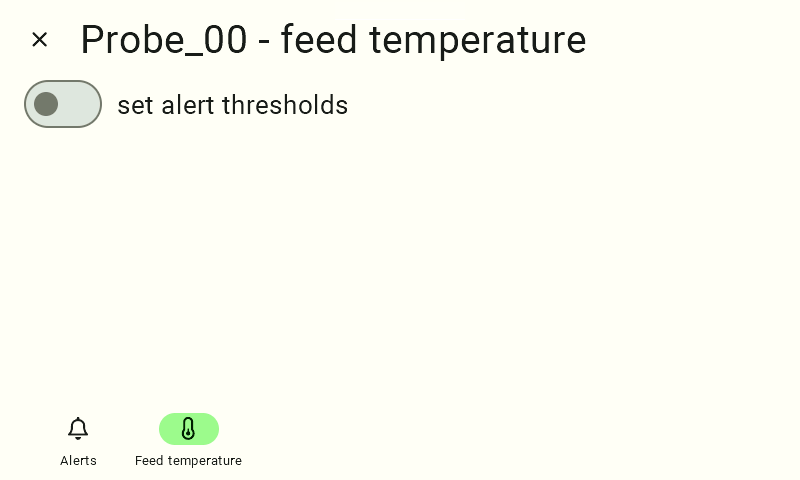
3) Select the “Set Alarm Thresholds” option.
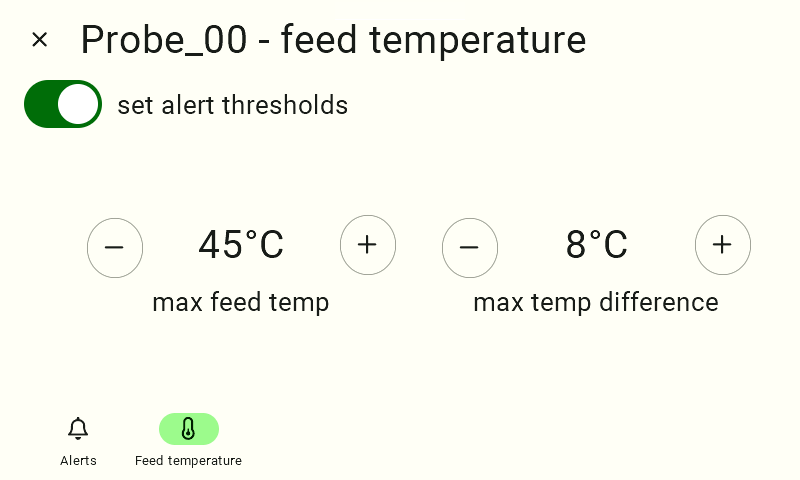
4) Enter the maximum feed temperature and the maximum temperature difference.
3. Sensor Limit
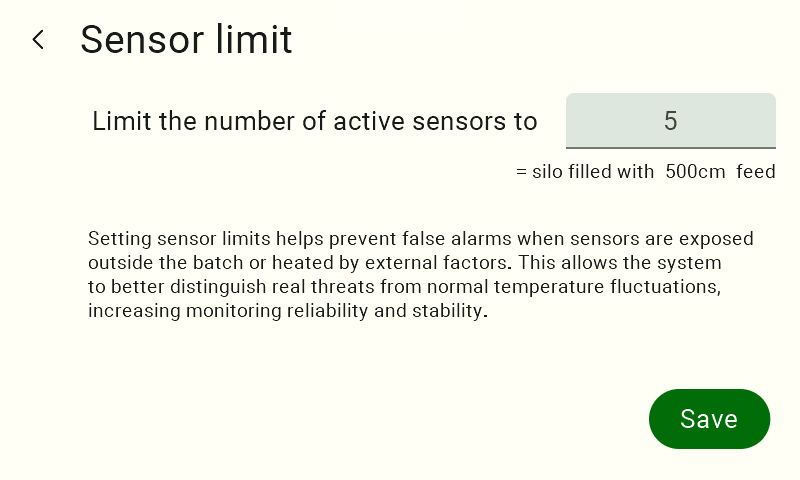
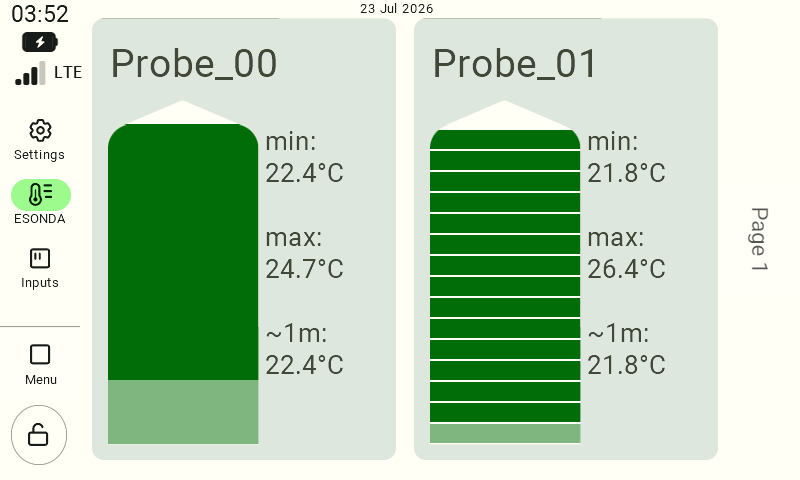
When there is less feed in the silo, the exposed sensors can heat up due to external factors, causing false alarms. To ensure the system monitors only what’s important, simply enter the amount of feed.
1) Select the appropriate option.
2) Go to the “Alarms” tab.
3) Click the gear icon (top right corner) and select “Set Sensor Limit.”
4) Enter the value corresponding to the amount of feed in the silo.