1. Home
  2. FarmWatch Pro
  3. How do I add a sensor to a building?

How do I add a sensor to a building?

Monitoring facility parameters is a key element of smart management. The Feturacloud system allows you to quickly assign various types of wireless sensors directly to specific rooms in your facility. This gives you access to live data, the ability to generate reports, and the option to set up alarm notifications.

This step-by-step guide will walk you through the process of registering and mapping a new device in the system.

Make sure the sensor has been activated and is connected to the
control panel—otherwise, it will not appear in the list of devices to be assigned.

NOTE: To add a sensor to a building, you must first have buildings created in the Feturacloud system. If you haven’t created any buildings yet, set them up first. You can find instructions here.

1. Log in to the Feturacloud dashboard:

Open your browser, go to the Feturacloud login page, and enter your login credentials.
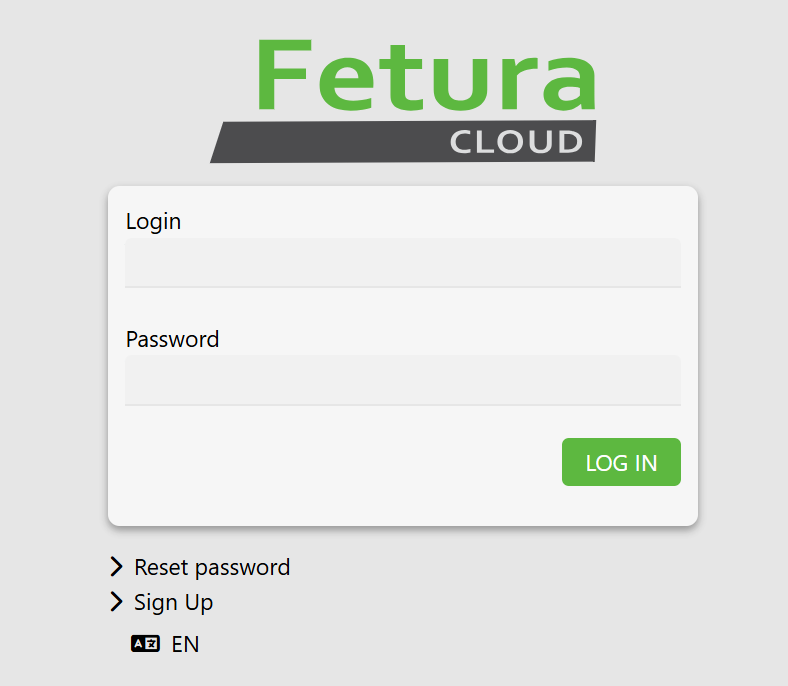
The login screen for the Fetura Cloud web platform. The user must enter their username in the "Login" field and their password in the "Password" field, and then click the large green "LOG IN" button to access the system.

2. Go to Settings:

In your farm’s main menu, locate and click the Settings tab, then go to the Devices tab.
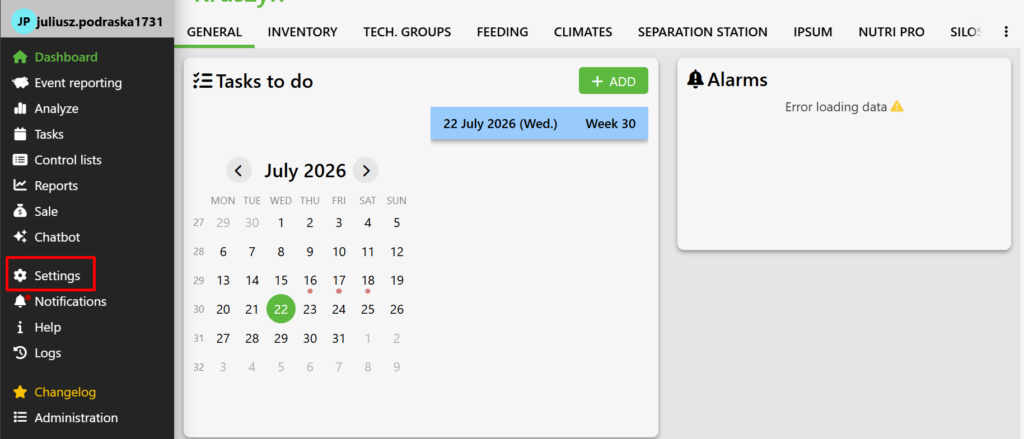
The main dashboard of the Fetura Cloud app. To begin the process of configuring and assigning a sensor to a building, the user must locate the "Settings" tab in the dark navigation panel on the left, next to which is a gear icon. In the screenshot, this action is indicated by a large red arrow.
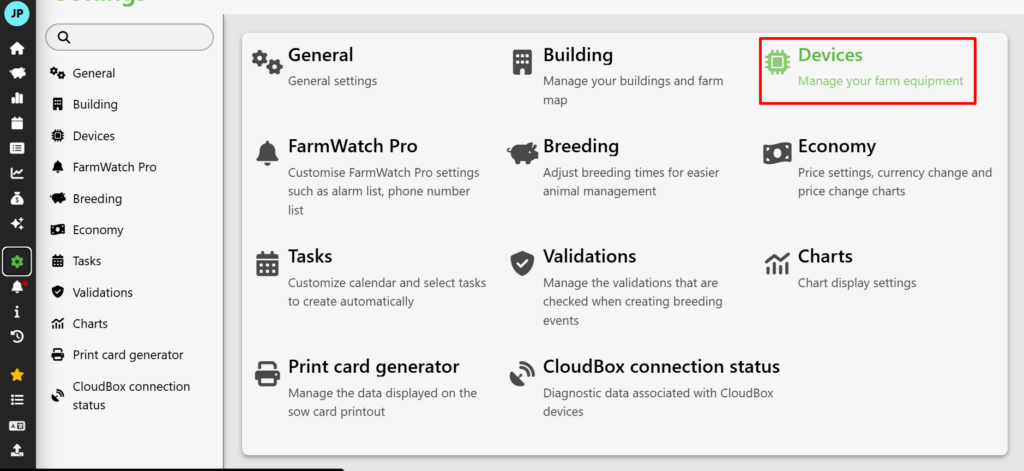
A full-screen view of the menu in the "Settings" tab. The interface consists of tiles representing various modules. The user must click the tile labeled "Devices" (with a green integrated circuit icon), as clearly indicated by the red arrow shown here.

3. At the bottom of the page, find the “Assign devices to locations” options:

Go to the list of locations to assign the device to.
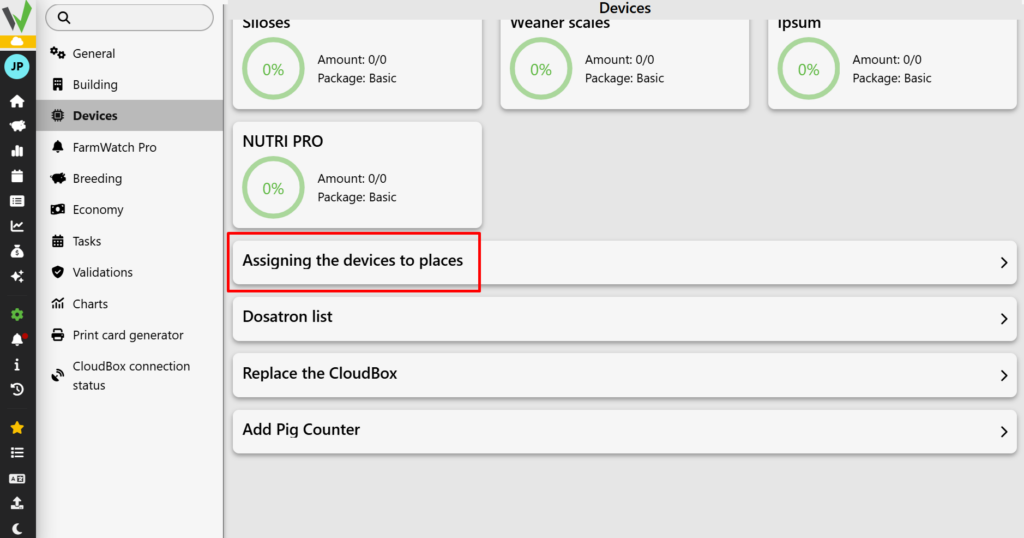
Screen displaying a list of options in the "Devices" module. To associate a piece of equipment with a specific location on the farm, the user must select and click the first item on the displayed list—the “Assign Devices to Locations” tab—as indicated by the red arrow in the instructions.

4. Select the location where you want to connect the device:

Expand the list of places you’re interested in.
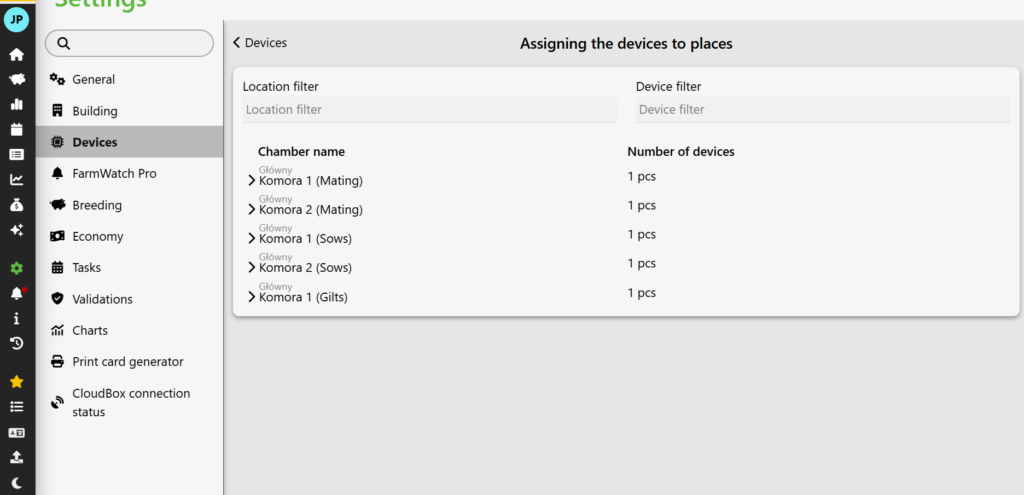
Device Assignment Screen. This screen displays a list of available rooms and sections in the building, labeled as "Room Name" (e.g., "Baby Room," "Boar Pen," "Mating Area"). To view details and add a new sensor, the user must click and expand the desired location from the list.

5. Select which sensor you want to add:

Check the box to the left of the sensor in question.
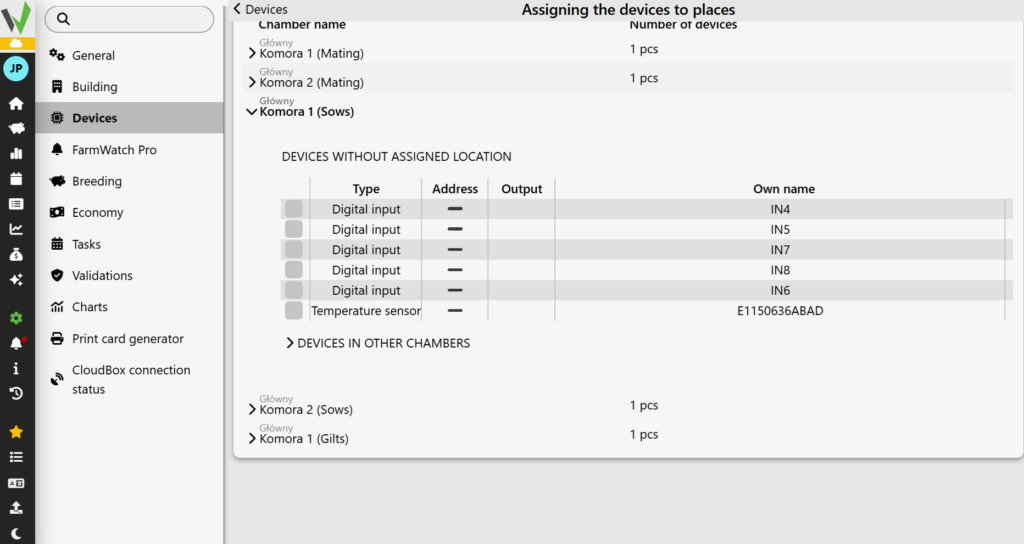
Expanded details view for the selected chamber, for example, the "Coverage" section. In the table at the bottom under the heading "DEVICES WITHOUT AN ASSIGNED LOCATION," the system displays a list of available, unused sensors (e.g., temperature sensors or digital inputs) that are waiting to be configured. The user must locate their device there.

6. Congratulations! You’ve just added a sensor to the building.
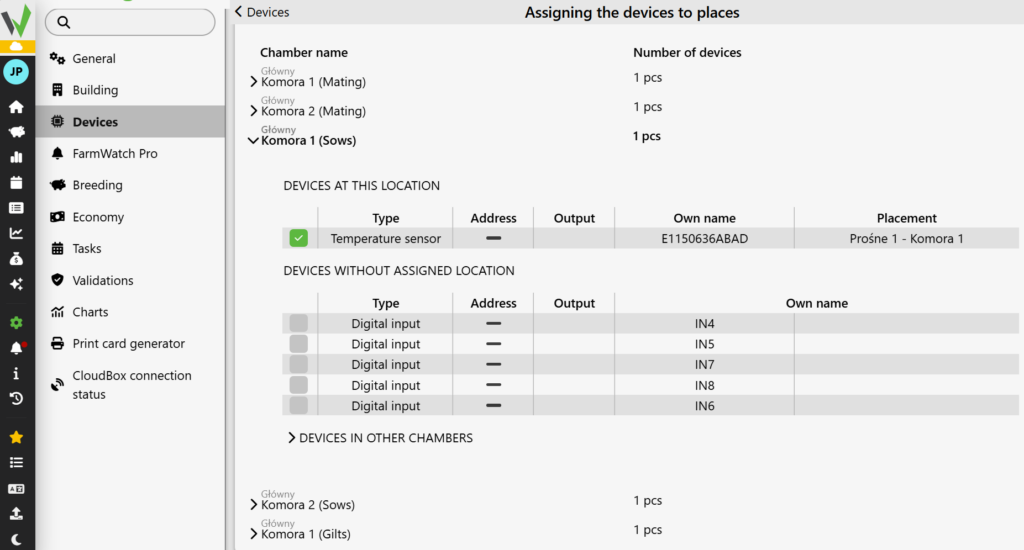
The assignment screen with a successfully added device. Once the user selects the checkbox (green square) next to the selected device, that sensor automatically disappears from the bottom table and is moved to the top section labeled "DEVICES IN THIS LOCATION." This confirms that the sensor has been successfully integrated with the chamber.

Now in the Atmosphere tab, you can view your sensors.
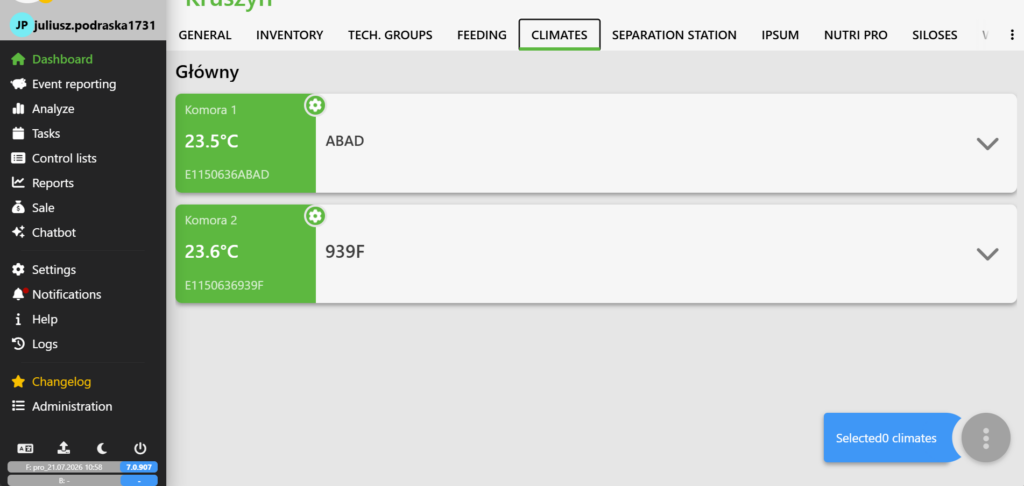
Main view of the app in the "ENVIRONMENTS" tab from the top menu. The screen displays large tiles representing previously assigned locations and their associated sensors (here, the "Mating" and "Birthing" sections). The left side of each tile has a green background and displays the current temperature, which ultimately verifies that the equipment is functioning properly and communicating with the cloud.
Updated on 2026-07-22
Was this article helpful?

Related Articles

Need Support?
Can't find the answer you're looking for?
Contact Support

Leave a Comment