1. Home
  2. FarmWatch Pro
  3. How do I add a new esonda?

How do I add a new esonda?

To add a location to FarmWatch Pro, just follow a few simple steps.

1. Selecting a Device

1) Go to Settings and select Add Device.
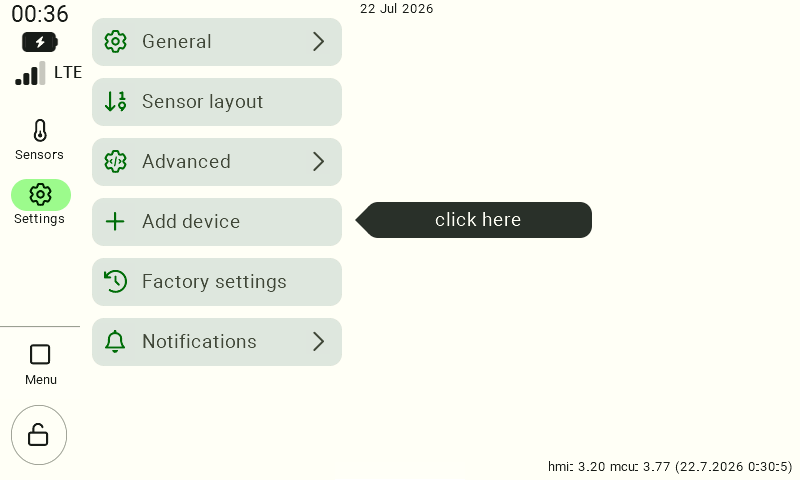
The app's menu screen with the "Settings" tab selected on the left and highlighted in green. The main section displays a list of available configuration options in the form of rectangular buttons: "General," "Sensor Layout," "Advanced," "Add Device," "Factory Settings," and "Notifications." Next to the "Advanced" button, a dark tooltip appears with the text "click here". (Note for the implementer: The tooltip in the screenshot points to the “Advanced” option, not “Add Device,” as mentioned in the instructions.)

2) Select the probe from the list of available devices.
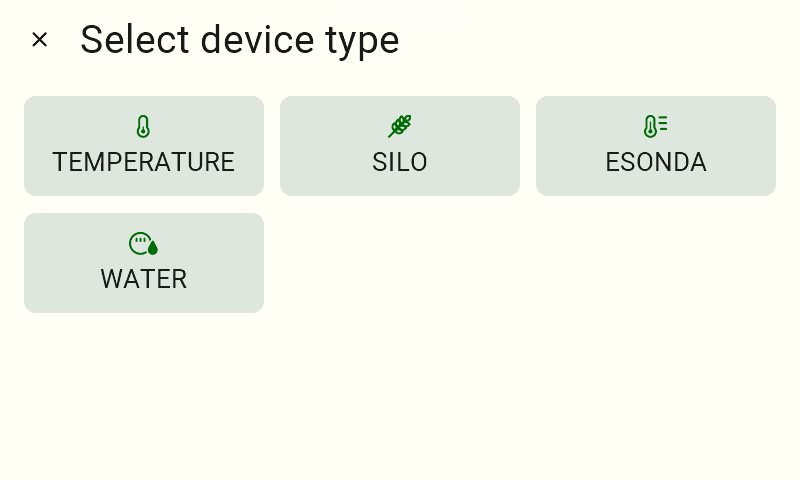
A screen with the heading "Select Device Type." Below are four rectangular selection tiles with corresponding icons. The available options are: "TEMPERATURE," "SILO," "ESONDA," and "WATER."

2. Merging and Verification

1) Insert the batteries into the esonda. If they’re already in there, just take them out for a moment and put them back in.

2) Wait a moment until a message appears indicating that a new device has been detected.
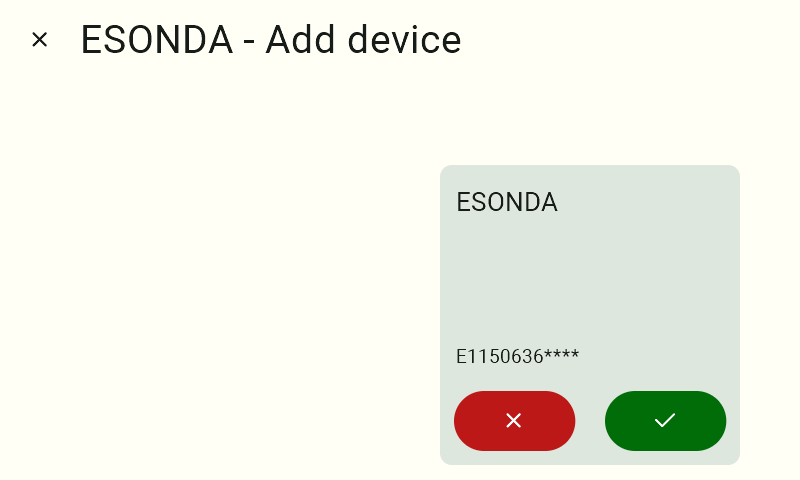
A screen titled "ESONDA - Add Device." It displays a light gray tile representing new hardware detected by the system. The tile displays the name "ESONDA," a masked serial number "E1150636****," and two round buttons at the bottom: a red one with a cross (reject) and a green one with a checkmark (accept).

3) Enter the last 4 characters of the esonda serial number.
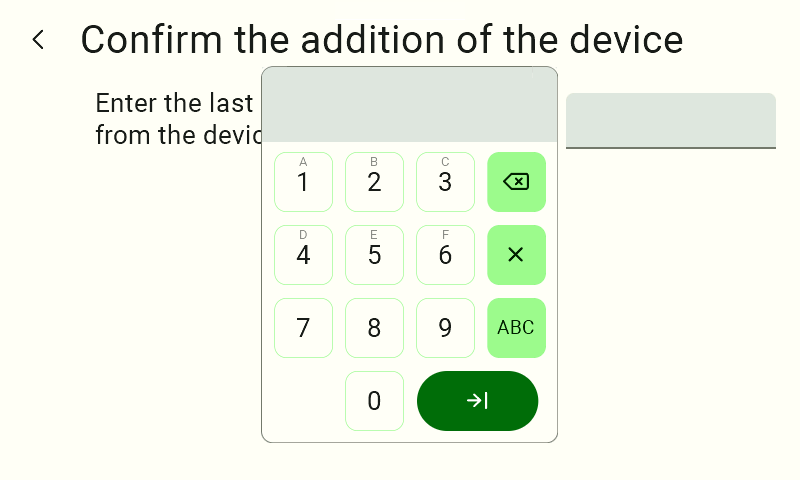
Tip: To enter letters, press the ABC button on the keyboard. To return to numbers, use the 123 button.

"Confirm Device Addition" screen. It displays the prompt "Enter the last 4 digits of the serial number (S/N) from the device housing" and a dedicated, empty text field for entering them. A custom data entry keyboard is displayed on the screen. It contains the numbers 0 through 9, with the lowercase letters A through F positioned above the numbers 1 through 6. On the right side of the keyboard are additional buttons: delete, cancel (X), a button to switch the input mode to "ABC," and a green confirmation button with an arrow.
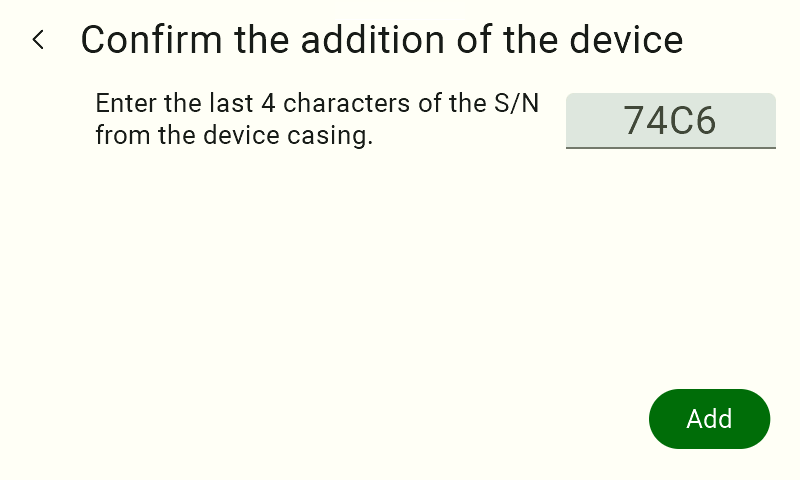
The "Confirm Device Addition" screen. A four-character string, "74C6," is entered in the text field. The on-screen keyboard is hidden, and a green button labeled "Add" is active in the lower-right corner of the interface.

4) Click the Add button.

All done! Your survey has been successfully added to FarmWatch Pro.
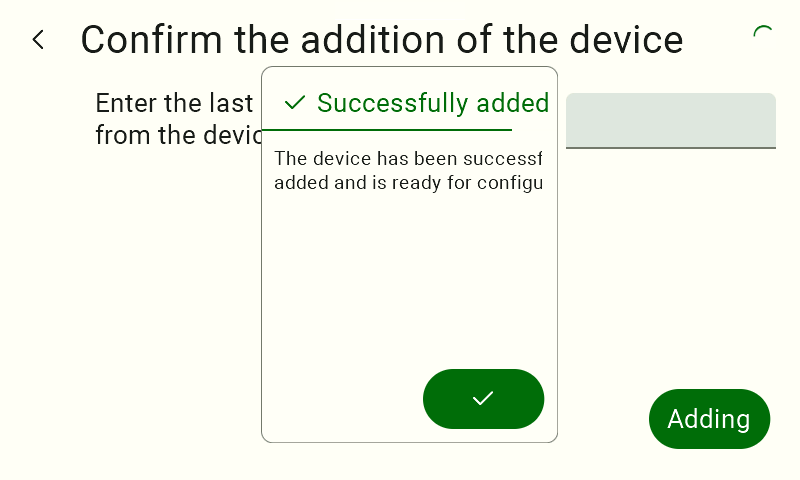
A confirmation message in the form of a pop-up window displayed in the center of the screen. The pop-up header consists of a green checkmark and the text "Added successfully." Below that is the text: "The device has been added successfully and is ready for configuration." At the bottom of the message is a round, green confirmation button with a white checkmark.

Updated on 2026-08-03
Was this article helpful?

Related Articles

Need Support?
Can't find the answer you're looking for?
Contact Support

Leave a Comment