1. Home
  2. FarmWatch Pro
  3. FarmWatch Pro Installation

FarmWatch Pro Installation

Hi! Before you start using your new FARMWATCH PRO device, we need to quickly set it up. It’s easy—just follow the steps below one by one.

1. Check the contents of the kit
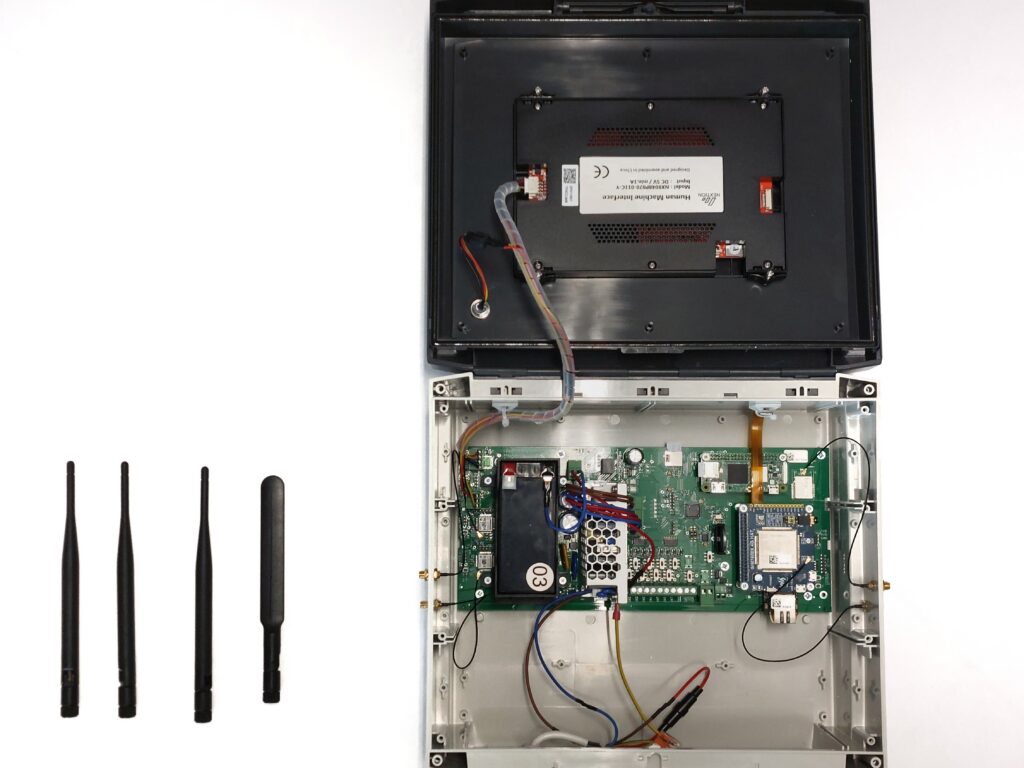
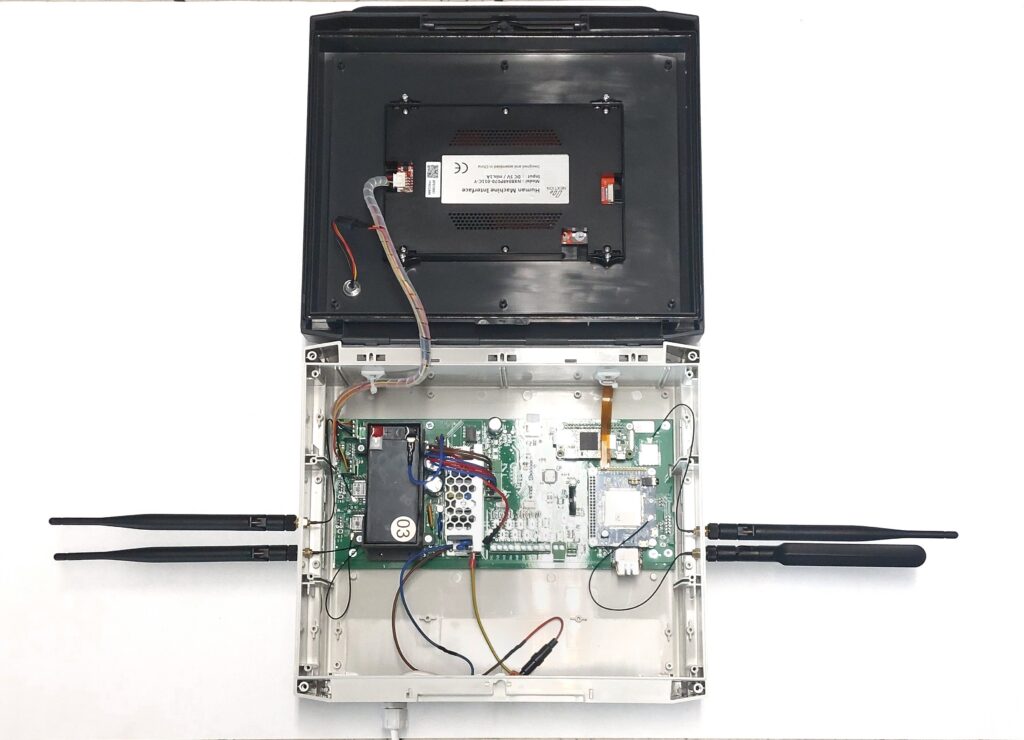
A photo of the device with the case open (top view of the interior). Next to the case lie four neatly arranged black antennas ready for installation—three of them are slender and identical, while one is noticeably shorter and flatter (intended for the SIM module). Inside the device, you can see, among other things, the battery and the green motherboard.

Open the case. Inside the package, you’ll find the FARMWATCH PRO device, a battery, and four black antennas.

Check the antennas and make sure you have all of them before you begin assembly. Three of them are slender and identical, while one is slightly shorter, flat, and designed specifically for the SIM card.

2. Basic Safety Rule

Before you start working on the inside, make sure the device is unplugged. On the front of the case, you’ll find an important reminder: “Turn off the power before removing the case.”

Warning: Never touch anything inside the appliance while the plug is plugged into an outlet! Always unplug it first.

3. Screw on the antennas

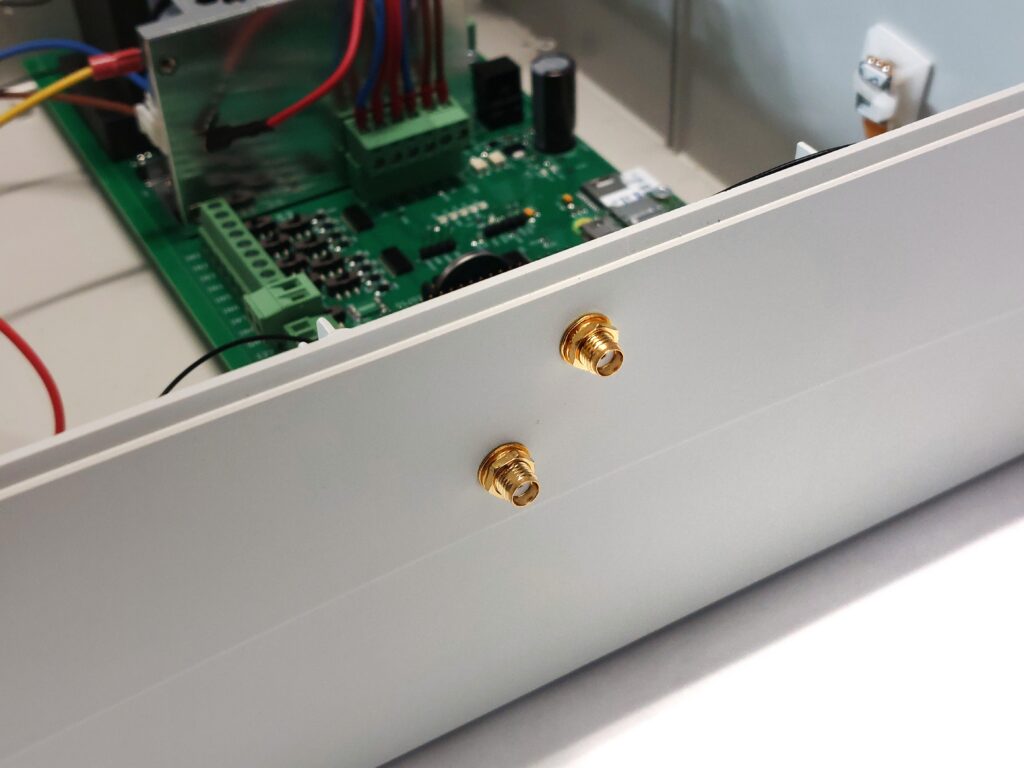
A close-up of the outer side panel of the plastic enclosure. Two empty, protruding gold-colored antenna sockets are visible; the antennas should be screwed into these sockets. This photo shows the "before" condition, before the antennas are screwed in.

On the outer sides of the case (two on the left and two on the right), you’ll find a total of four gold-colored ports. It’s time to plug the antennas into them:

  • SIM antenna (short and flat): We usually screw it into the lower slot on the right side. You can easily check this by looking inside—a thin cable runs from the correct slot to a small blue board (the SIM card module). Screw the flat antenna onto the outside of this slot.
  • The remaining 3 antennas (the slim ones): Screw them into the remaining three empty gold sockets. Since these antennas are identical, it doesn’t matter in what order you screw them in—you can’t mess anything up here.
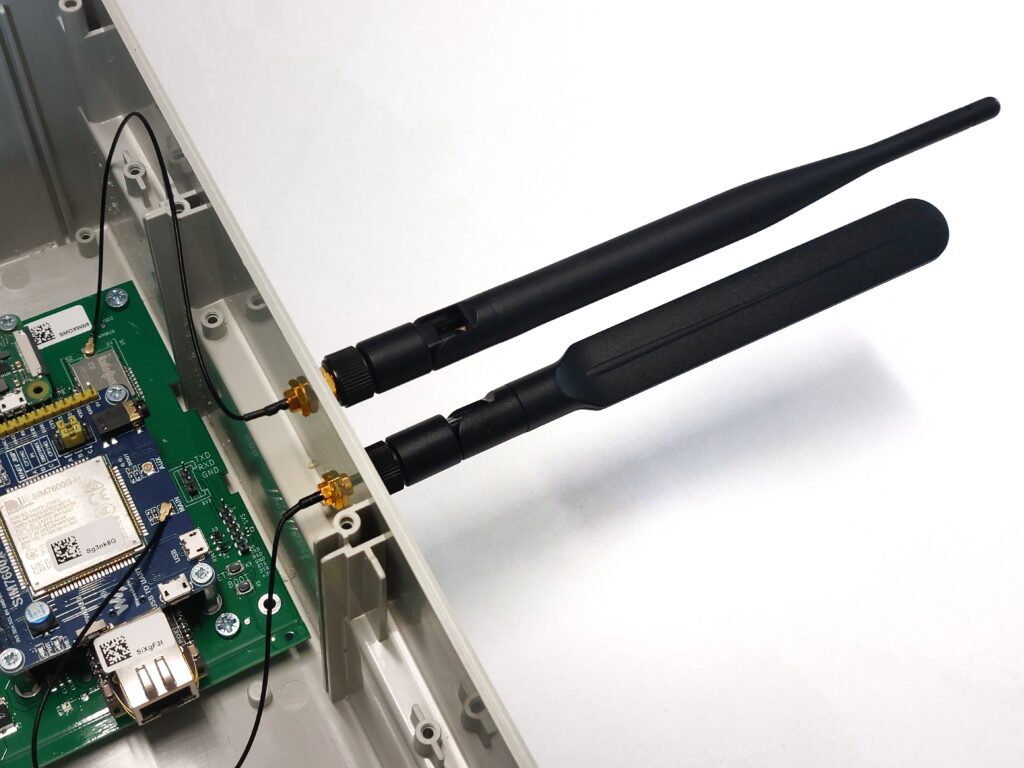
The antennas slide in easily, and it’s best to simply screw them in by hand until you feel resistance. You don’t need any tools to do this.

A close-up of the same side panel of the enclosure, but with the two black antennas already screwed in. A photo showing the "after" state following the correct installation of the antennas on one side.

4. Connect the battery

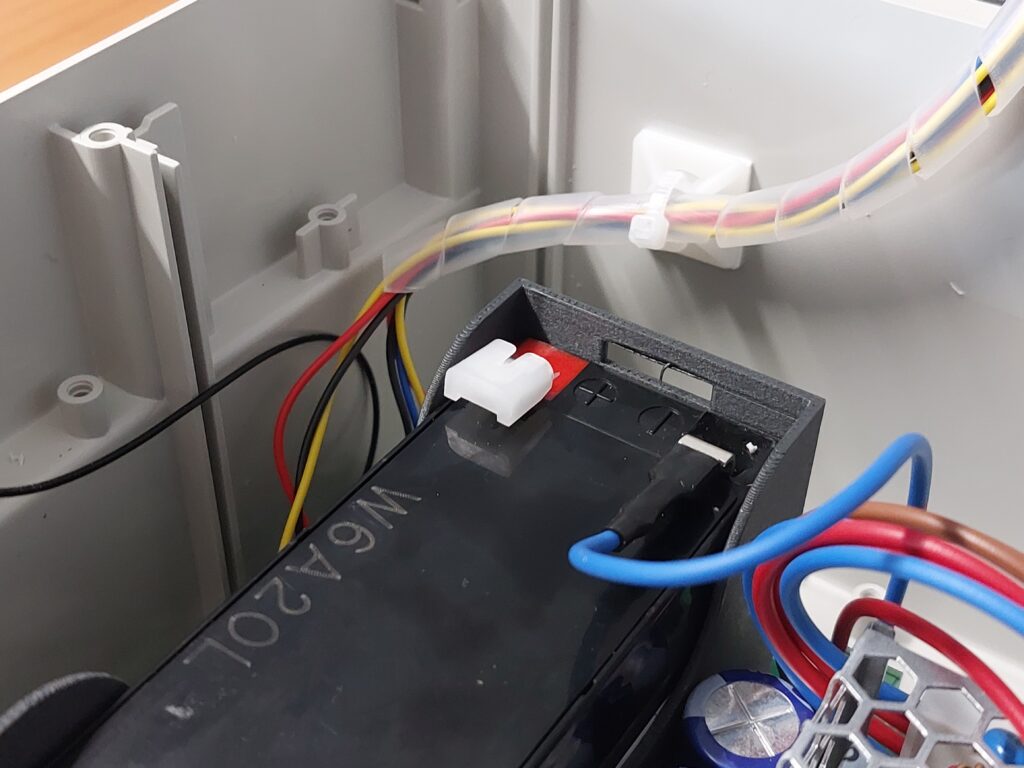
A close-up of the black, rectangular battery (W6A20L) mounted on the motherboard. The battery’s metal contacts still have their protective red-and-white plastic caps on. The power cables lie loosely, ready to be connected.
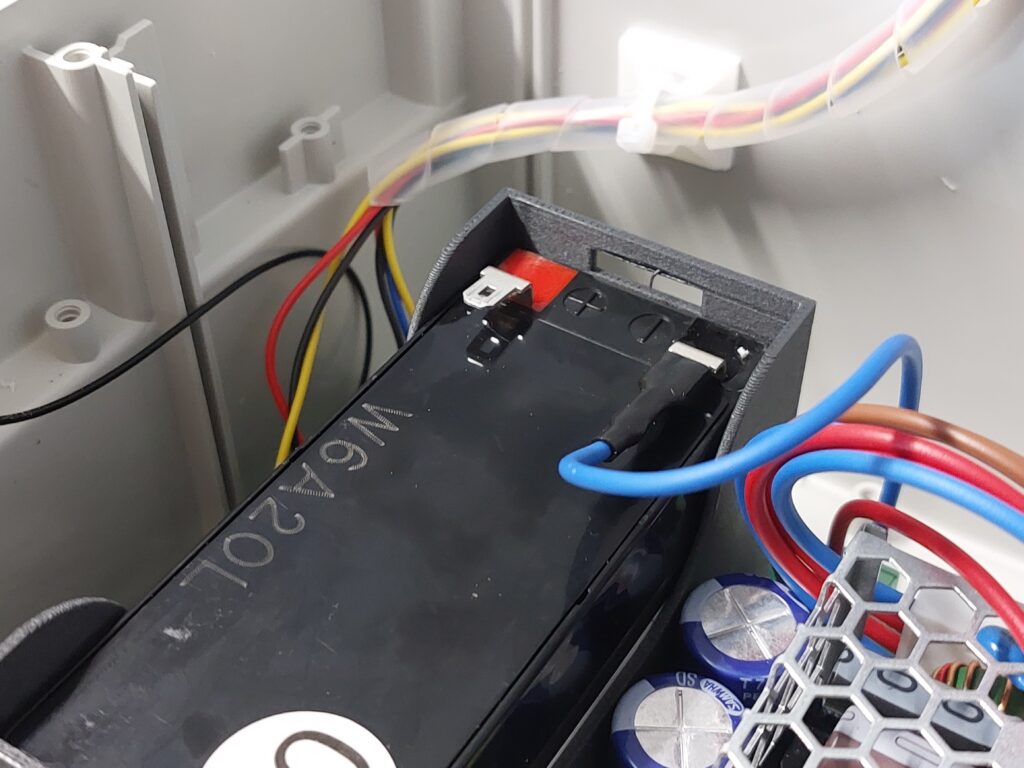
Another shot of the battery during the assembly process. You can see the removed covers and the blue wire already connected to one of the terminals, while the connector marked in red is still empty.

At the bottom of the device (on the green board), you’ll find a black, rectangular battery. Before connecting the cables, remove the plastic caps from its terminals. Then, connect the two cables to its terminals:

  • Connect the red wire to the metal tab next to the plus (+) sign.
  • Plug the blue cable into the terminal next to the minus sign (-).
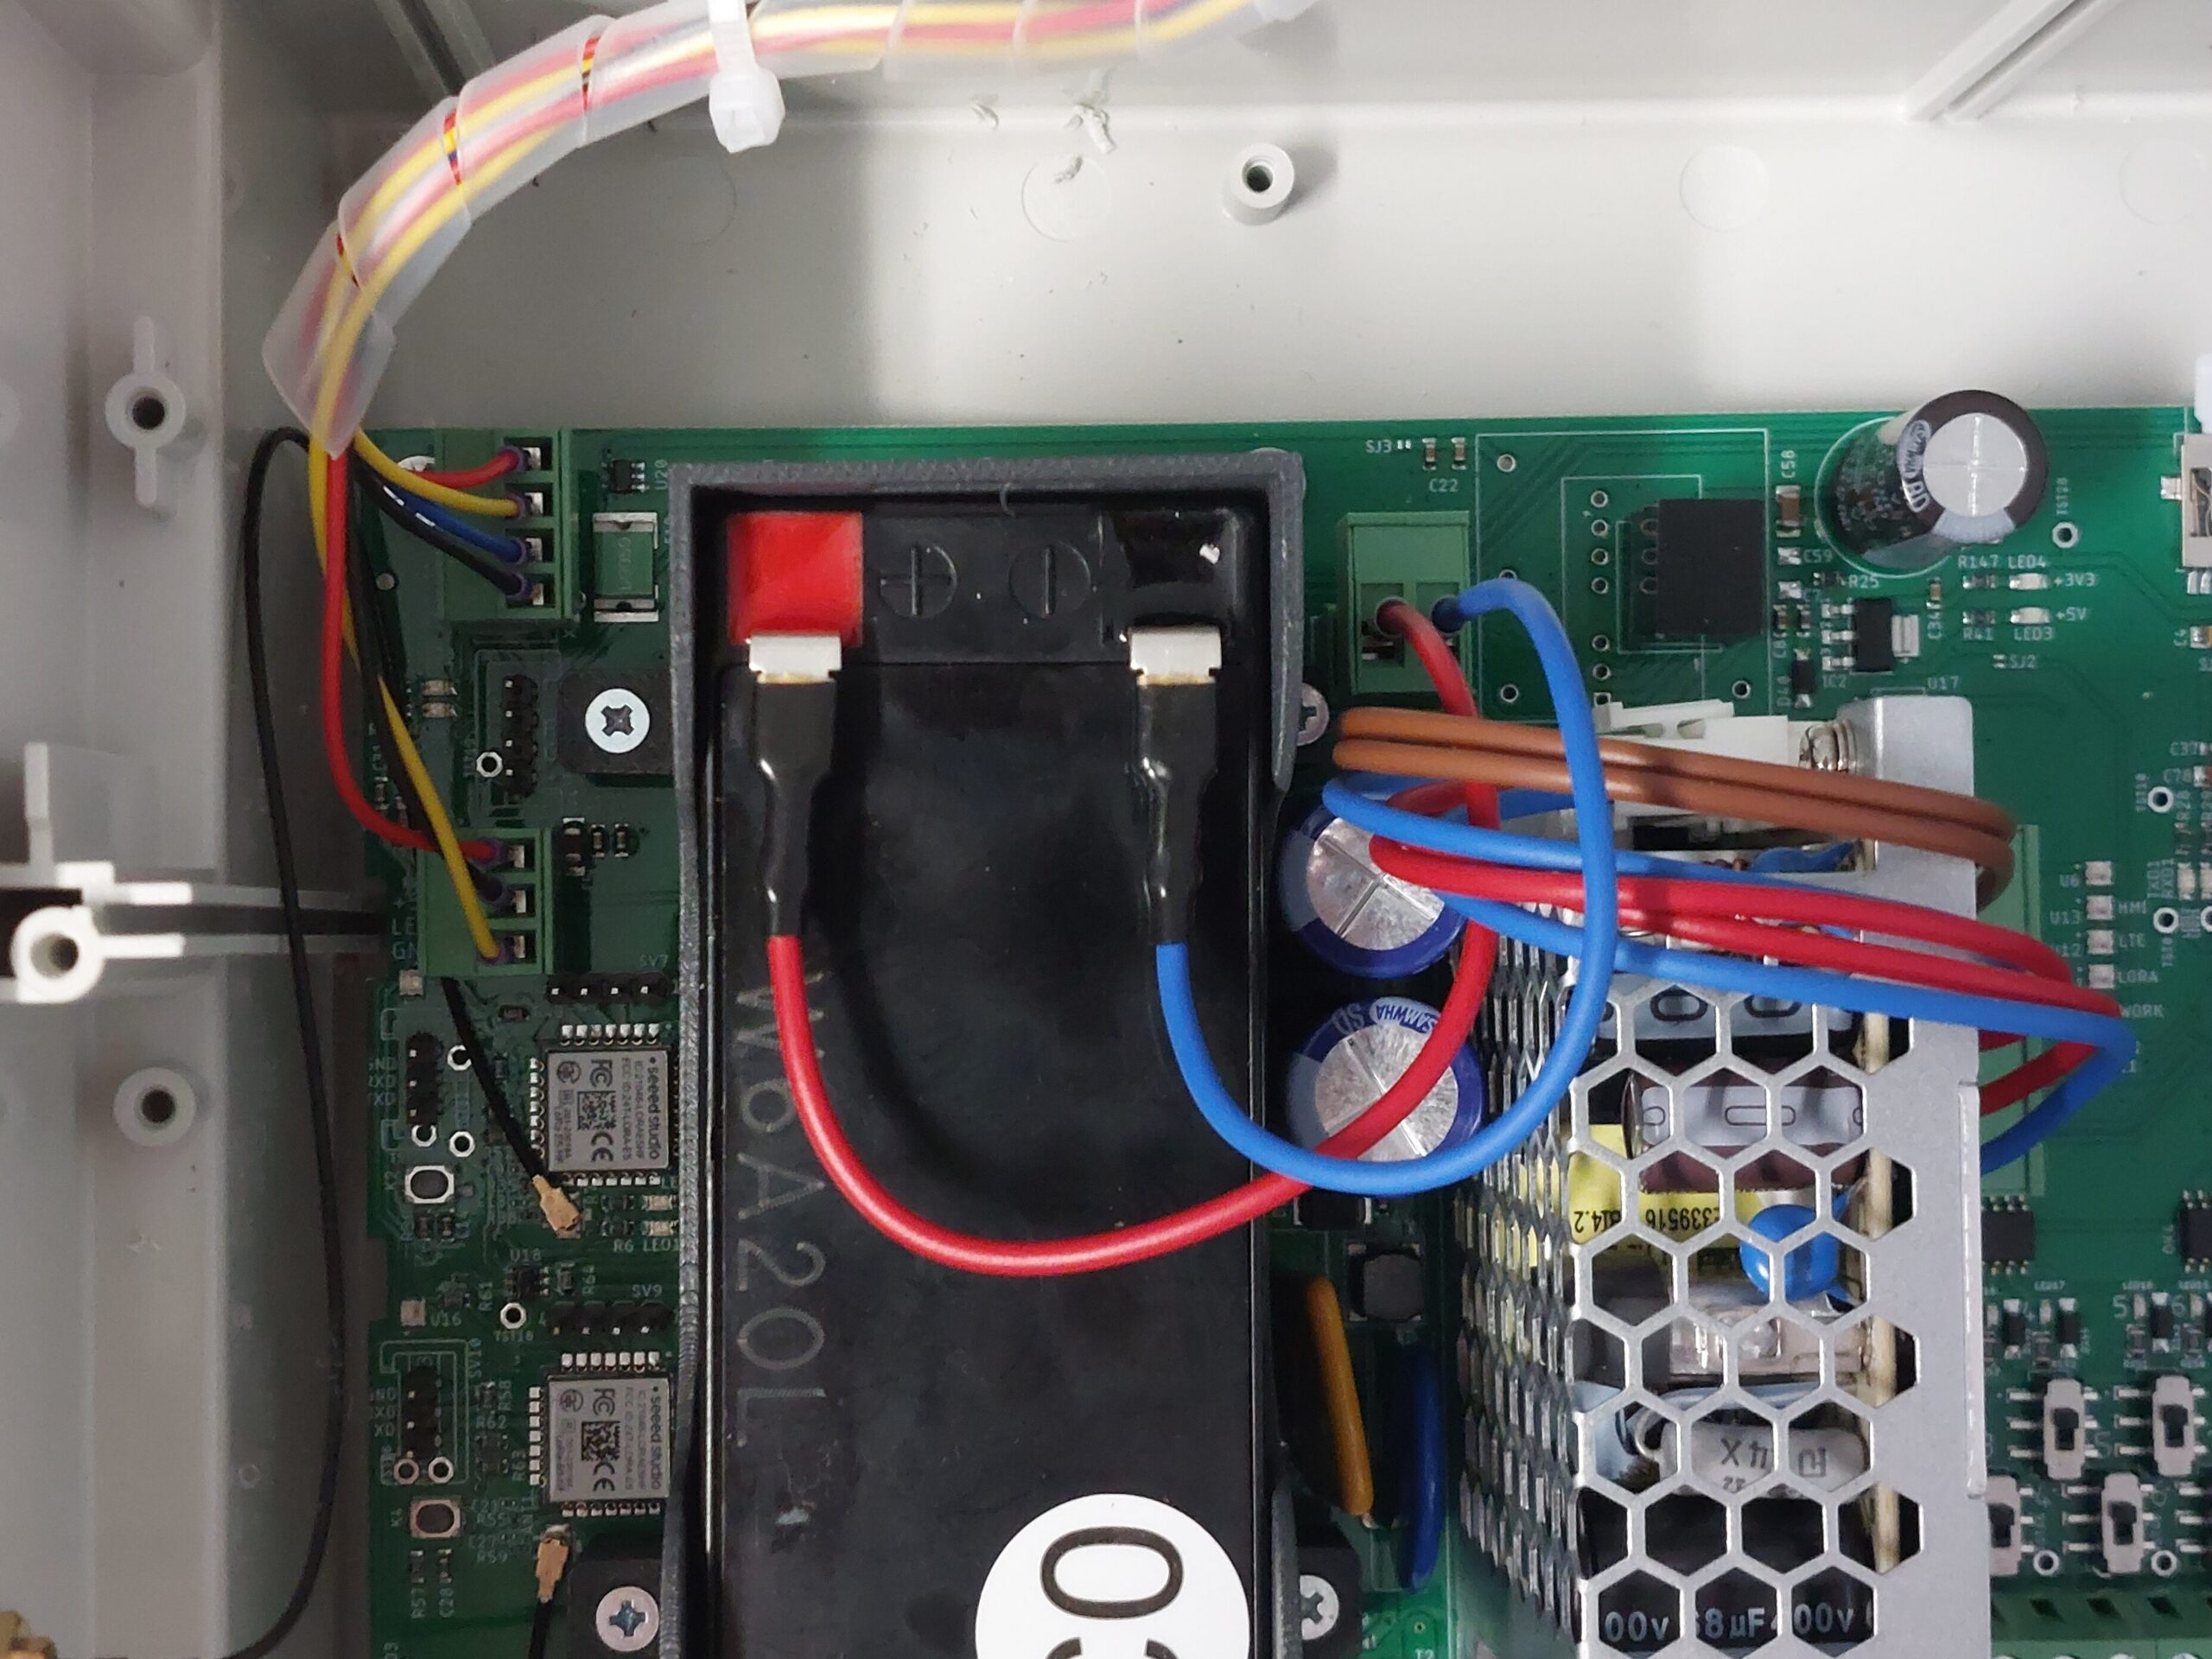
A close-up of the battery showing the wiring correctly and securely connected (the "after" state). The red wire is connected to the positive (+) terminal, and the blue wire is connected to the negative (-) terminal.

Warning: Pay special attention to this! Mixing up the colors or connecting the terminals in reverse can damage the equipment. Make sure you’ve connected it correctly.

5. Close the case

General view of the open device (like a suitcase or box) after all work inside has been completed. The battery is properly connected with cables, and all four antennas (two on each side) are screwed in place. The device is fully ready to be closed.

Once the antennas are in place and the battery cables are properly connected, your work on the inside is done. You can simply close the case.
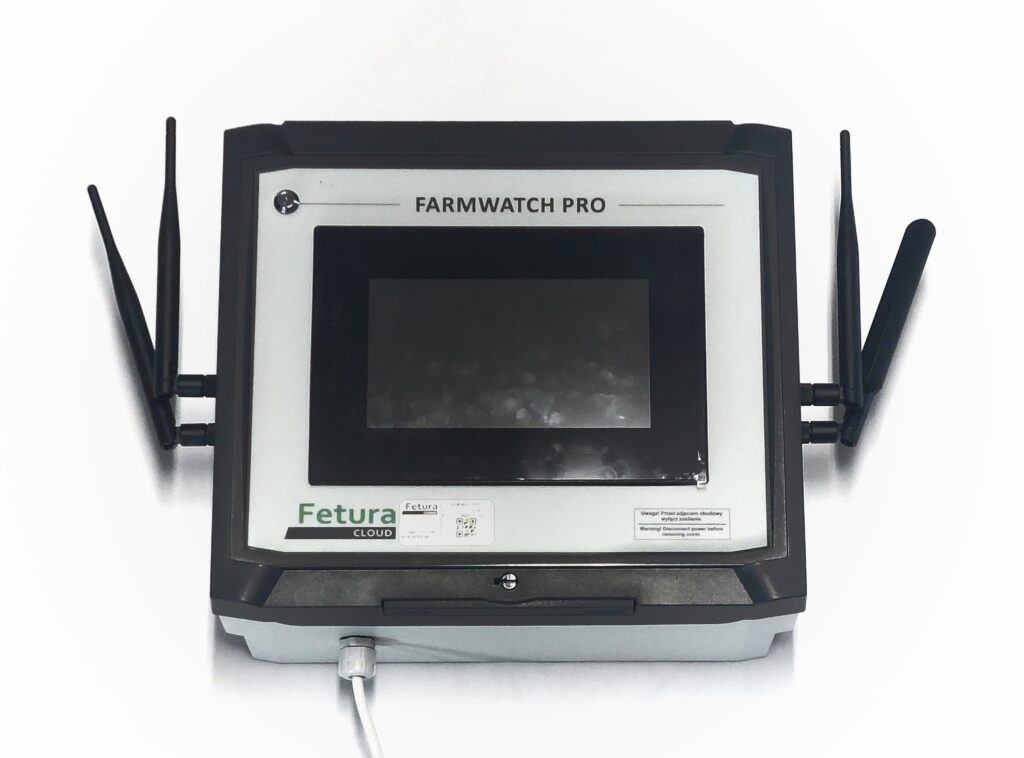
The photo shows a fully assembled, enclosed FARMWATCH PRO unit. Four black antennas, secured with screws, are visible on the outer sides of the enclosure. The front features a screen and a sticker warning that the power must be disconnected before removing the housing. Ideal as the main photo (showing the final result).

All done! Your FARMWATCH PRO is now properly assembled.

6. Connect the power supply and proceed to setup

Now that the device is properly assembled and securely closed, you can plug it in. Once the system starts up, all that’s left is a quick setup.

You’ll learn how to do this step by step in our next guide:

Click here!

Updated on 2026-07-22
Was this article helpful?

Related Articles

Need Support?
Can't find the answer you're looking for?
Contact Support

Leave a Comment